How To Integrate AWS Auto Scaling With Application Load Balancer?
Last Updated :
07 Mar, 2024
On learning how to bring efficiency to your AWS infrastructure will enhance the workflow and cost management. In this article, we will guide you on integrating AWS Auto Scaling and Application Load Balancer. Exploring the seamless setup process, empowering your applications to effortlessly scale based on demand. Enhancing your cloud architecture for optimal performance and resource utilization.
What Is Auto Scaling?
Auto Scaling is a service in Amazon Web Services (AWS) with the help of an EC2 instance that automatically changes the number of instances as per the user’s application demand. this nature of auto-scaling helps to achieve high availability for an application without any high cost.
The elasticity feature of auto-scaling allows users to scale up and down their application resources based on predefined attributes like desired capacity, minimum capacity, and maximum capacity. This ultimately helps applications manage user traffic coming to them without disturbing the overall working of the application.
What Is Load Balancing?
A Load Balancer as the name suggests balances the load coming on the application component, in cloud platforms like Amazon Web Services (AWS), it distributes incoming network traffic to different multiple servers. the main goal of the load balancer is to improve the availability, scalability, and reliability of applications by fairly distributing network traffic and preventing any one server from becoming overloaded, therefore this will improve the overall application performance.
The load balancer is attached to an application in such a way that it faces firstly the network traffic so it can able to distribute it efficiently.
Advantages Of Auto Scaling With Application Load Balancer
- Improved Scalability and Performance: ALB distributes traffic across multiple instances managed by Auto Scaling, ensuring consistent performance even during traffic spikes. Auto Scaling automatically adds/removes instances based on demand, optimizing resource utilization and preventing overprovisioning.
- Increased Availability and Fault Tolerance: ALB directs traffic only to healthy instances, automatically removing unhealthy ones from the pool. Auto Scaling automatically replaces unhealthy instances, ensuring continuous service.
- Cost Optimization: Pay only for resources used. Auto Scaling scales down during low-traffic periods, minimizing costs.
- Simplified Management: Both services are automated, requiring minimal manual intervention. Define scaling policies and health checks, and the services manage the rest.
- Enhanced User Experience: Consistent performance and faster response times due to efficient resource management and traffic distribution.
Disadvantages Of Auto Scaling With Application Load Balancer
- Increased Complexity: Setting up and configuring scaling policies and health checks requires some level of expertise. Understanding how scaling interacts with your application adds complexity to system management.
- Potential Cost Issues: Improperly configured scaling policies can lead to unnecessary scaling events, increasing costs. Costs might fluctuate as resources are added or removed based on traffic demands.
- Scaling Issue: There might be a slight delay in provisioning new instances during scaling up, potentially impacting performance momentarily.
Applications Of Auto Scaling With Application Load Balancer
- Enhanced Scalability: Auto Scaling can be used with Application Load Balancer (ALB) to dynamically change the number of instances based on network traffic found by the load balancer. Therefore dynamic scalability will ensure that the application can handle sudden changes in network traffic.
- High Availability of an application: Application Load Balancer improves the availability of the application. when used with Auto Scaling, it ensures that user’s application will always available to handle incoming traffic and managing the user’s requests.
- Cost Efficient: Auto Scaling helps reduce costs by automatically scaling up and scaling down servers based on demand This will efficiently reduces the cost associated with using auto scaling with application load balancer.
- Cross-Zone Load Balancing: ALB supports cross-zone load balancing, distributing traffic evenly across instances in multiple Availability Zones. When used with Auto Scaling, this feature enhances fault tolerance and ensures that instances are distributed optimally across different zones, improving overall application resilience and availability.
Integration Of AWS Auto Scaling With Application Load Balancer: A Step-By-Step
Step 1: Login to AWS Console: Go to the AWS Management Console and log in to your AWS account.
Step 2: Navigate to EC2 Console under elastic load balancer, Firstly Create Load Balancer
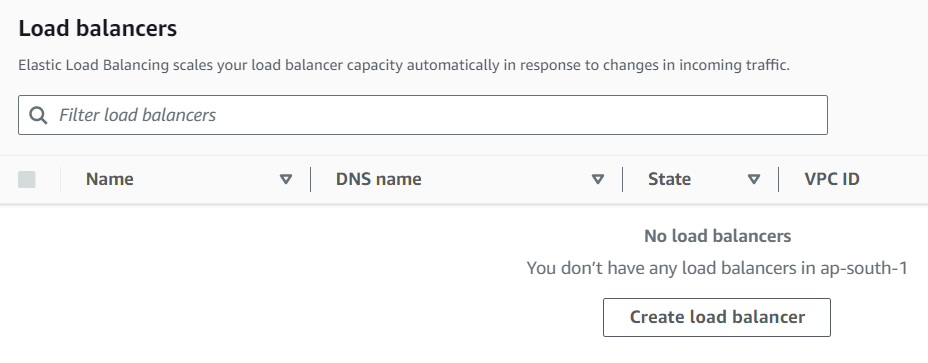
Step 3: Create Application Load Balancer Enter Details like load balancer name.
.png)
- The following Screenshots illustrates on the basic configuration of load balancer.
.png)
- Select Default VPC or you can select your own created one and at least two availability zones.
.png)
- Select Default Security Group or Either You select your own created.
-(1).png)
Step 4: Click on Create Target Group in Listeners and routing here we have to choose target group our targets are instances so keep it as default.
.png)
- Enter Target Name and keep other options as default selected
.png)
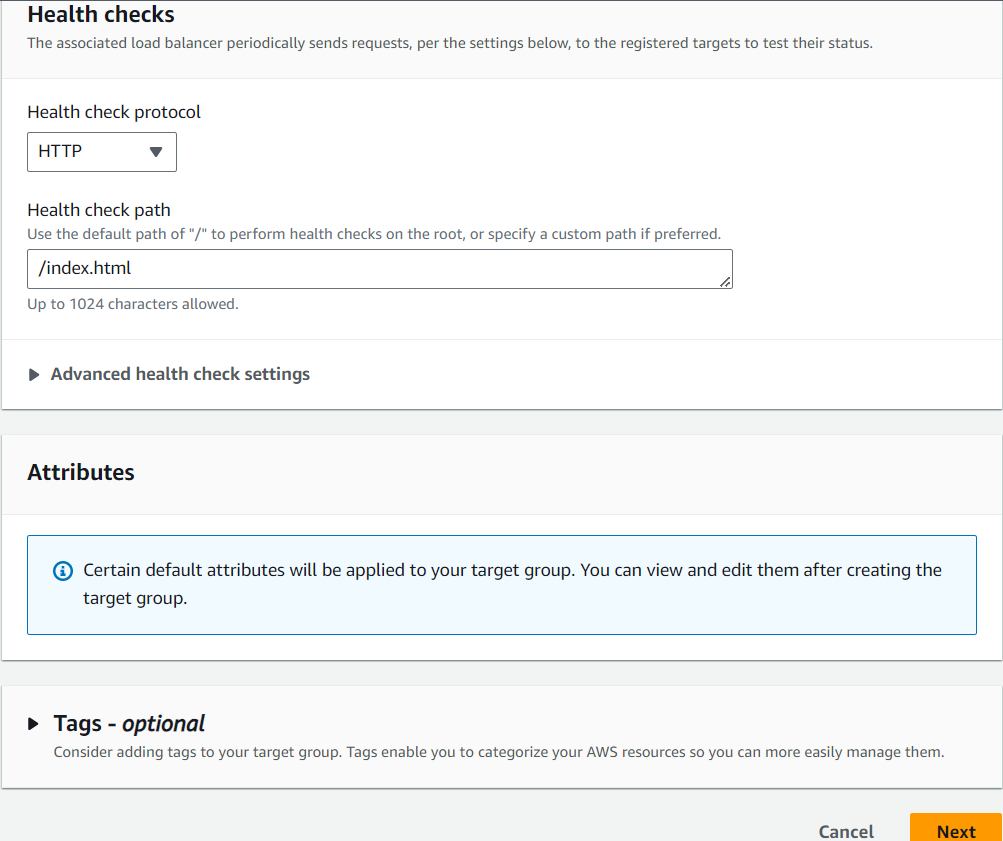
- In the Health Checks enter Health Check Path as /index.html as we are going to test our auto scaling on this file and click on next and after keep register targets blank and click on create target group.
Step 5: Select The Target Group we created while creating load balancer Other keep it default and click on create load balancer.

Step 6: Navigate to Launch Templates in EC2 and click on create launch templates Enter template name and definitions.

.png)
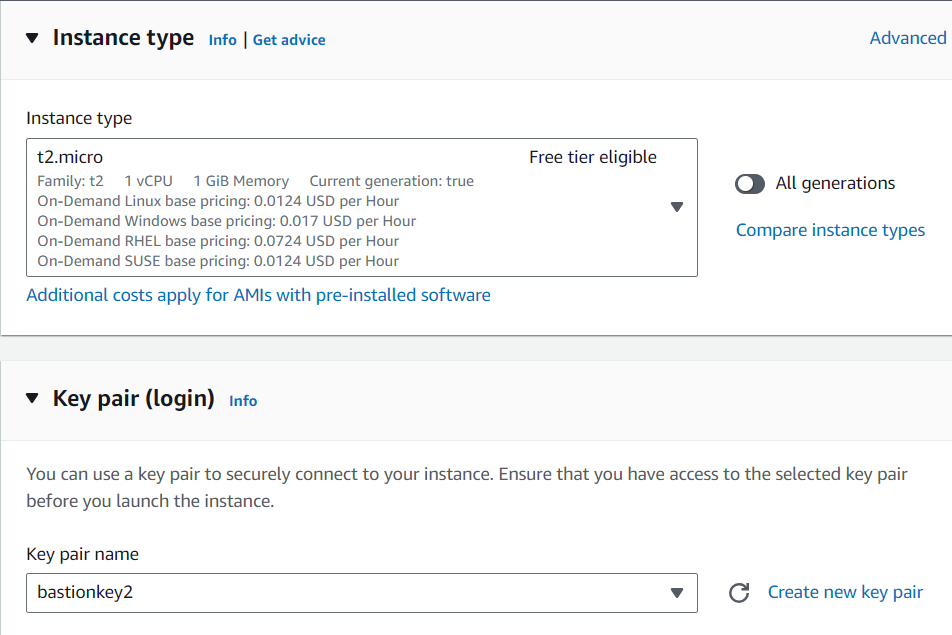
- Select Instance Type and its Key pair.
- In Network Settings Select the subnet in which template launch instances (Make sure it will same as Load Balancer’s Subnet) and Security Group.

- Under Advance Details, In user data paste the following the script to test our auto scaled application load balancer and click on create launch template.
#!/bin/bash
yum install httpd -y
service httpd start
chkconfig httpd on
mkdir /var/www/html
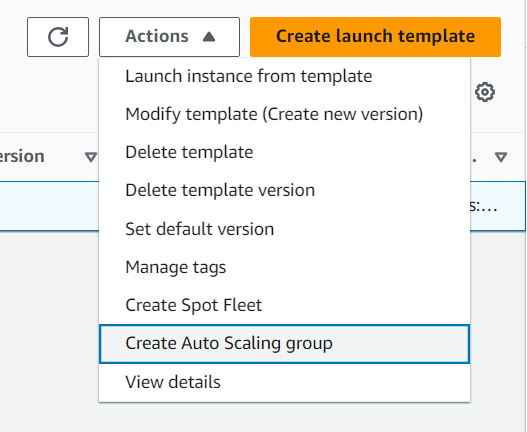
Step 7: Select your earlier created launch template and under Actions tab click on create auto scaling group.
- Enter Auto Scaling Name and Select the launch template we have created and click on next.
.png)
- In the next step, select the VPC and Availability Zones (Same as Application Load Balancer.

- In the Configure advance options select the existing load balancer and select its target group.
.png)
- In the Health Checks Turn on Elastic Load Balancing health checks and click on next.
.png)
- In Configure group size and scaling tab select your desired capacities on what auto scale group should be scaled out or scaled in.
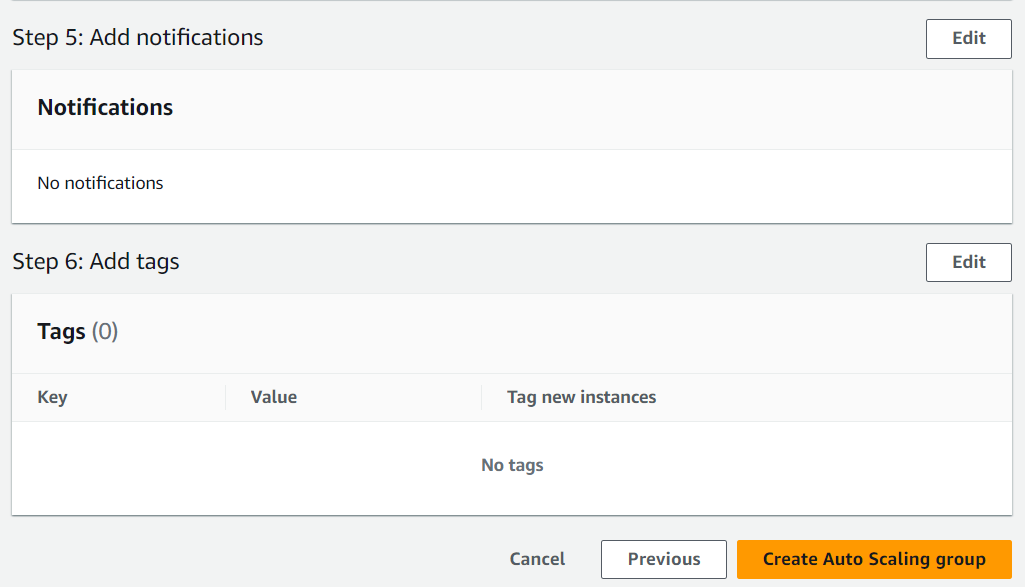
- Keep the default and click on next skip the notifications and tags as they are optional and In review make sure you selected all the correct options and click on Create Auto Scaling Group.
.png)
- Adding Notifications and tags to the instance.
Step 8: Auto Scaling Group will launch the instances based on desired capacity you can see in below image launched instances

Step 8: Go to Elastic Application Load Balancer in that select our application load balancer and copy the DNS name of it
Note: Modify the Default Security Group by editing inbound rules and in that adding HTTP protocal with myip or 0.0.0.0/0.

Step 9: Paste this DNS name in new tab of browser and press Enter you will see that static web page showing following message means that we have successfully integrated the auto scaling with our application load balancer

Conclusion
In this practical, we have understood the concepts of Auto Scaling and load balancing and gone through easy step by step explanation of how we can integrate AWS Auto Scaling With Application Load Balancer.
AWS Auto Scaling And Load Balancer – FAQ’s
What Are The Different Ways To Configure Scaling Policies?
You can configure scaling policies based on various metrics like:
- CPU utilization
- Network traffic
- Custom application metrics
How Can I Monitor The Integration Of Auto Scaling With ALB?
You can monitor the integration using Amazon CloudWatch metrics and alarms. CloudWatch provides metrics for ALB request counts, target group health checks, Auto Scaling group metrics, etc.
Can I Use Network Load Balancer (NLB) Instead Of ALB With Auto Scaling?
Yes, you can use Network Load Balancer (NLB) instead of ALB with Auto Scaling. NLB operates at the transport layer (Layer 4) and is suitable for TCP and UDP traffic, while ALB operates at the application layer (Layer 7) and is ideal for HTTP and HTTPS traffic.
Can I Use AWS CloudFormation To Automate The Integration Of Auto Scaling With ALB?
Yes, you can use AWS CloudFormation to automate the creation and configuration of Auto Scaling groups with ALB.
Share your thoughts in the comments
Please Login to comment...