How to fix broken package in Ubuntu?
Last Updated :
06 Mar, 2024
It can be very annoying when your package is broken in Ubuntu. But relax, it’s simple to fix with a few commands. For any Ubuntu user, having the ability to resolve package issues is an important skill in troubleshooting. You will quickly get your system back up and running if you take the time to learn the right techniques. With just a few commands, you’ll have your Ubuntu system working properly again.
It’s all about knowing how to use the basic apt tools for managing packages which are simple enough for every novice Ubuntu user with little directions from people with experience in the field.
How to fix a broken package in Ubuntu?
Below are the Steps that will show you how to troubleshoot and repair broken packages on Ubuntu using the available APT and DPKG tools.
Step 1: Check for Updates
Starting the troubleshooting requires rebuilding the dependency list of all packages. Giving APT the –fix-missing option permits it to ignore any missing packages. By using this option, one is sure that the process of updating software will be complete without generating or showing any disturbance of pop-up error messages from APT.
Command:
sudo apt update --fix-missing
Output:
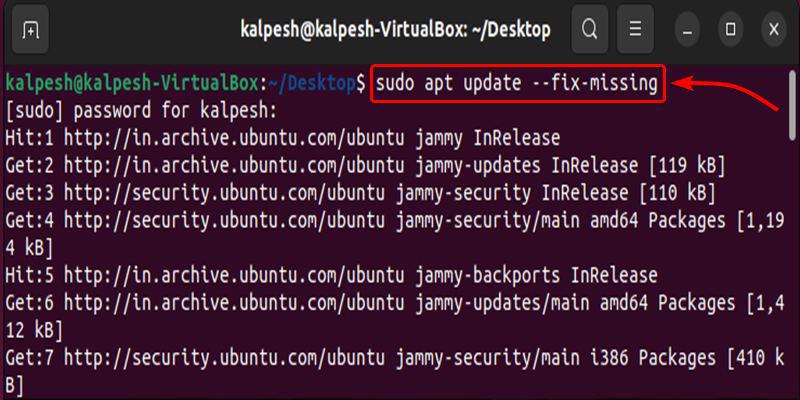
Fixing the missing Dependencies
Step 2: Force APT to Correct Missing Dependencies or Broken Packages
Unavailability of required package dependencies is a common reason for software packages errors.
Use apt install with the -f flag to tell Advanced Packaging Tool to find out any missing packages and auto-fetching them and putting them in place.
Command:
sudo apt install -f
Output:
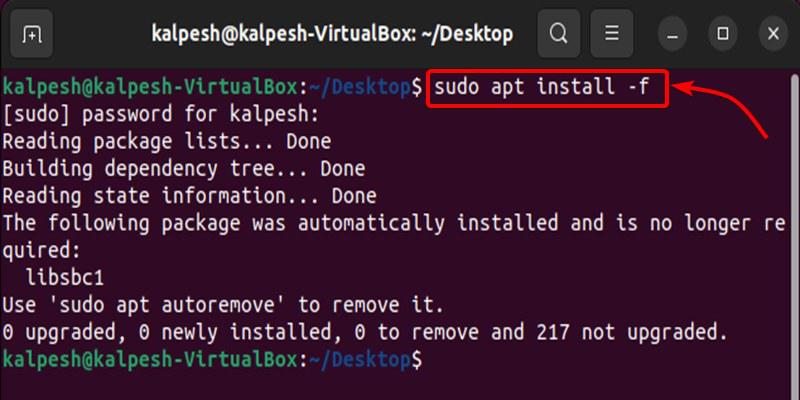
Installing the Unavailable Packages
Step 3: Force Reconfigure or Remove Broken Packages with DPKG
Corrupted packages can sometimes create issues with the proper functioning of the base package management application.
This command re-calibrates DPKG, the basic software responsible for installing and manipulating packages.
Command:
sudo dpkg --configure -a
Output:

Re-Configure the DPKG,
Check whether DPKG has identified any packages that need to be reinstalled.
Command:
sudo dpkg -l | grep ^..R
Output:

List all the Broken Packages
For example, if one or more affected packages are displayed by the above command, you can try removing them by typing below Command, In my case i have every Package that’s why it’s showing nothing in your it will display some Packages name you just Put the name of the Package with the Below Command.
Command:
sudo dpkg --purge --force-all [package-name]
Step 4: Resolve DPKG Lock Issue
While trying to install or modify a package, the DPKG lock error crops up because of another process that is currently accessing the DPKG package management system. However, this error sometimes occurs when no other processes are interacting with DPKG in a competitive manner.
To solve this problem, manually delete the lock file :
Command:
sudo rm /var/lib/apt/lists/lock
Output:

Remove the Lock file
Additionally, remove the redundant lock on the package cache directory:
Command:
sudo rm /var/cache/apt/archives/lock
Output:

Remove the Redundant lock File
Deleting these lock files allows DPKG and APT wrapper back into action without complaining about locked or unavailable package system thus making it possible to install, upgrade or configure software at ease. It is highly probable that an earlier operation on a package failed to release its lock thereby blocking any subsequent actions. Rubbing off these locking files gives a simple solution for smooth sailing through packaging management.
Step 5: Update the System
After, Following the all above Steps you need to Reinstall all the Lock files and update the System for that you need to use the Following Command. This Command will Update the Whole System and Install all the package & Dependencies on the System.
Command:
sudo apt update
Output:
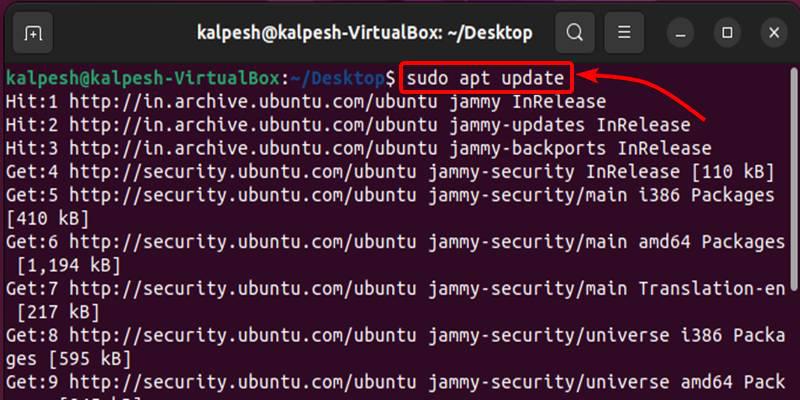
Update the System
Conclusion
To begin with, package issues encountered in Ubuntu might feel hard to handle, but the solutions are easy to understand for any user. These few commands will be enough for you to be able to address software management problems on your Ubuntu system. Even beginners in terms of package management will know how to deal with these simple terminal commands so as to get broken packages or updates back working again. Just utilize the core apt and dpkg fixes outlined herein and do not worry about those errors anymore – they will help you stabilize your system without much trouble.
Frequently Asked Questions to fix broken package in Ubuntu
I’m getting errors about unmet dependencies when trying to install a package on Ubuntu. What should I do?
Run ‘sudo apt-get install -f’ to tell apt to fix any missing dependencies automatically. This will fetch and config the packages needed.
The update manager crashed halfway through updating. Now I have broken packages. How do I fix it?
Don’t panic! Run ‘sudo dpkg –configure -a’ to reconfigure things, then try updating again. This will fix issues.
I deleted a package and now Ubuntu won’t boot properly. How can I reinstall it?
Boot into recovery mode and reinstall the deleted package using ‘sudo apt-get install [package]’. This will retrieve and set up the missing software.
What is a “DPKG lock”? I can’t install any software. How do I fix this error?
A DPKG lock means another app is using the package system. Delete any lock files with ‘sudo rm /var/lib/dpkg/lock’ and try again.
Share your thoughts in the comments
Please Login to comment...