Detail View – Function based Views Django
Last Updated :
27 Aug, 2021
Detail View refers to a view (logic) to display a particular instance of a table from the database with all the necessary details. It is used to display multiple types of data on a single page or view, for example, profile of a user. Django provides extra-ordinary support for Detail Views but let’s check how it is done manually through a function-based view. This article revolves around Detail View which involves concepts such as Django Forms, Django Models.
For Detail View, we need a project with some models and multiple instances which will be displayed.
Django Detail View – Function Based Views
Illustration of How to create and use Detail view using an Example. Consider a project named geeksforgeeks having an app named geeks.
Refer to the following articles to check how to create a project and an app in Django.
After you have a project and an app, let’s create a model of which we will be creating instances through our view. In geeks/models.py,
Python3
from django.db import models
class GeeksModel(models.Model):
title = models.CharField(max_length = 200)
description = models.TextField()
def __str__(self):
return self.title
|
After creating this model, we need to run two commands in order to create Database for the same.
Python manage.py makemigrations
Python manage.py migrate
Now let’s create some instances of this model using shell, run form bash,
Python manage.py shell
Enter following commands
>>> from geeks.models import GeeksModel
>>> GeeksModel.objects.create(
                       title="title1",
                       description="description1").save()
>>> GeeksModel.objects.create(
                       title="title2",
                       description="description2").save()
>>> GeeksModel.objects.create(
                       title="title3",
                       description="description3").save()
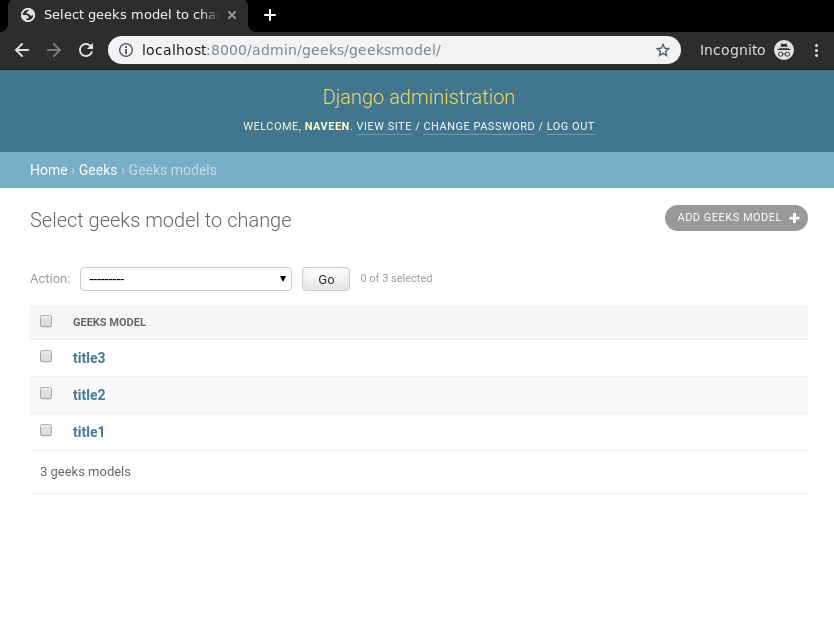
Now we have everything ready for back end. Verify that instances have been created from http://localhost:8000/admin/geeks/geeksmodel/
For detail_view one would need some identification to get a particular instance of the model. Usually it is unique primary key such as id. To specify this identification we need to define it in urls.py. Go to geeks/urls.py,
Python3
from django.urls import path
from .views import detail_view
urlpatterns = [
path('<id>', detail_view ),
]
|
Let’s create a view and template for the same. In geeks/views.py,
Python3
from django.shortcuts import render
from .models import GeeksModel
def detail_view(request, id):
context ={}
context["data"] = GeeksModel.objects.get(id = id)
return render(request, "detail_view.html", context)
|
Create a template in templates/Detail_view.html,
html
<div class="main">
{{ data.title }}<br/>
{{ data.description }}<br/>
</div>
|
Let’s check what is there on http://localhost:8000/1
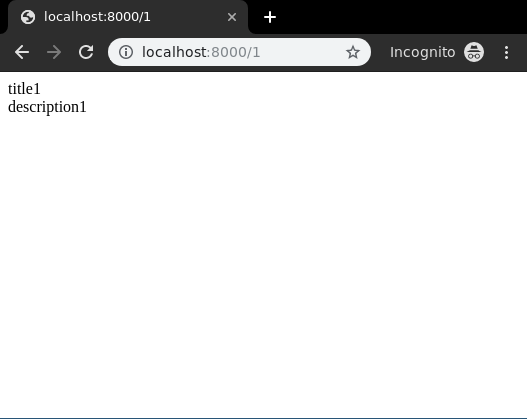
Bingo..!! Detail view is working fine. One can also display selected fields according to type of usage required in multiple forms. Often it is not the id which is used to define the detail view it is the slug. To know more about slug and SlugField visit – Add the slug field inside Django Model
Share your thoughts in the comments
Please Login to comment...