How to Set Up Speech Recognition on Windows?
Last Updated :
22 Mar, 2024
Windows 11 and Windows 10, allow users to control their computer entirely with voice commands, allowing them to navigate, launch applications, dictate text, and perform other tasks. Originally designed for people with disabilities who cannot use a mouse or keyboard.
In this article, We’ll show you How to set up speech recognition on Windows.
What is Speech Recognition?
Speech recognition, also known as speech-to-text, automatic speech recognition (ASR), or computer speech recognition, refers to a machine’s or program’s ability to recognize spoken words and convert them into text.
How To Setup Windows Speech Recognition
To Set up Speech Recognition on Windows, You’ve to follow the given Steps:
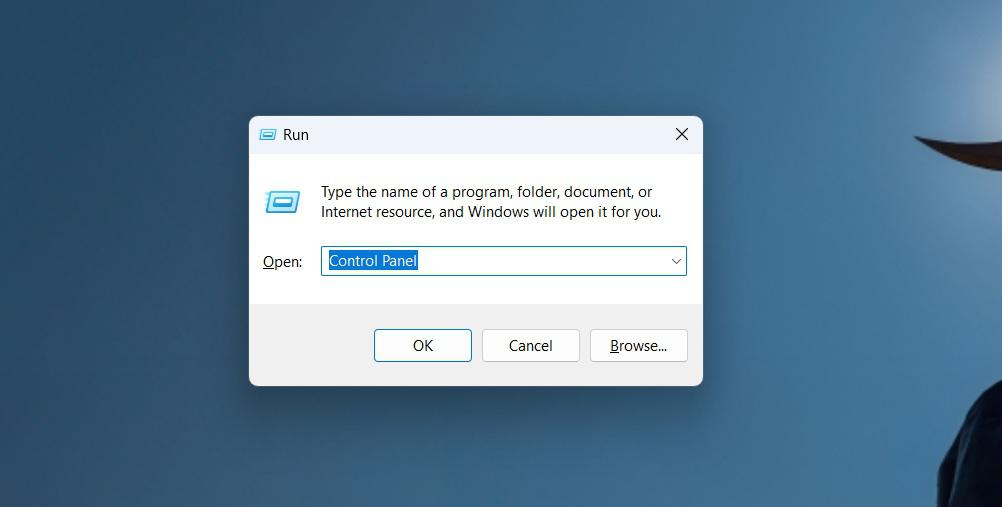
Step 1: Press Windows Key + R then on the run dialog type “Control Panel“
Step 2: Click on “Ease of Access”.
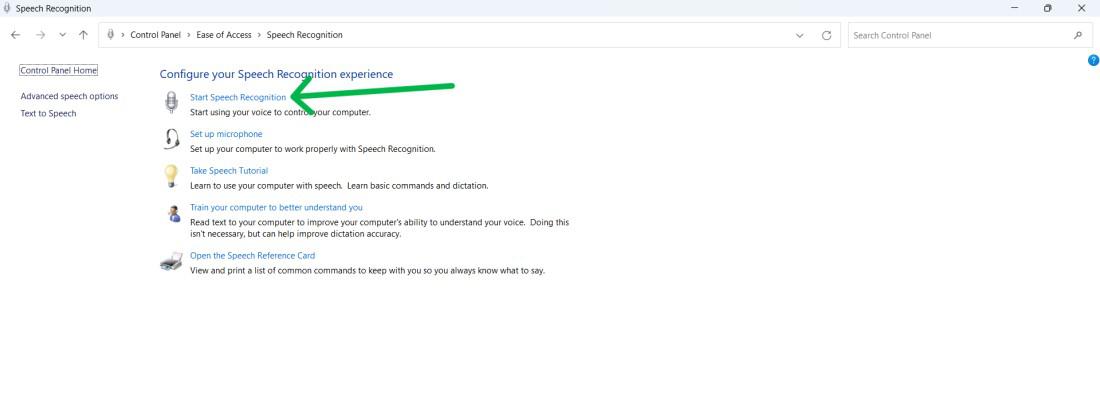
Step 3: Under the “Speech Recognition” section, click on “Start Speech Recognition”.
Step 4: Click on the “Next” button
Step 5: In this step, you will be asked to select the type of microphone you want to use on your system.
- Desktop microphones are not ideal.
- Microsoft recommends headset or array microphones.
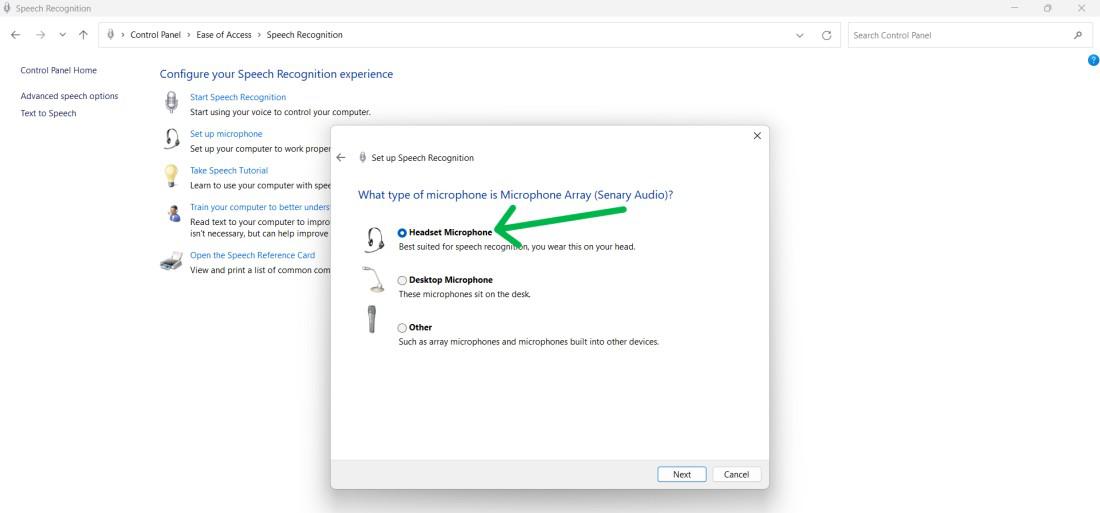
Step 6: To proceed with the setup, click Next after selecting the microphone type.
Step 7: Click on the Next Button again
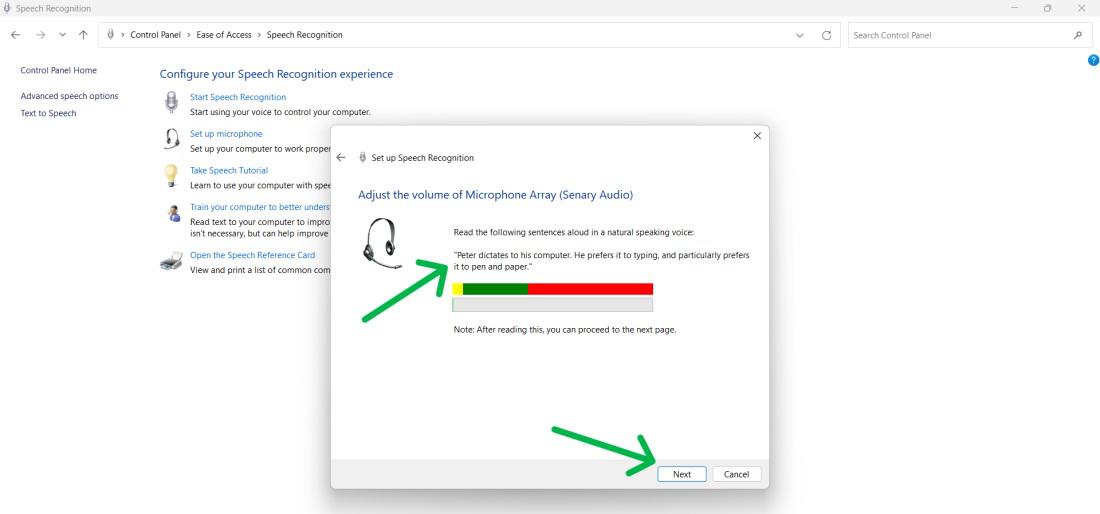
Step 8: To adjust the microphone volume, speak out the sentence “Peter dictates to his computer, preferring it over typing, and particularly pen and paper.” The Next button will activate after reading the sentences out loud, allowing you to proceed.
Step 9: Click Next.
Step 10: Click Next again.
Step 11: Click Next.
Step 12: Click Next again.
Step 13: Speech Recognition enhances document and email accuracy by analyzing user words. Privacy concerns can be addressed by enabling or disabling document review.
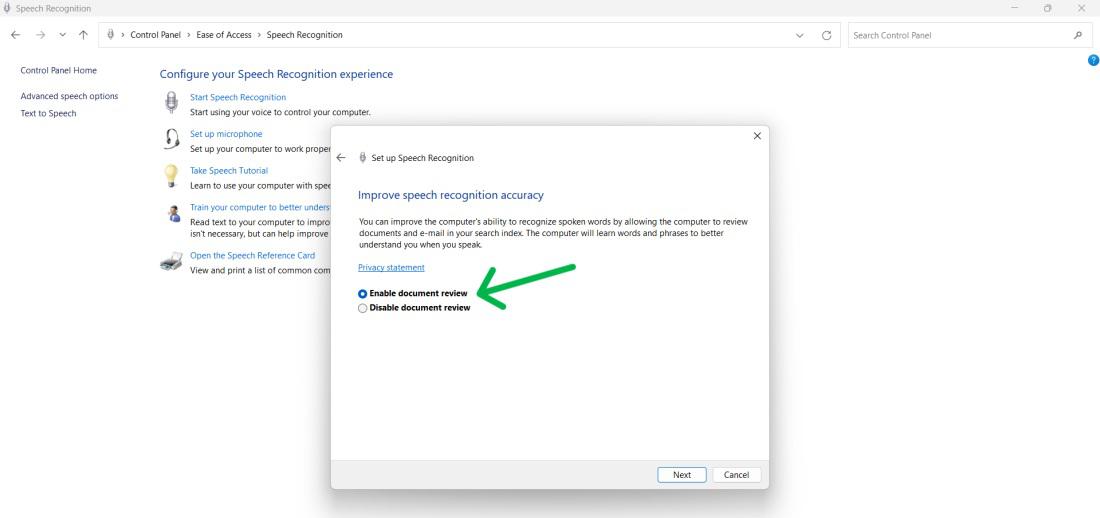
Step 14: Click Next
Step 15: Voice recognition can be enabled using one of two activation modes.
- You can select either manual or voice activation mode.
Step 16: Click Next.
Step 17: Click the View Reference Sheet button
Step 18: Click Next.
Step 19: To run speech recognition at the start-up, then check the “Run Speech Recognition at start-up” box as shown below.
Step 20: Click Next
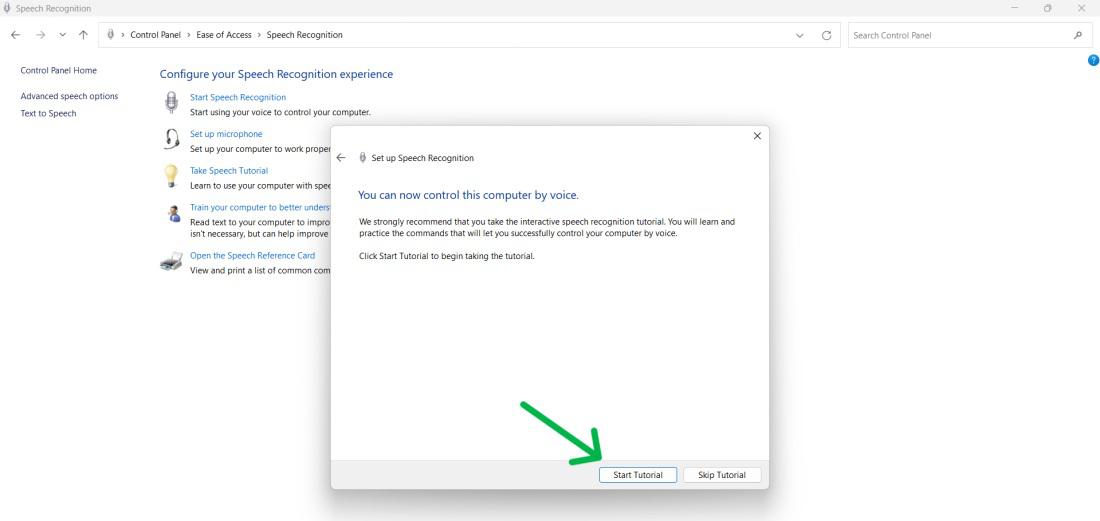
Step 21:
- Start tutorial for feature demonstration.
- Click on Skip tutorial for setup completion.
By following above steps, you will be able able to Set up speech recognition on your laptop/Computer with ease.
How to train Speech Recognition to Improve Accuracy?
To Train and Set up Speech Recognition following steps need to be implemented.
Step 1: Press Windows Key + R then on the run dialog type “Control Panel“
Step 2: Click on “Ease of Access”.
Step 3: Click on the “Train your computer to better understand you” option under the “Speech Recognition” section.

Step 4: Click Next
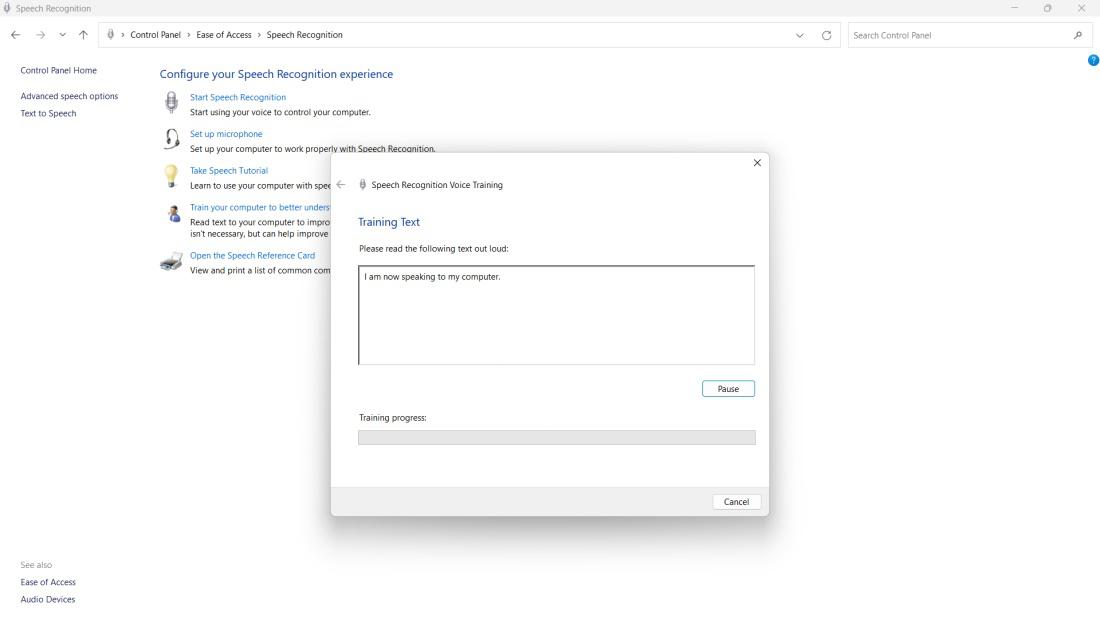
After training, Speech Recognition deepens its understanding of your voice
How To Change Speech Recognition Settings?
Step 1: Open the Control Panel by searching and selecting it.
Step 2: Click “Ease of Access.“
Step 3: Click on Speech Recognition.
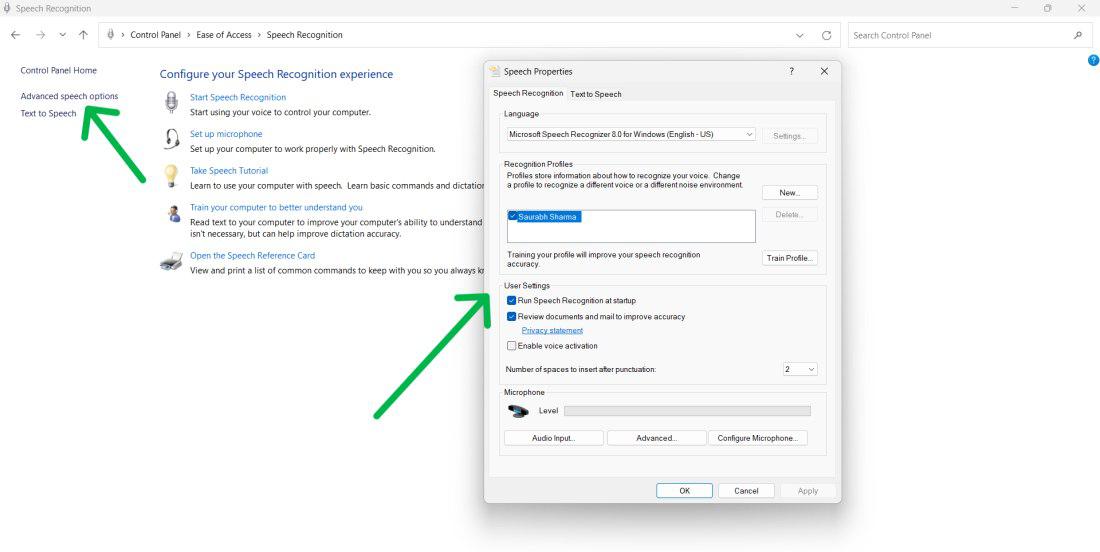
Step 4: Click the Advanced speech from the left side pane
Step 5: In “Speech Properties,” you can customize things like
- Language
- Recognition profiles
- User settings
- Microphone
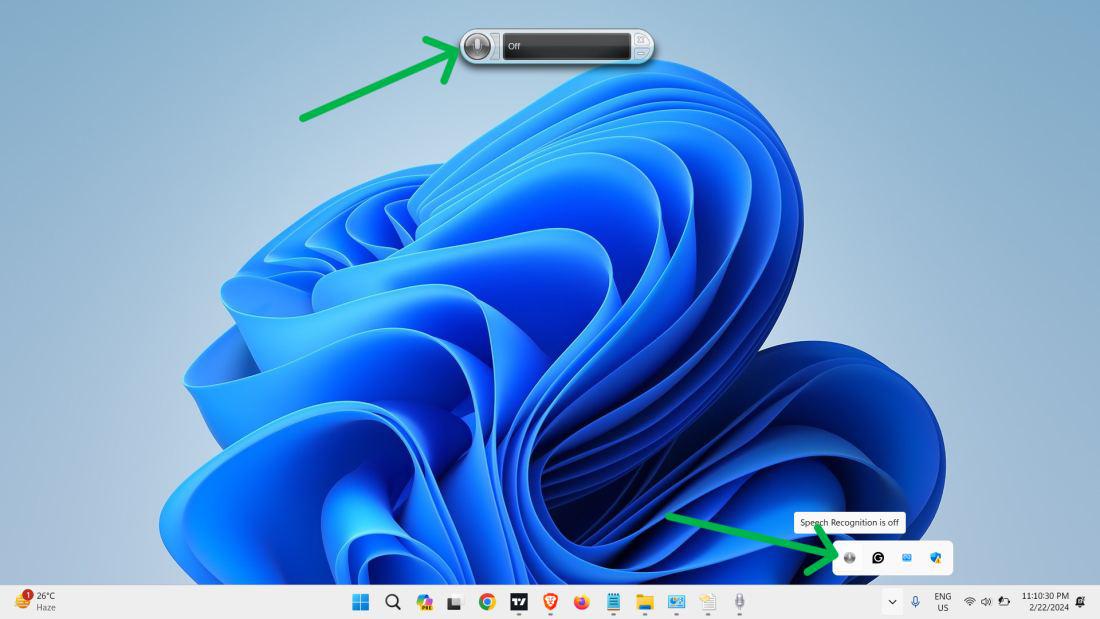
How To Use Speech Recognition In Windows?
Using Speech Recognition in Windows is simple once you’ve set it up:
Step 1: Click on the system tray on the taskbar
Step 2: Click on the microphone icon to open the Speech Recognition settings menu.
Quick Solution!
Here is a quick solution for our active and speedy learners. Follow these steps to set up speech recognition on Windows 11/10:
- Open Control Panel.
- Click “Ease of Access.“
- Start Speech Recognition.
- Follow prompts to select microphone type, adjust volume, and configure privacy settings.
- Choose activation mode.
- Click on the View reference sheet.
- Opt to run at startup.
- Start tutorial or skip for setup completion.
Conclusion
In conclusion, Use your voice to control your computer with the powerful tool of speech recognition. Dictate text, launch apps, navigate menus, and perform tasks easily. Set up speech recognition, train it, and customize it on Windows 11 to meet your needs and preferences. And this is how You can set up Speech Recognition on Windows PC.
Set up Speech Recognition on Windows – FAQs
How do I turn on Speech Recognition on Windows?
Here are the steps to turn on Speech Recognition on Windows.
- Press Windows Key + R, type “Control Panel”, and press Enter.
- Click “Ease of Access”.
- Select “Start Speech Recognition“.
- Choose your microphone.
- Adjust microphone volume.
- Follow the setup steps.
- Set privacy preferences.
- Pick activation mode.
- Check reference sheet.
- Decide if you want it to start with your PC.
- Start tutorial or finish setup.
How Do I Add Language Speech Recognition To Windows 10?
To add or change language for speech recognition in Windows follow these steps:
- Step 1: Open the Control Panel by searching and selecting it.
- Step 2: Click “Ease of Access.”
- Step 3: Click on Speech Recognition.
- Step 4: Click the Advanced speech from the left side pane
- Step 5: In “Speech Properties,” from the Language dropdown you can select any language
How Do I Use Windows Speech Recognition In Word?
To use speech recognition in MS Word follow these steps:
Open a new document in Microsoft Word on Office 365. Click ‘Home’, then ‘Dictate’ twice to turn on voice typing. Click the microphone icon to start and stop recording, and allow access to the microphone when asked. Speak your text, using punctuation commands for precision.
What Is The Difference Between Windows Dictation And Speech Recognition?
Windows Dictation, a recent addition, turns speech into text, ideal for dictation in apps like Word. It navigates text with voice commands and uses online recognition for accuracy and speed. The older Speech Recognition feature executes commands, launches apps, and navigates menus using voice control.
Share your thoughts in the comments
Please Login to comment...