If you have accessed Discord then you can notice that as soon as one can join any server, there is instant welcome to you. How is it possible? It is made possible by the help of BOTS which are made to perform specific tasks in the discord server. In this article, we know how to make our own discord bot, like if someone says “Hi !” then there is an automatic answer “Hello”.
What is Discord?
Discord is a real-time messaging platform with large support for programmable bots that are used for various tasks. Bots are present on Discord and provide a wide range of services, like music, games, moderation assistance, internet searches, payment processing, and many more.
People can create communities that are referred to as servers in Discord and other people from all around the world can join these servers to connect with new people and talk about their interests. Discord has also the functionality of private servers for close ones to have their personal talks.
What are Discord Bots?
Bots are artificial intelligence that is basically made to perform several useful tasks automatically on a discord server. Discord is a group messaging platform where we can make servers and add many users. Bots are used to perform tasks like banning those who are troublemakers, welcoming new members, and moderating the discussion. Some bots are even authorized to add music and games to the Discord server.
How to Integrate a pre-programmed Discord Bot
There are many pre-programmed bots out there and it’s better to use if not a skilled programmer. One can find a variety of bots on the internet like- music player bots, etc.
To use a pre-programmed Discord bot, we have to take the following steps:
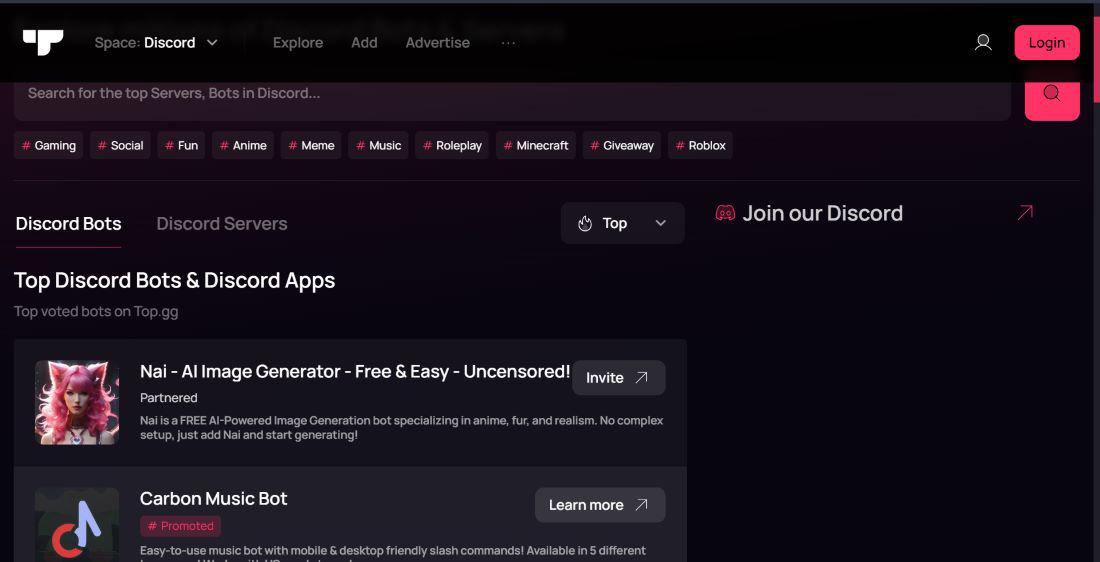
Step 1: Find a Discord Bot Website
Find a website that has bot lists like ” top.gg ” and select a bot according to the requirement and then you are redirected to bot’s website. One can go directly to bot’s website if they know about its official website.
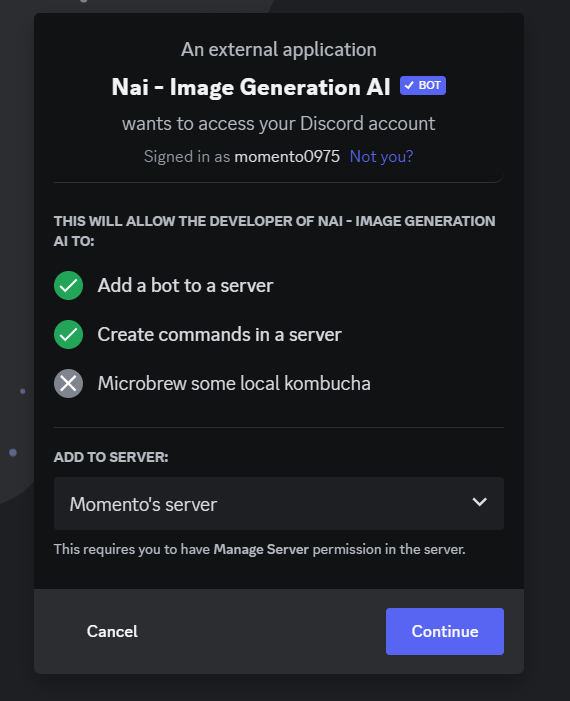
Step 2: Click on the Invite Button
Click on “Invite” on the webpage of the bot to invite the Discord bot to your server of Discord.
Step 3: Login Your Discord Account
Login to your Discord application.
Step 4: Click on Continue
At this point, you can choose the server that you want to add the Discord bot, a window should open. Grant the bot the necessary permissions.
Step 5: Start Using Bot in your Discord Server with Commands
The bot will then appear as a user in your channel. You can usually read about the bot’s features and commands in the bot instructions or using the command “.help”.
How to build a simple Discord bot using Node.js
- It is made using the library “discord.js” in node.
- It can be learn from the article using node.js : Discord using Node.js
How to Create a bot using Python
Note: It is good to have basic knowledge of Python Language as we are going to code in it: Python Tutorial
Step 1: Creating a discord application
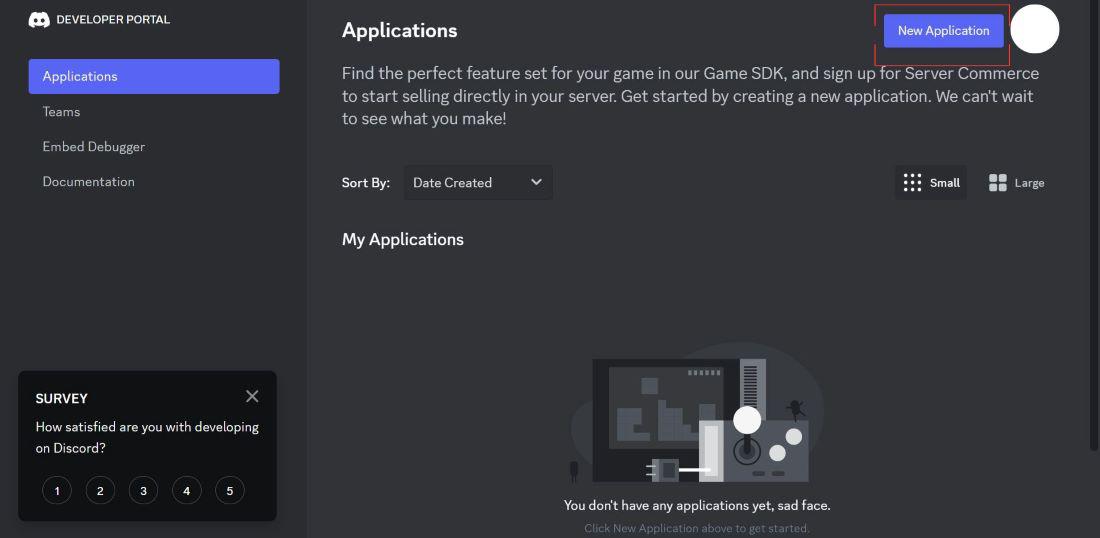
This is the first step to make bot in Discord and we are required to make “Discord Application”. It is necessary as it holds a bot. It is accessed on Discord. One should have a Discord account and if not then it should be created initially. It is freely available, download it from its official website.
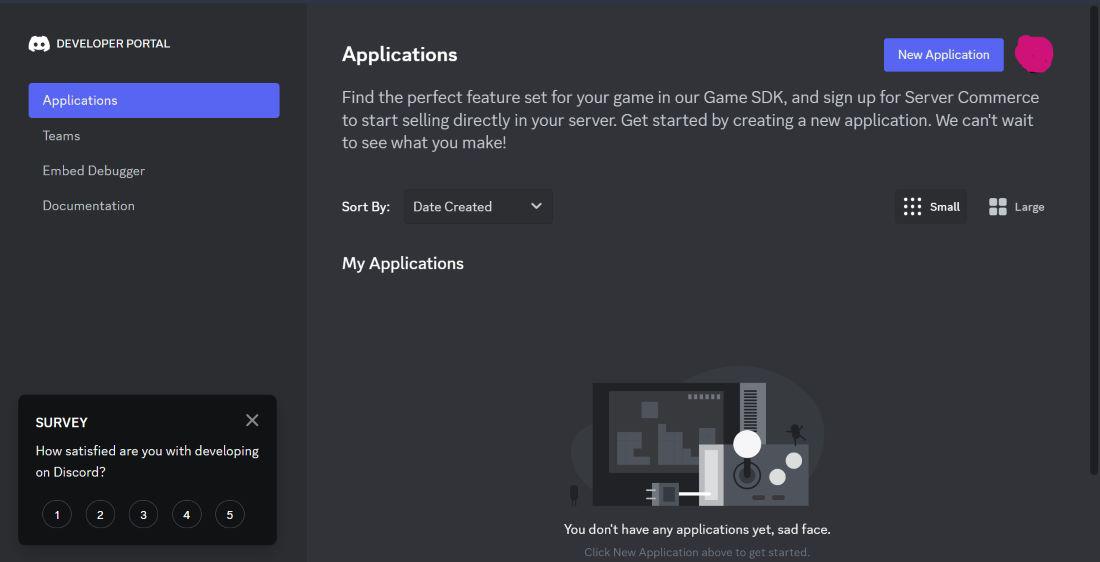
interface of developer portal of Discord
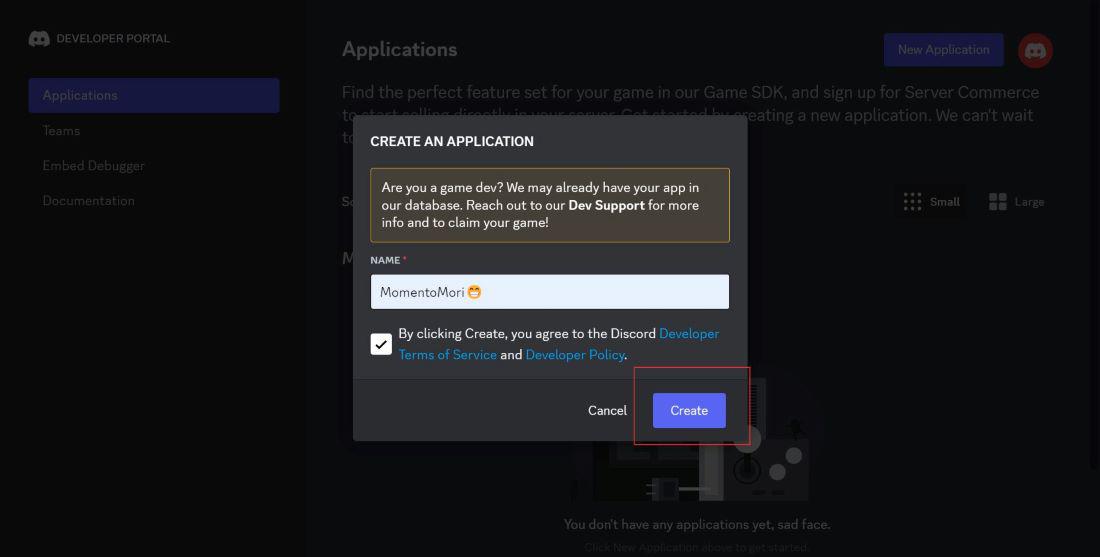
Click on the button shown on screen as “New Application”.
Then it is prompted to name the application or bot. You can give any name you want as here I named it as “MomentoMori”. Click on checkbox after reading terms and conditions and then click on “Create” button.
application is made here
Step 2: Creating bot in discord application
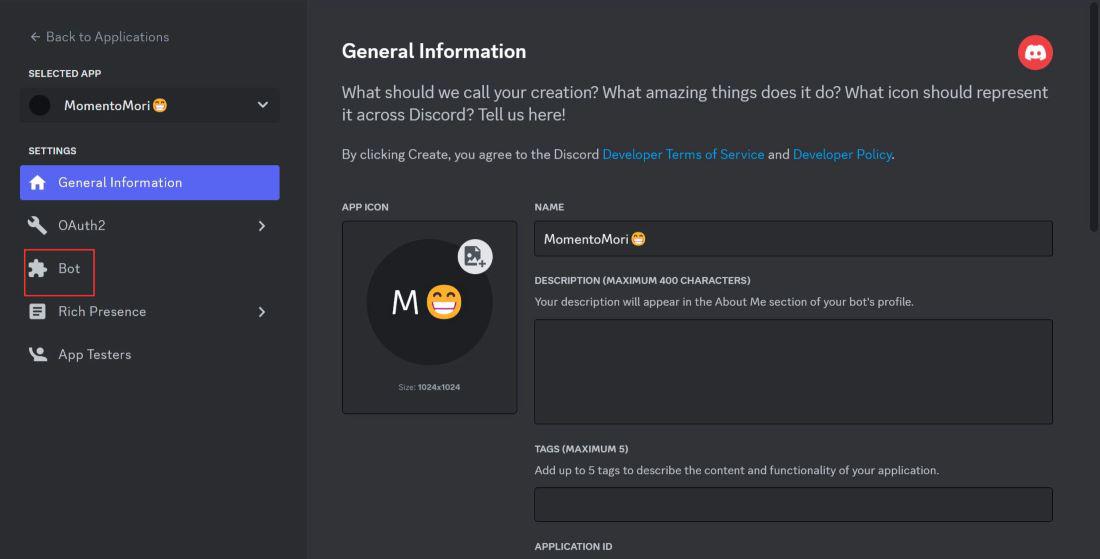
Once application is made, there is a interface as given below and click on “Bot” :
steps to make bot
There’s a lot of setting here, but we will look only of “Bot” on the left side of screen. Click on the “Bot” option. Select the “Reset Token” option.
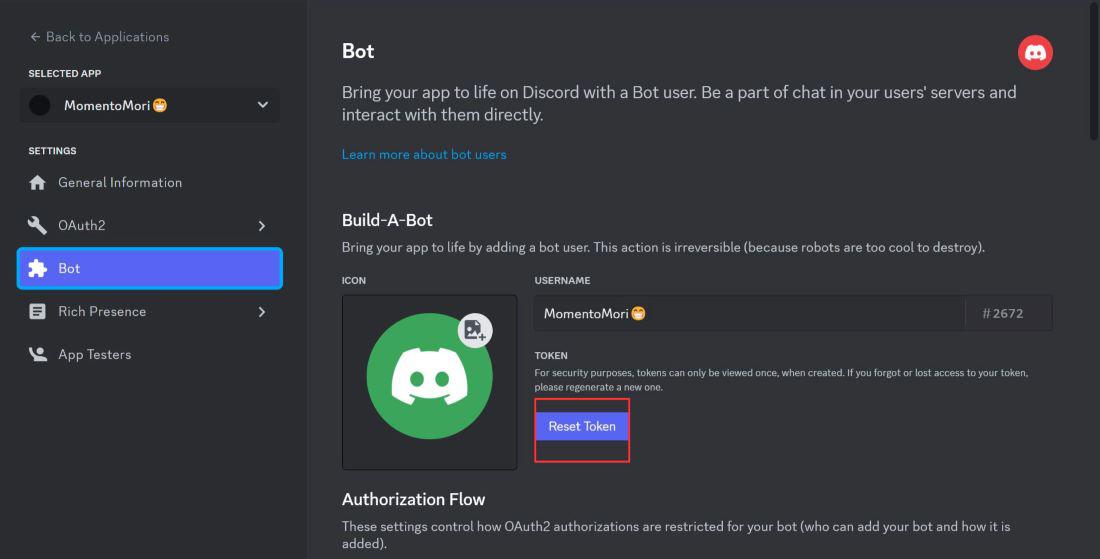
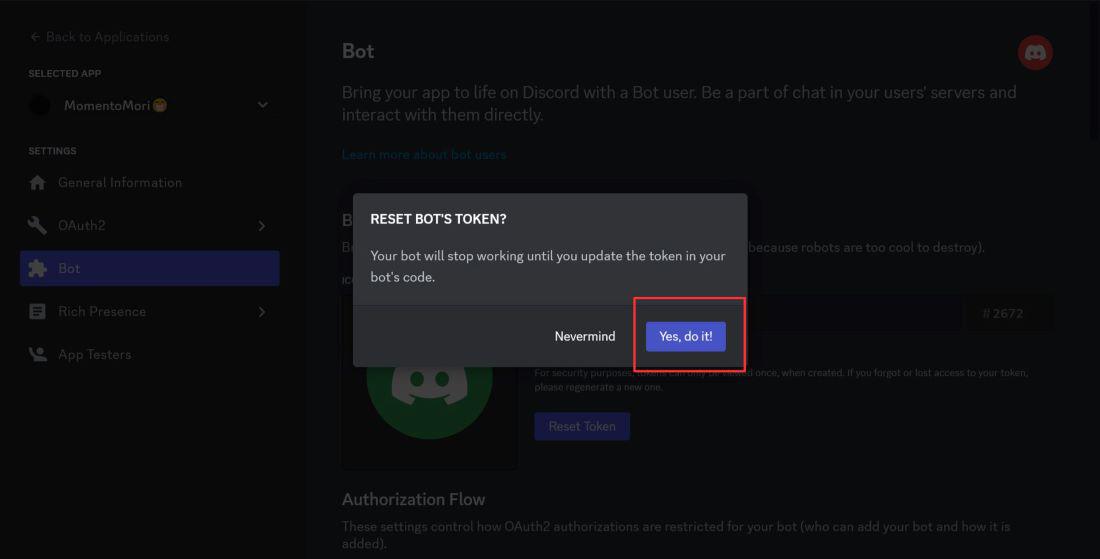
reset your token
Now,hit on “Yes, do it!” .
And hurray! your bot has been created and attached to the application. We are going to make a brand new Discord server, or “guild” , so that we can add the bot in it. Now it’s time to create a Discord server, guild .
Step 3: Creating a Discord Server (guild)
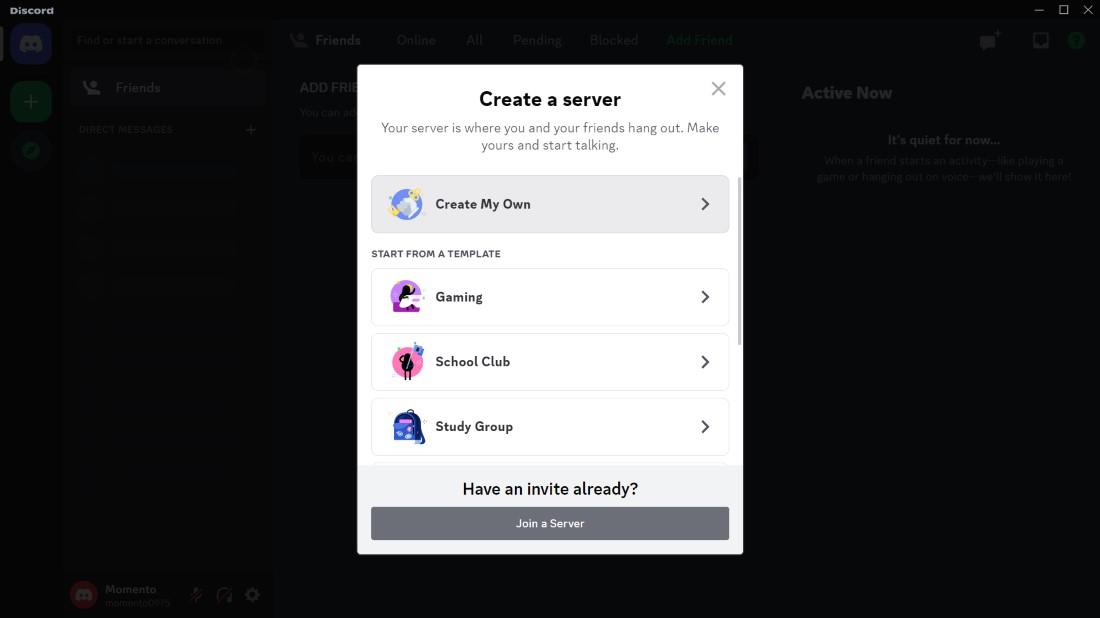
As, we have created bot and its running, we are required to create a new server so that we have sandbox for bot. It’s simple to create a Discord server as just click on the “+” plus button on the left side of Discord application.
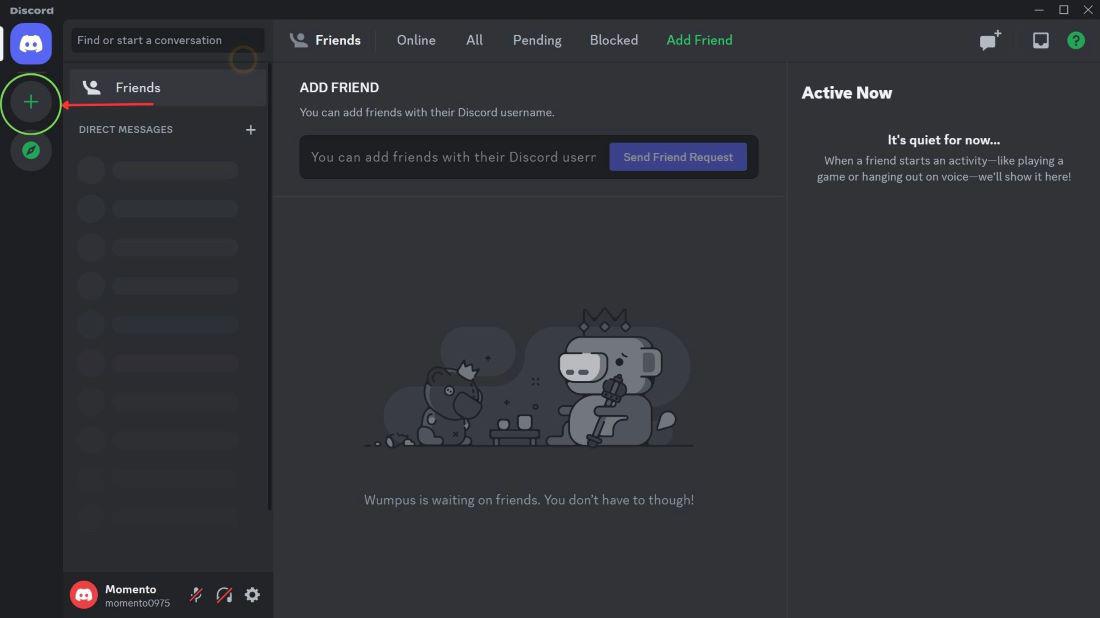
creation of server
Now we have to choose option according to our needs. Here, we are going to choose “Create My Own” option.
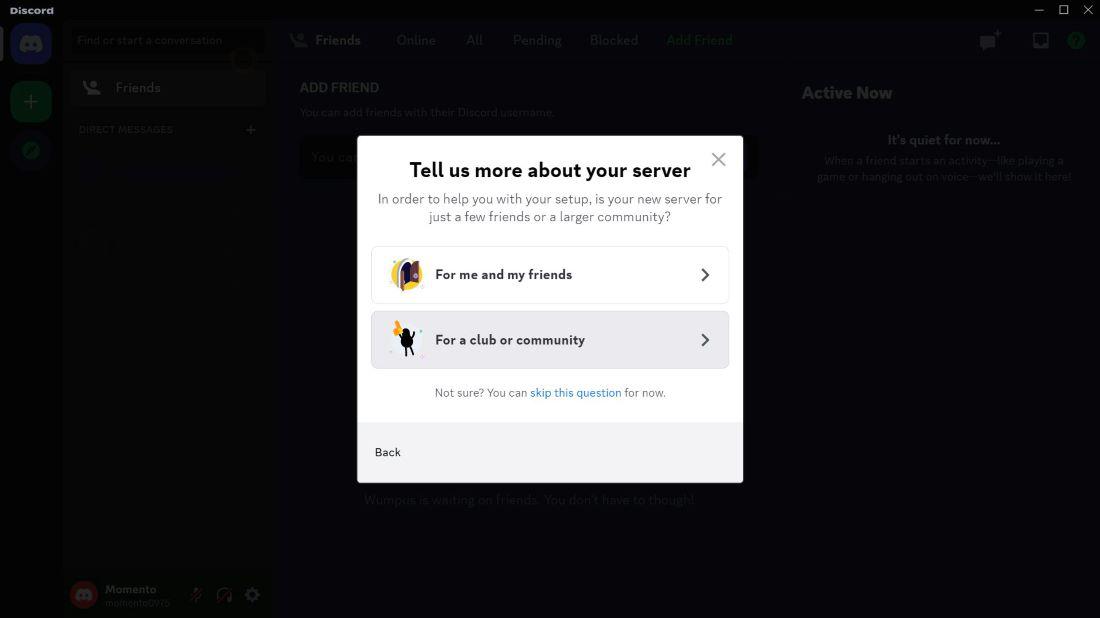
Next we have to choose about what type of server is it whether for club or friends. Here, we are going to choose the option “for a club or community”.
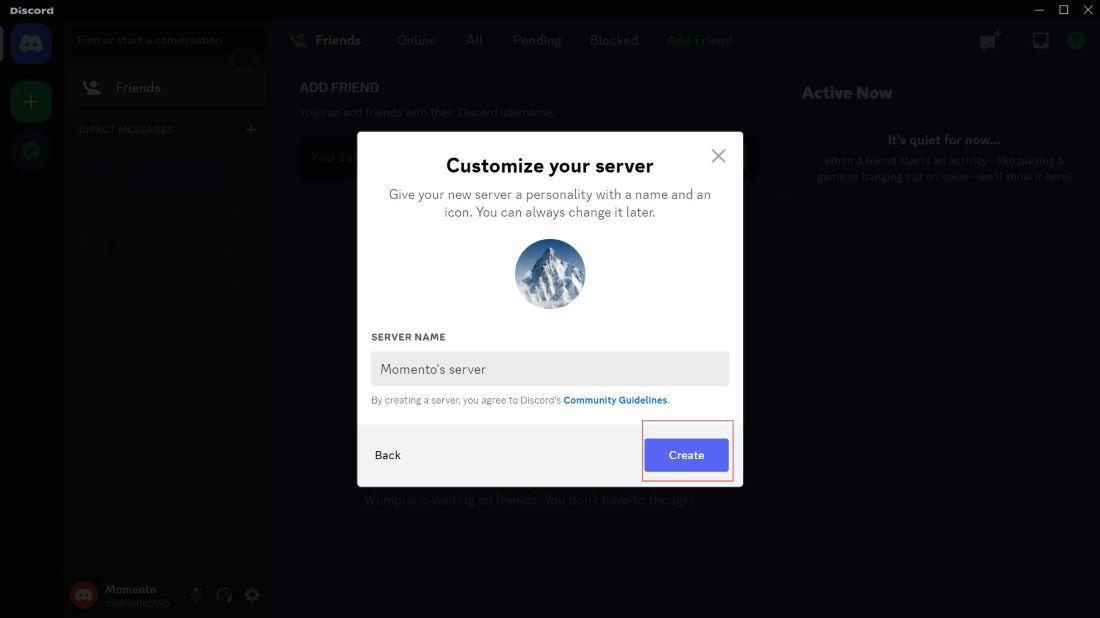
After that its main part as we have to name our server, so that it is visible to others. Here, it is named as “Momento’s server”and then click on “Create”.
Finally our server is available and you can add members in it . Until now, our bot is not added in Server, so now we will add bot to Server.

server is made
Step 4: Adding bot into server
Previously, we have made bot and server but they are not connected with each other. So it’s time to add bot into server.
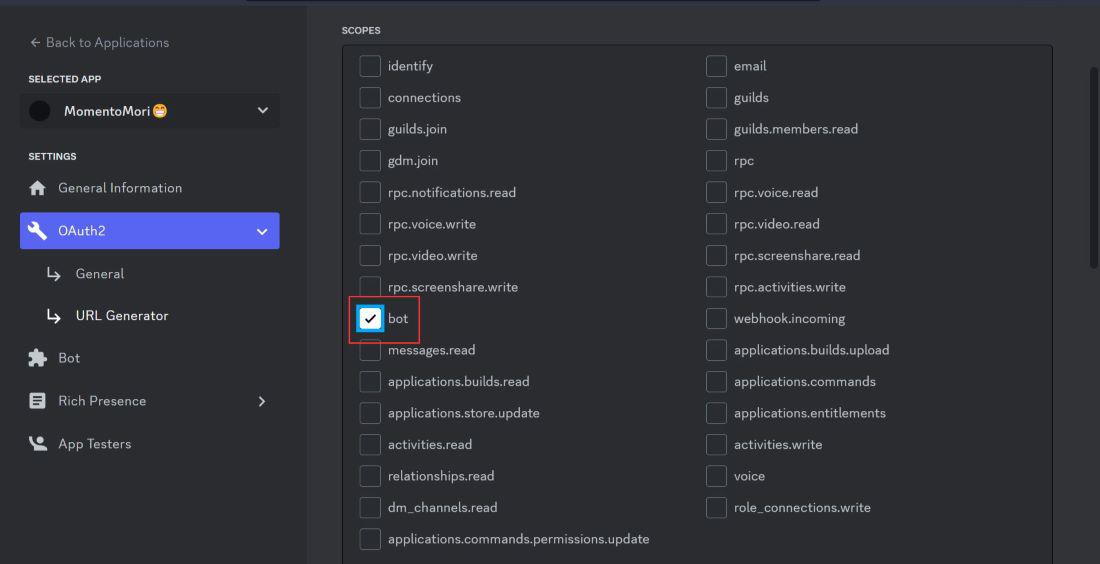
- We have to go to the “OAuth2” section in our Discord application.
- There are many options on the screen and we are focussed more mainly on “bot” and select it as given below.
link is generated
After selecting the “bot” option there is a URL appear like :
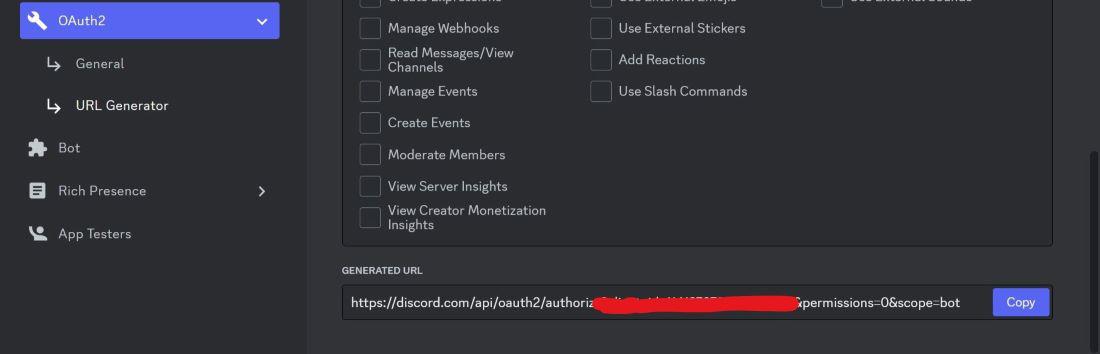
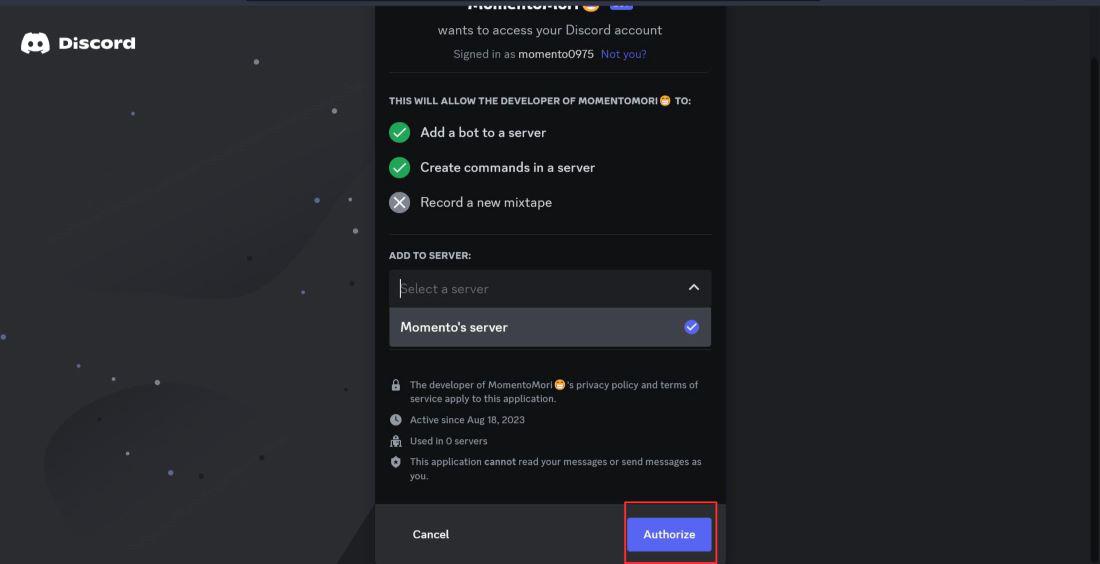
We have to copy that generated URL to any browser like- Chrome, Brave or any other browser. This generated link allows bot to connect any server using OAuth2. When we enter this URL, we have a interface like given below. After selecting the server, click on “Authorize” button. This will add the bot into our server.
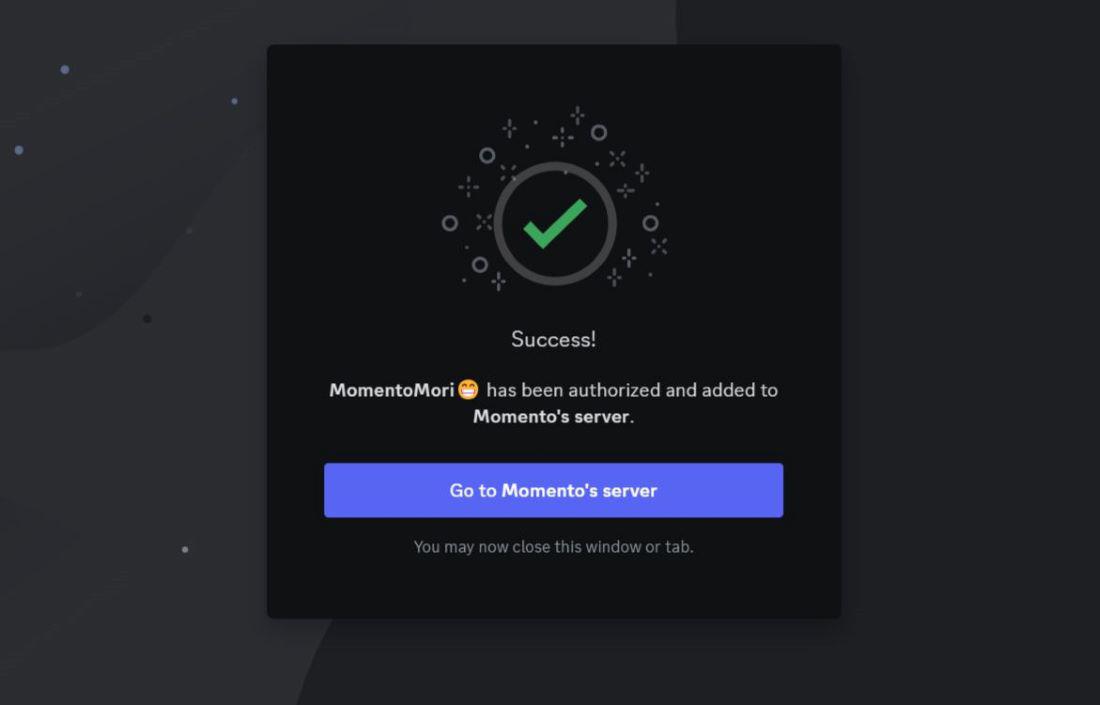
Now, a screen is showing that our bot is connected to server successfully.
A message will shown up in the server which indicates that the bot has joined the server :

That’s how a bot is added to server. And it is also visible in the right side where all member list is shown.
Now, our task is to make bot online and working.
Step 5: Installing discord.py library
- It is an easily usuable, efficient, feature-rich, and async ready API wrapper for Discord application.
- Modern Pythonic API using async and await.
- handle properly rate limit.
- speed and memory both are optimised.
There are many other libraries also but discord.py is most popular. Python and pip should be installed already in your device and then simply type the following code into your terminal.
pip install discord.py
It will download and install some required files so that discord.py works properly. And once you have done this step, discord.py is successfully installed and ready to use.

Step 6: Writing code for bot
Now it’s time to make our bot in working state. Use any code editor to run the python code, we are using VS Code here. Make any folder and have a structure of files, name one file as “main.py” and other as “.env” as given below :
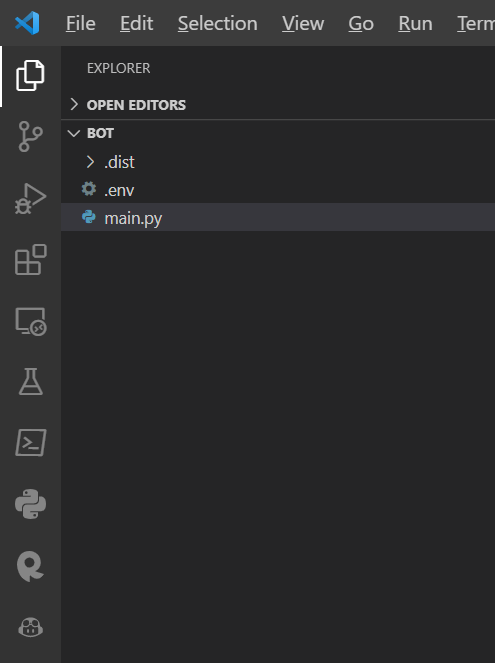
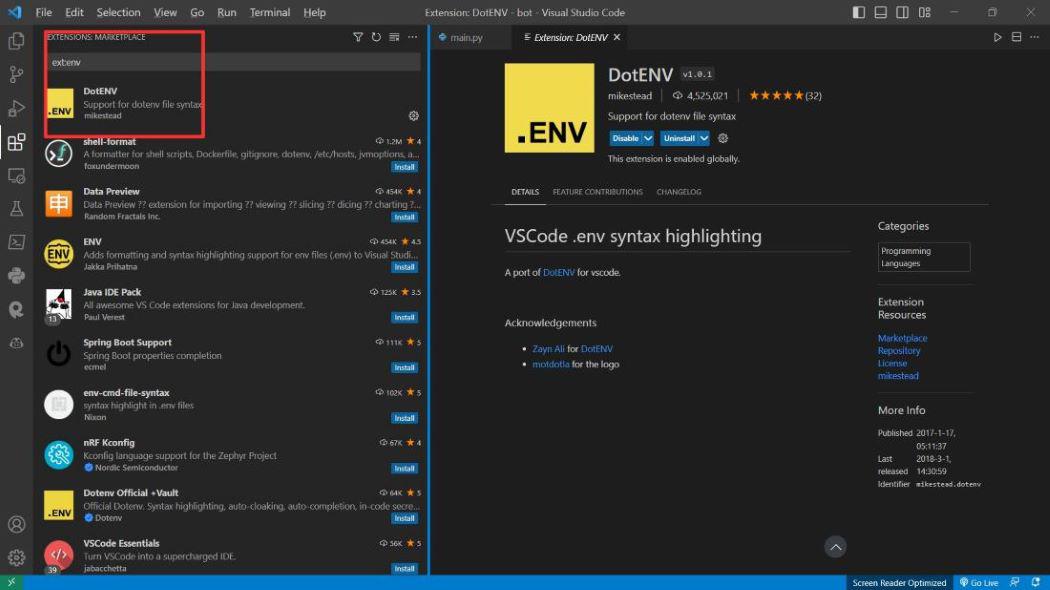
It’s important to keep “main.py” and “.env” at same level in folder. You can use any name for files. To use .env files properly, install extension “DotENV” in VS Code :
To store the copied token of bot from Discord application in hidden files by help of python-dotenv, so that we can secure our token. Run the command in terminal to install python-dotenv:
pip install python-dotenv
This will install python-dotenv on our machine. This will allow us to use .env file to store our token of discord bot to make token not visible to others and increases the privacy.
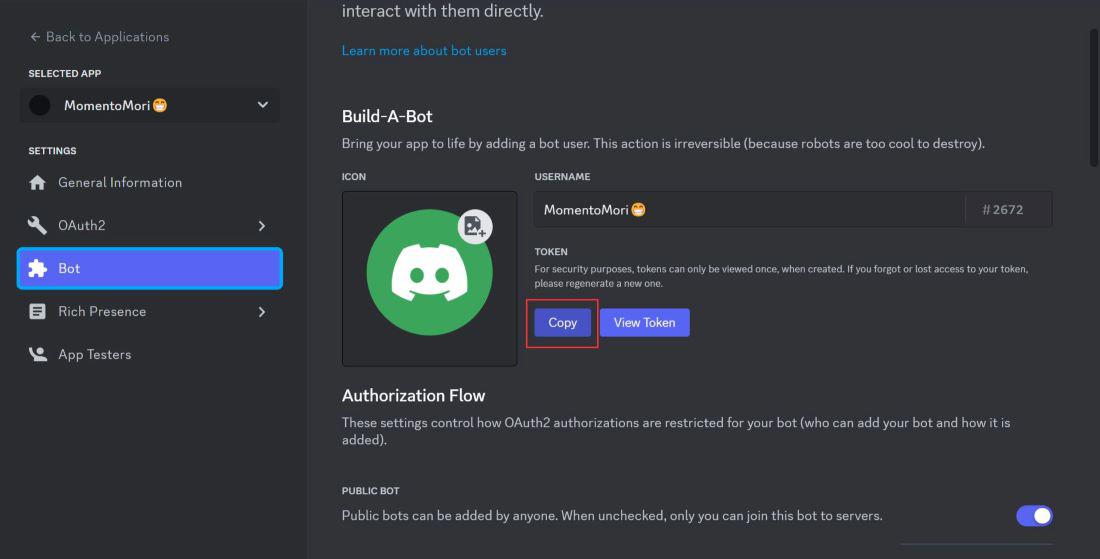
- Now, we have to copy our token from discord application. So go to the discord application and then go to Bot section.
- Click on “Copy” button and you have copied your token.
- Don’t share your token as anyone can misuse it.
Now, paste the given code in the .env file in VS Code as :
DISCORD_TOKEN="paste the copied token here"
We have our token inside this .env file and our main.py can retrieve this address by adding these lines in main.py :
# Import the os module.
import os
# Import load_dotenv function from dotenv module.
from dotenv import load_dotenv
# Loads the .env file that lies on the same level as the main.py.
load_dotenv()
# Grab the token as string from the .env file.
DISCORD_TOKEN = os.getenv("DISCORD_TOKEN")
To run the bot, we have to add these lines in our main.py
# It will executes the bot with the specified token.
bot.run(DISCORD_TOKEN)
The final sample code for main.py is :
Python
import discord
import os
from dotenv import load_dotenv
load_dotenv()
DISCORD_TOKEN = os.getenv("DISCORD_TOKEN")
bot = discord.Client(intents=discord.Intents.default())
@bot.event
async def on_ready():
guild_count = 0
for guild in bot.guilds:
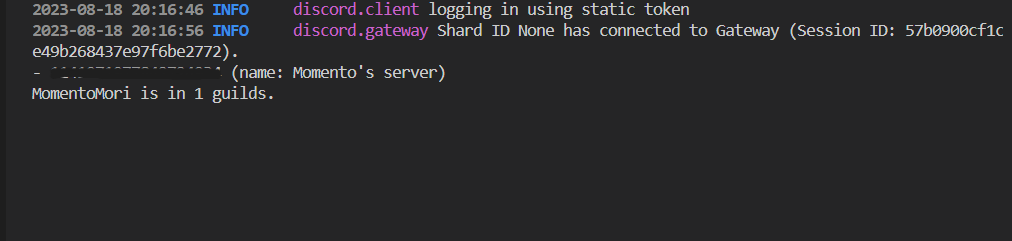
print(f"- {guild.id} (name: {guild.name})")
guild_count = guild_count + 1
print("MomentoMori is in " + str(guild_count) + " guilds.")
async def on_message(message):
if message.content == "hello":
await message.channel.send("hey GFG user")
elif message.content == "you":
await message.channel.send("i am also good")
bot.run(DISCORD_TOKEN)
|
Now hit on “Run Command” and if it is running alright then there is output as given below and it also shows the names of server to which our bot is connected :
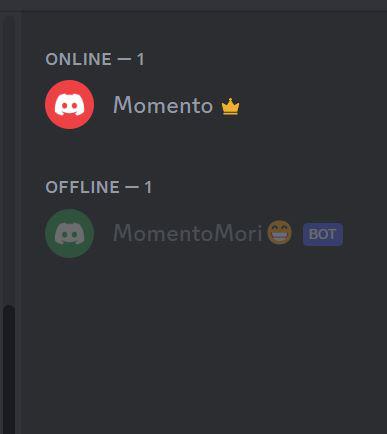
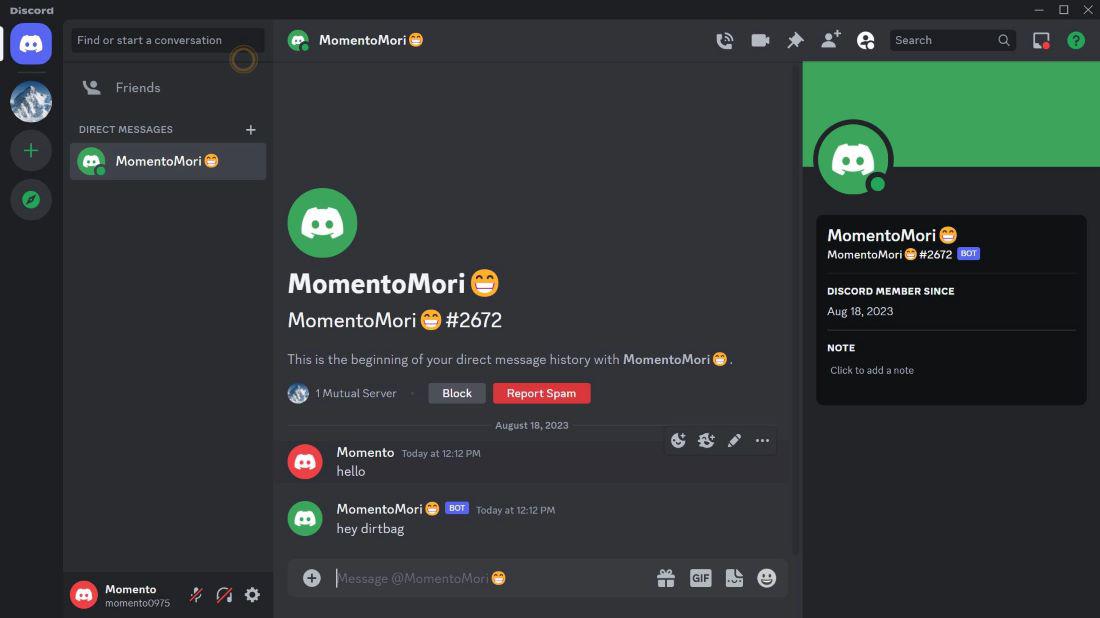
Now, bot is online at our server and it will look like :
Congratulations, we have made our first discord bot in python.
If you write “hello” it will reply with “hey GfG User”.
Conclusion
This is a basic example to create a bot using discord.py library. One can add any other functionalities to make more convenient bot by adding more efficient Python code. Some ideas are to make music bot, welcome bot, etc.
FAQ’s
What is Discord?
Discord is a real-time messaging platform with large support for programmable bots that are used for various tasks.
Are bots are legal or illegal?
If it is an account not being controlled by a bot, then yes, it is legal as If it is a discord bot that has the little title “bot” in blue next to it’s name, its perfectly OK. But if it is an account being controlled by bot then it is illegal.
Share your thoughts in the comments
Please Login to comment...