How to install Python Pycharm on Windows?
Last Updated :
11 Oct, 2023
Python is a programming language that lets you work quickly and integrate systems more efficiently. We need to have an interpreter to interpret and run our programs. There are certain online interpreters like GFG-IDE, IDEONE CodePad, etc. Running Python codes on an offline interpreter is much more compatible than using an online IDE. In this article, we will learn How to install Python Pycharm on Windows.
PyCharm is one of the most popular Python-IDE developed by JetBrains and used for performing scripting in Python language. PyCharm provides some very useful features like Code completion and inspection, Debugging process, support for various programming frameworks such as Flask and Django, Package Management, etc. PyCharm provides various tools for productive development in Python.
How to install Python IDE?
Before, starting with the process of Installing Python IDE PyCharm in Windows, one must ensure that Python is installed on their system. To check if the system is equipped with Python, go to the Command line(search for cmd in the Run dialog( window button + R).
Now run the following command on cmd:
python --version
If Python is already installed, it will generate a message with the Python version available.

If Python is not present, go through How to install Python on Windows? and follow the instructions provided.
How to Install Pycharm?
Here is a process to download Pycharm :
Step 1) Go to website official website of Jetbrains https://www.jetbrains.com/pycharm/download/ and click on the “DOWNLOAD” link of the Community section.

Step 2) After clicking on Download Click on Next

Step 3) After Click on Next , You need to choose the destination folder according to your choice.

Step 4) Choose options of installation according to your choice.

Step 5) Choose JetBrains and Click on “Install”.

Step 6) Let the installation finished.

Step 7) After Installation completed , It will show that Pycharm is installed successfully , then click on “I want to manually reboot later”. Click on Finish and then the process is completed. 
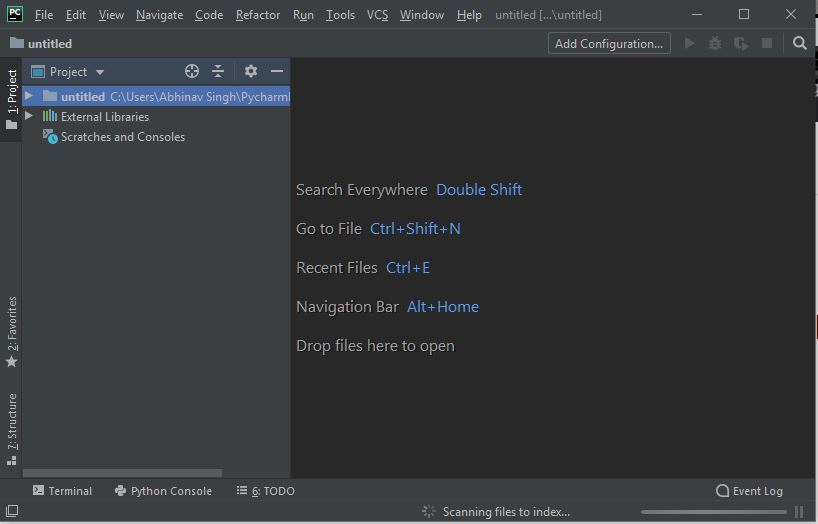
Getting Started with PyCharm
Once the Installation is over, PyCharm can be searched and started from the Start Menu. Follow the steps given below to do the same:
- Searching from Start Menu:

- Getting done with License Agreement:

- Setting UI Theme:

- Downloading Plugins:

- Get Started with PyCharm:
Like Article
Suggest improvement
Share your thoughts in the comments
Please Login to comment...