Create a new Django project in Pycharm using Pycharm Terminal
Last Updated :
06 Jun, 2022
PyCharm is one of the most popular Python-IDE developed by JetBrains used for performing scripting in Python language. PyCharm provides many useful features like Code completion and inspection, Debugging process, support for various programming frameworks such as Flask and Django, Package Management, etc. PyCharm provides various tools for productive development mainly in Python.
Django is a Python-based web framework which allows you to quickly create web application without all of the installation or dependency problems that you normally will find with other frameworks. It is very scalable.
Let’s Start Creating a new Django Project in PyCharm using Pycharm Terminal.
Step By Step Implementation
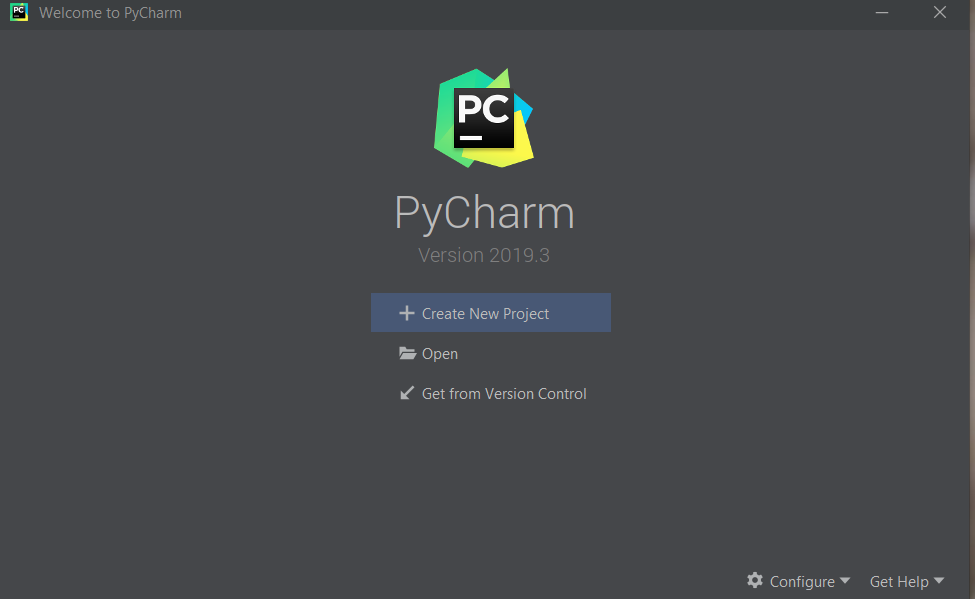
Step 1: Open Your PyCharm and Click on Create New Project.
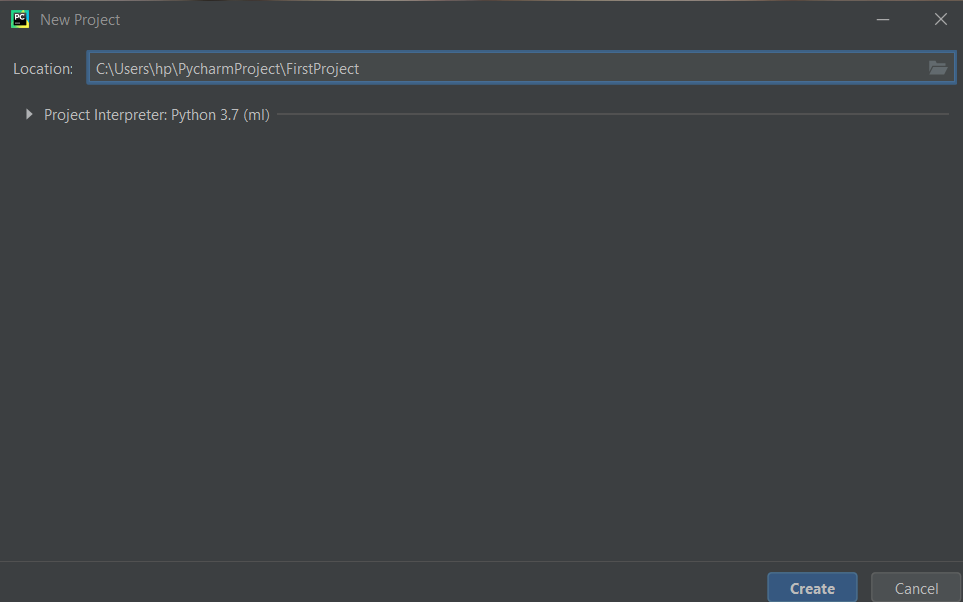
Step 2: Select Your Directory and then give a name to your project and then Click on Create.
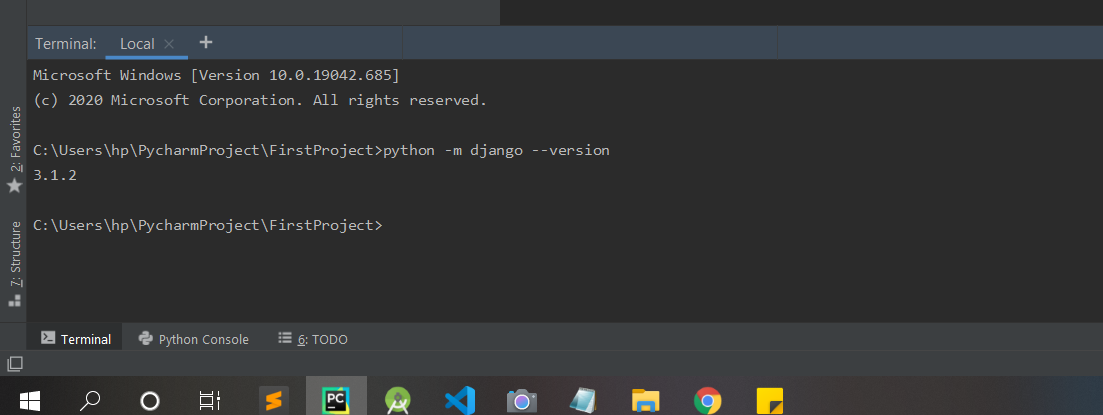
Step 3 : Then Check if Django is installed or not in your Computer.
Type the following Command in pycharm Terminal located at Bottom Left.:
python -m django --version
If it is Already installed then you will see the Django version installed in Your Computer. If not Then You can refer to Django Introduction and Installation.
Step 4: Start a project by using following command-
django-admin startproject firstproject
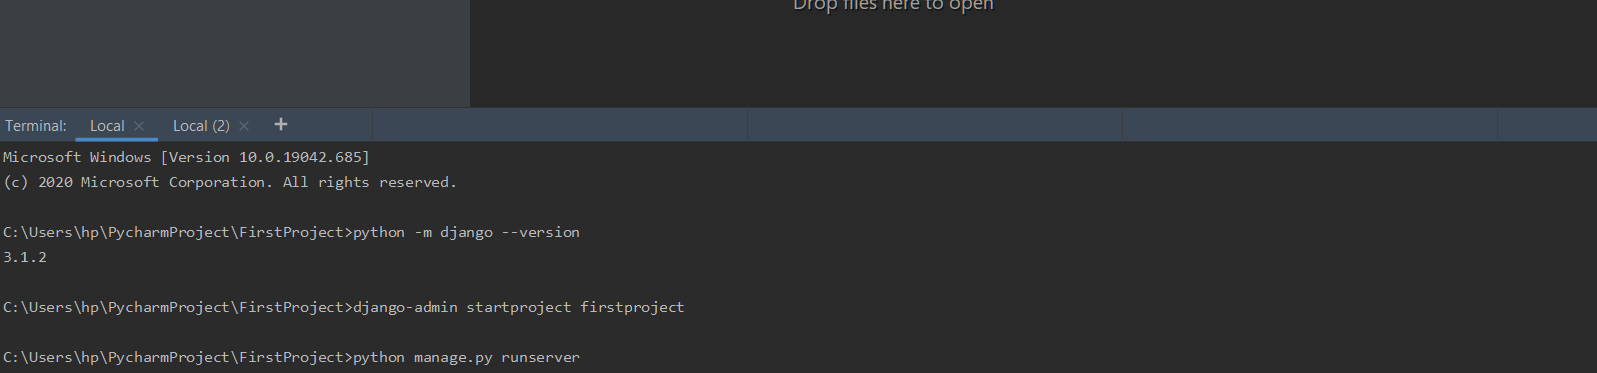
Step 5: Change directory to firstproject.
cd firstproject
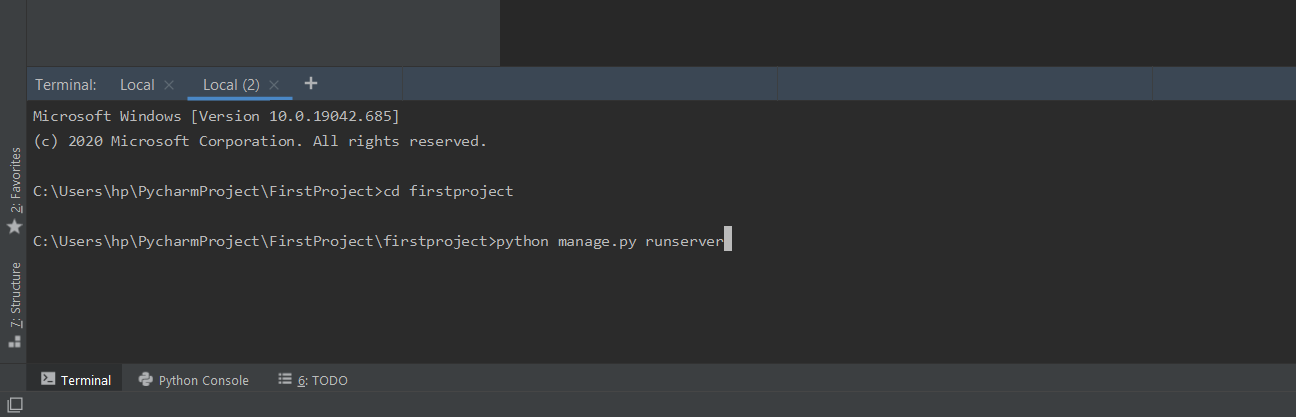
Step 6: Start the server by typing following command in cmd–
python manage.py runserver
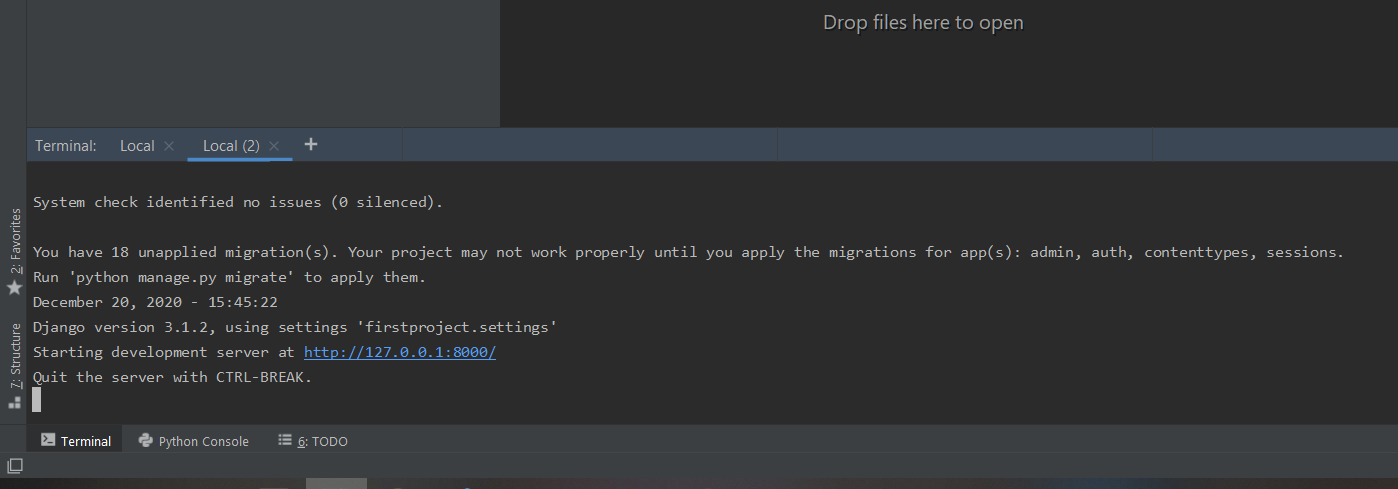
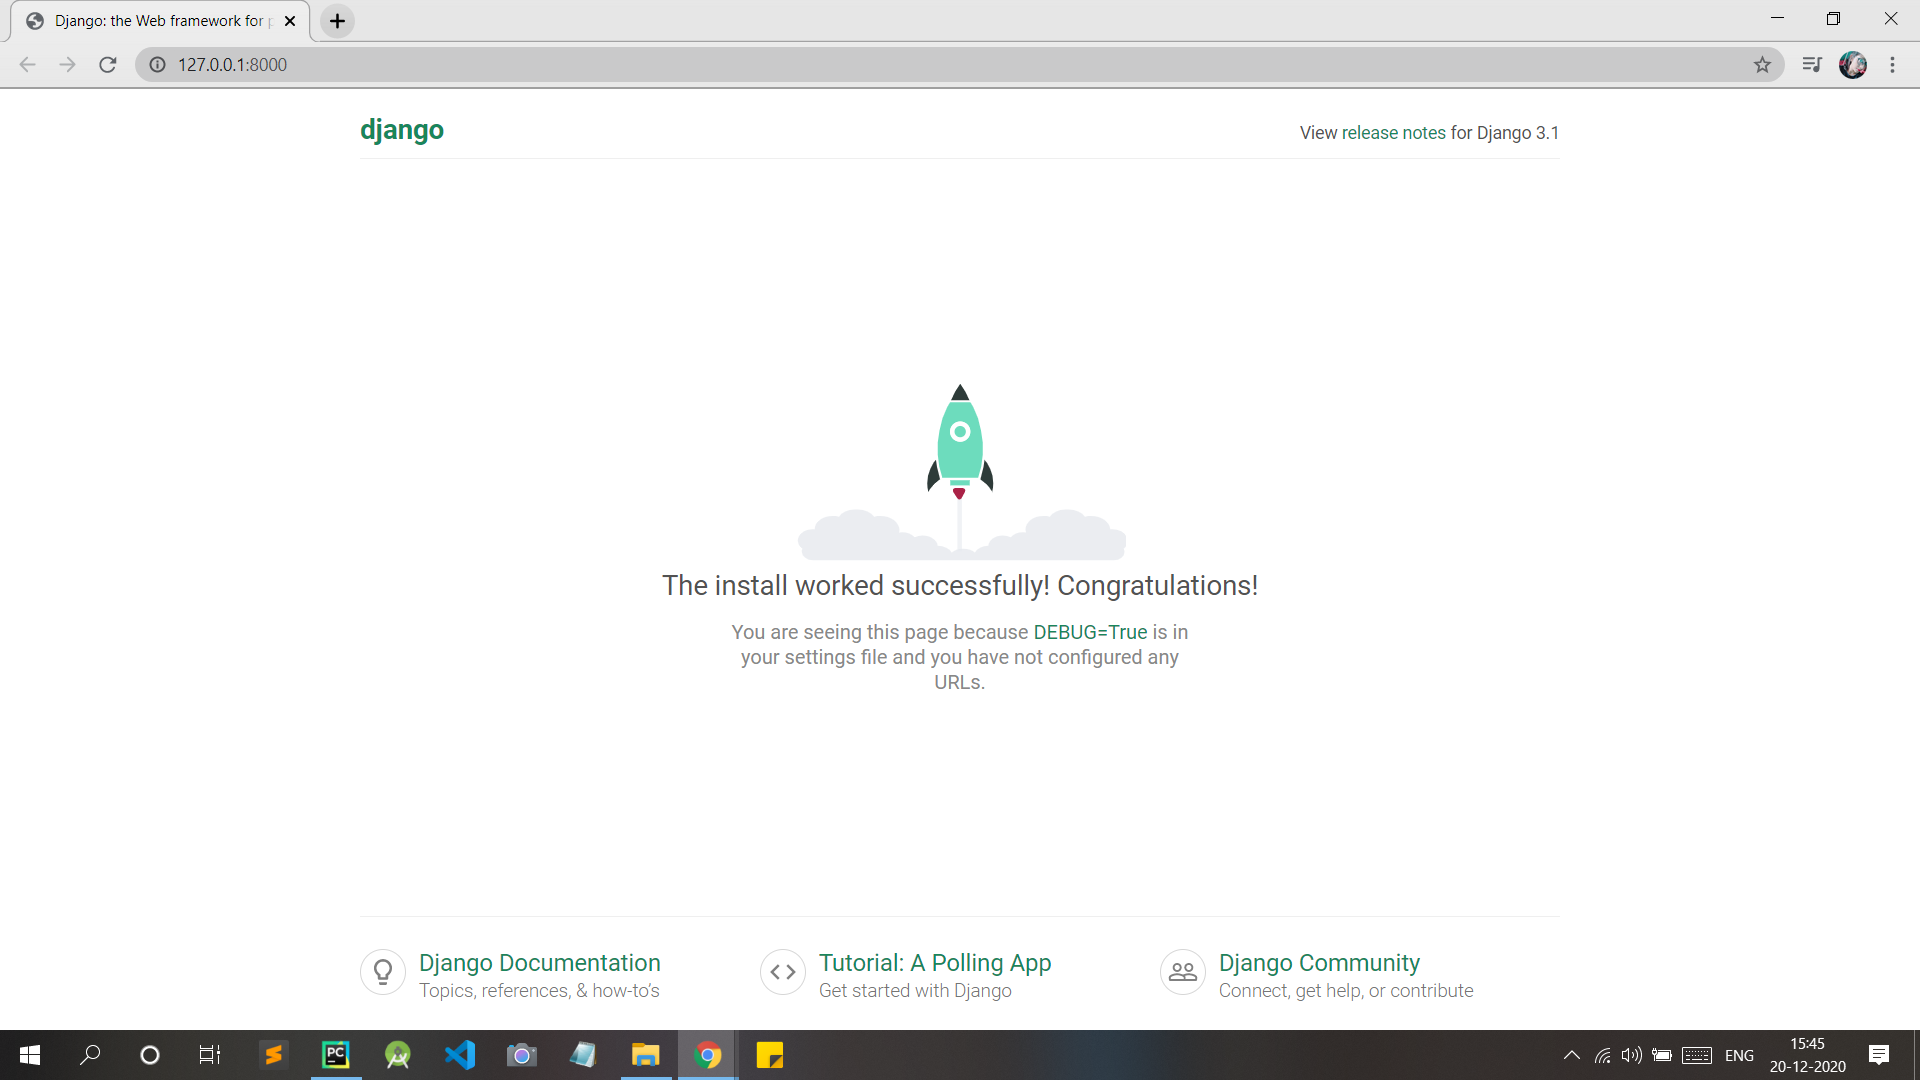
After You Click on the given Url (http://127.0.0.1:8000/) . You Will See your Development Server as shown in Below Image.
Share your thoughts in the comments
Please Login to comment...