How to install Python and PyCharm on Mac
Last Updated :
04 Nov, 2023
Installing PyCharm on macOS is a straightforward process. PyCharm is a popular Integrated Development Environment (IDE) for Python programming, and it offers both a free community edition and a more feature-rich professional edition. In this article, I will guide you through the steps to install PyCharm on your macOS.
MacOS Installation on PyCharm
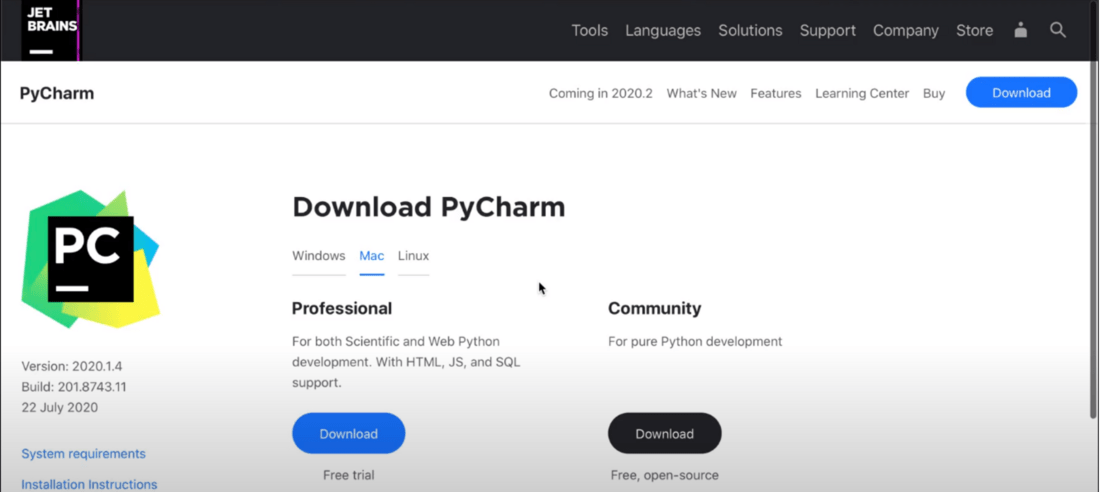
Step 1: Downloading PyCharm
Open your web browser and visit the PyCharm download page at https://www.jetbrains.com/pycharm/download/. You’ll see two options: “Community” (free), Choose the one that suits you, and click “Download.” Your Mac will download a file called a .dmg.
Step 1
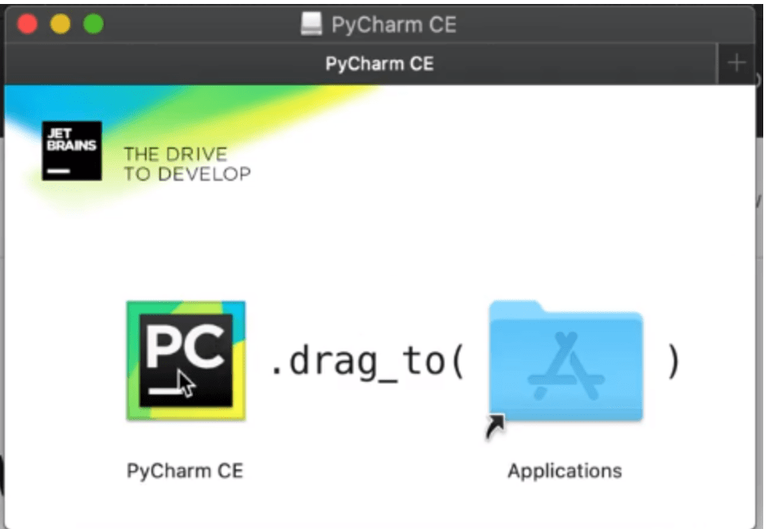
Step 2: Install PyCharm
Find the downloaded .dmg file in your Downloads folder. Double-click it to open the file. This will show you the PyCharm contents. Drag the PyCharm icon into the Applications folder. Wait for it to finish. In your Applications folder, you’ll see PyCharm
Step 3
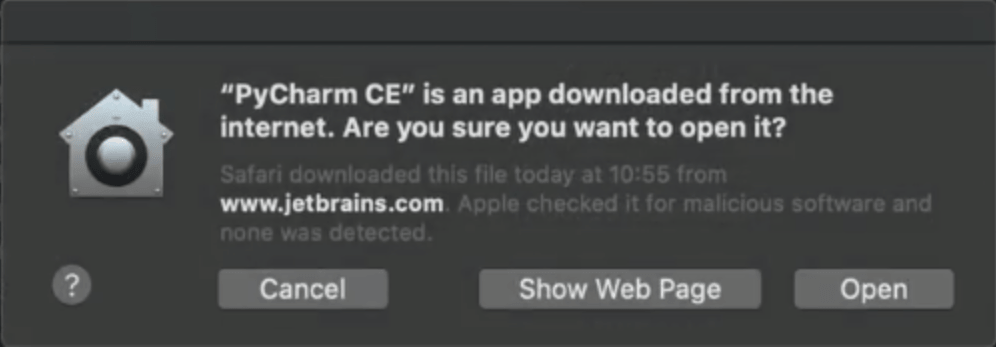
Step 3: Set Up PyCharm
Open PyCharm from your Applications folder by double-clicking it. If you’ve used PyCharm before, it may ask if you want to import old settings. Choose what’s right for you, or if it’s your first time, skip this step. Pick a look for PyCharm and adjust settings as you like. You can always change these later. PyCharm might ask if you want to add extra tools. You can install them if you need them. After these steps, PyCharm is ready to use.
Step 4
Step 4: Activate PyCharm
When you first open PyCharm . To activate your license, click “Activate” and enter your JetBrains Account details or the license key you bought. Once activated, PyCharm is good to go.
You’ve done it! PyCharm is now on your Mac. You’re all set to write Python code and create fantastic programs. Remember, PyCharm has lots of features and add-ons to make coding easier. Don’t forget to explore the documentation and settings to make PyCharm work just how you want it. Enjoy your coding journey!
Step 5: Create and Run Your First Project
Give your project a name. Once you done Press Create Button, PyCharm is good to go.
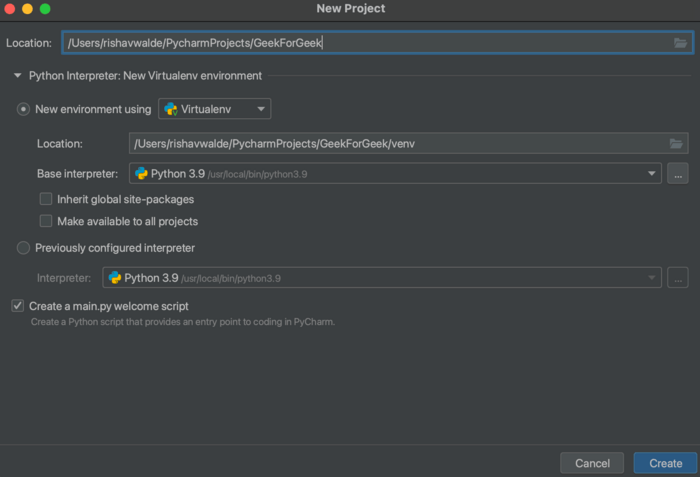
Create a Project
Now we can run the project.
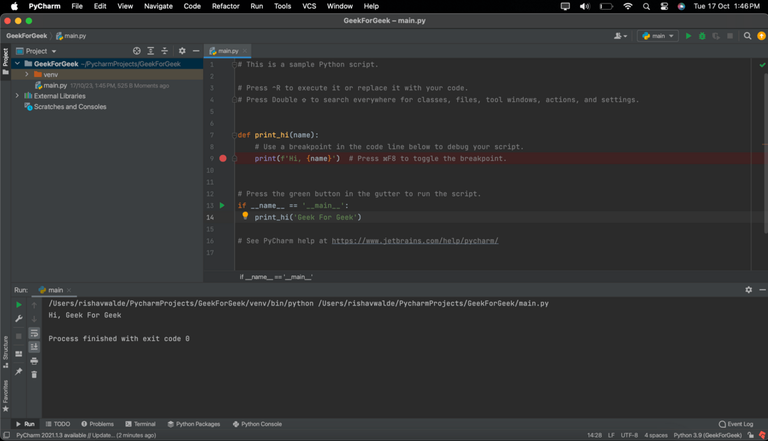
Run Your Project
Share your thoughts in the comments
Please Login to comment...