How to install PyCharm in Windows?
Last Updated :
04 Nov, 2023
PyCharm is the Python development IDE developed by JetBrains. They have developed professional and free community versions of this tool. The first professional version of the tool is paid and available as a trial for 30 days. However, in this article, we will look into the process of downloading the free community version of PyCharm step by step in Python.
Steps to Install PyCharm on Windows
Step 1: Search for the PyCharm Official Website
Open your browser and search for Pycharm. you will first website of JetBrains click on it. From this site, we have to download the installer file of the community version for Windows. Here 2 Versions of Pycharm are mentioned. We have to download the PyCharm Community Edition so scroll down and download the .exe installer for the same.
Step 2: Open and Run Downloaded Installer File
Right Click on the installer file and run it as administrator. This kind of interface you will be getting after this. Click On Next.
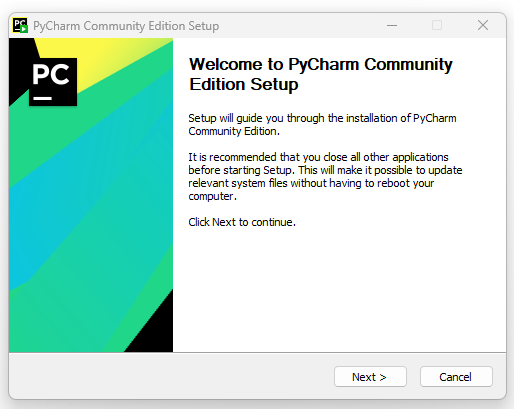
Click On NEXT.
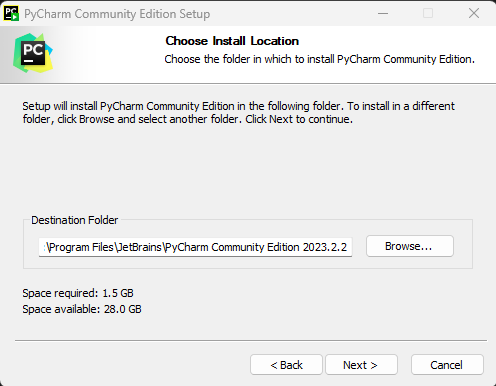
Step 3: Select the Path
Here Select the Path where you want to install the application. it gives the by default path just go with it. if it is giving any error then choose any other path by clicking on browse option. If you done it, Click On Next.
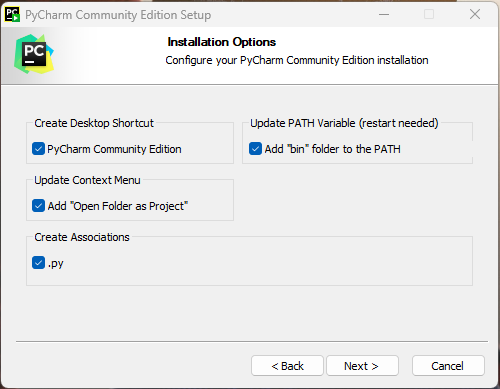
Step 4: Configurations
This Configuration are important parts of the installation. Make sure you are selecting all the Check boxes. And Click On Next.
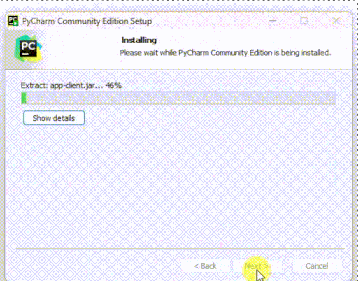
Hit Next and let it install. It will copy all the required files in the destination folder. After Installation it will ask you to restart the system just reboot the system to avoid any errors.
Share your thoughts in the comments
Please Login to comment...