How to Format a Hard Drive in Windows?
Last Updated :
16 Nov, 2023
Formatting a hard drive in Windows is a process of erasing all the data on the drive and setting it up for use. Formatting a hard drive in Windows is a way to prepare it for use. It’s like clearing a whiteboard, so you can start writing or drawing something new.
This process erases everything on the drive, so it’s crucial to back up any important files before you begin.
Steps to Format a Hard Drive in Windows
Step 1: Open Disk Management Settings
- Go to the search bar and type Disk Management then Click on Create and format hard disk partitions.
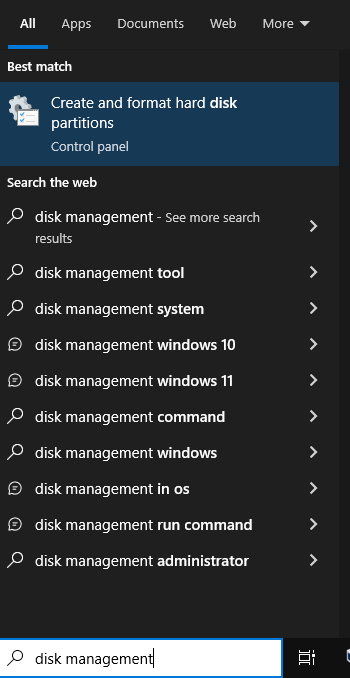
- That will open Disk Management settings.
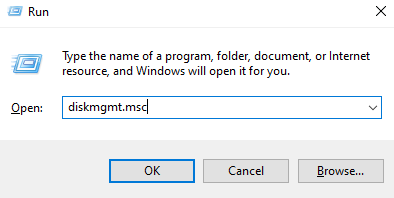
- Alternatively, You can also open the disk management setting by using Run. You need to open run and then type diskmgmt.msc in the Run dialog box and hit ok button.
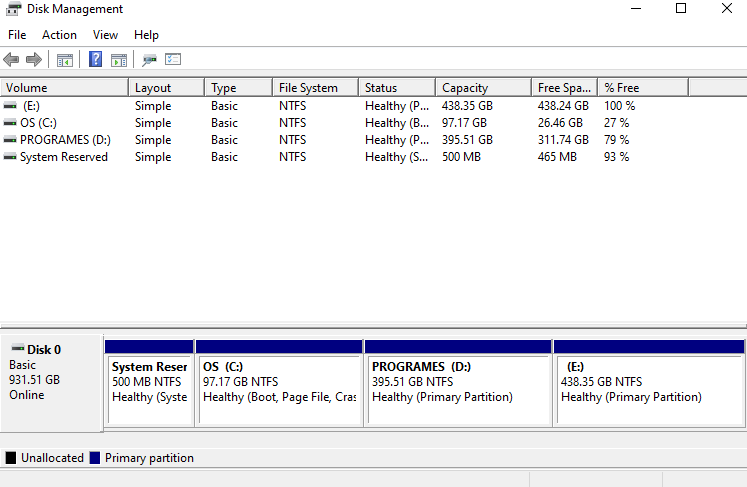
Step 2: Select the Drive you want to Format
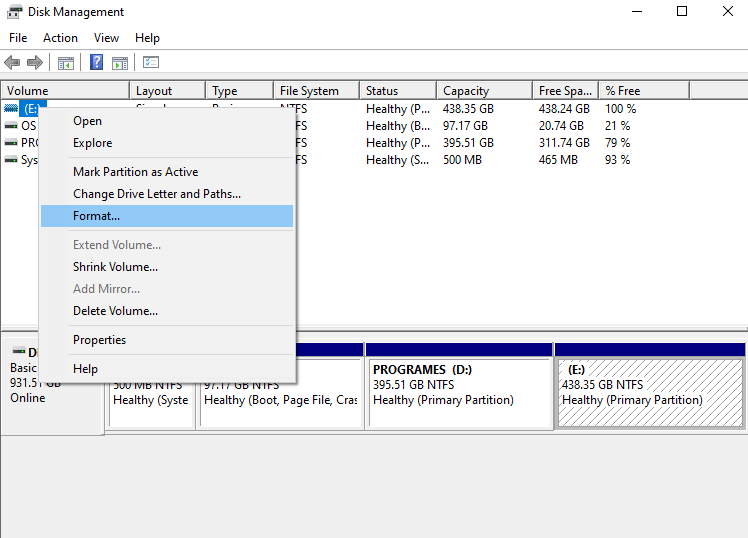
- In the Disk Management window, you’ll see a list of all the drives connected to your computer. Right click on the drive you want to format in the Disk Management window and then select Format from the context menu.
Note: C drive cannot be formatted as windows is installed in that Drive.
Step 3: Rename the Hard Drive Name
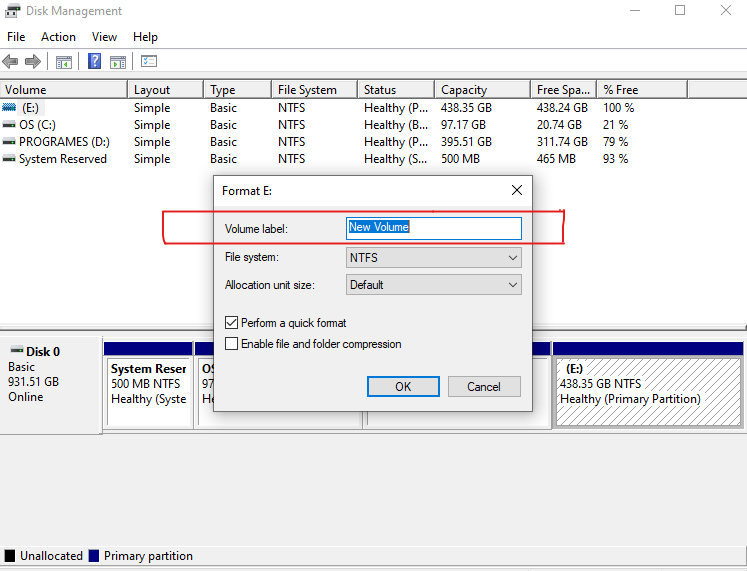
- After clicking on format option Format window will open then in the Volume label textbox enter whatever name you’d like to give to the drive.
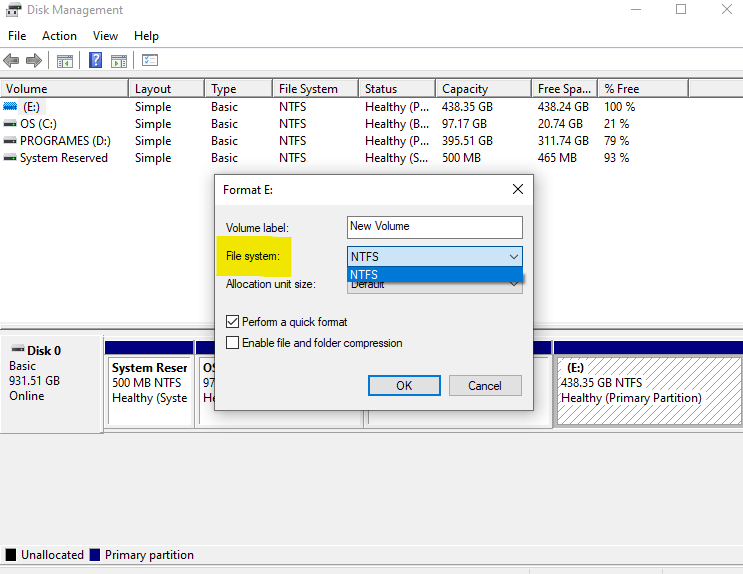
- Next up is the file system choice. In the File system textbox, choose NTFS.
- In the Allocation unit size textbox, choose Default. The best allocation size based on the size of the hard drive will be chosen.
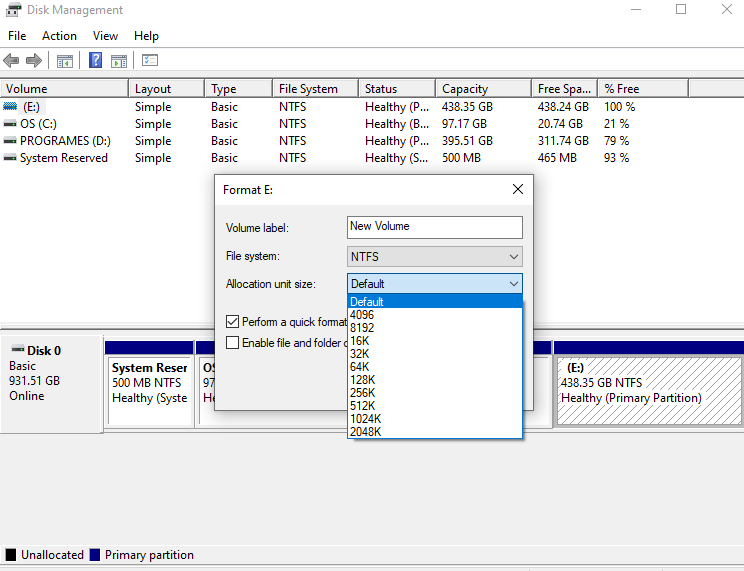
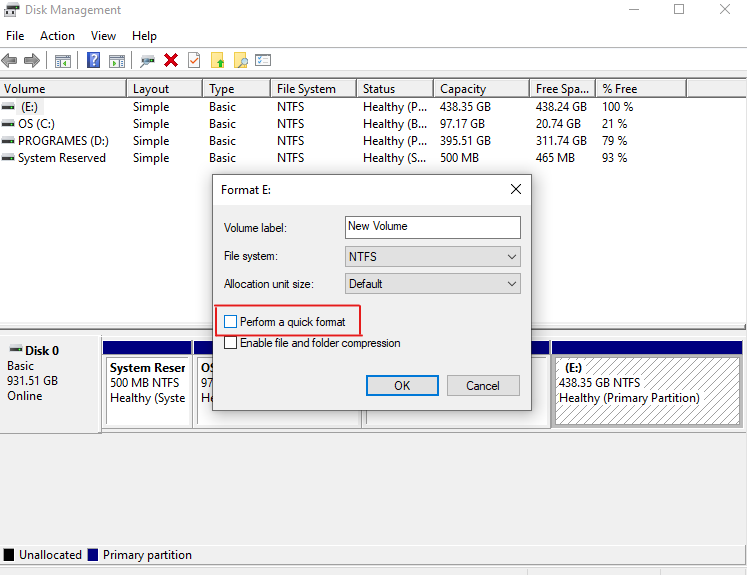
- The next step is to uncheck Perform a quick format checkbox. Windows will check this box by default. This option will erase the drive faster but may not thoroughly check for errors. If you want to be more thorough, leave this option unchecked.
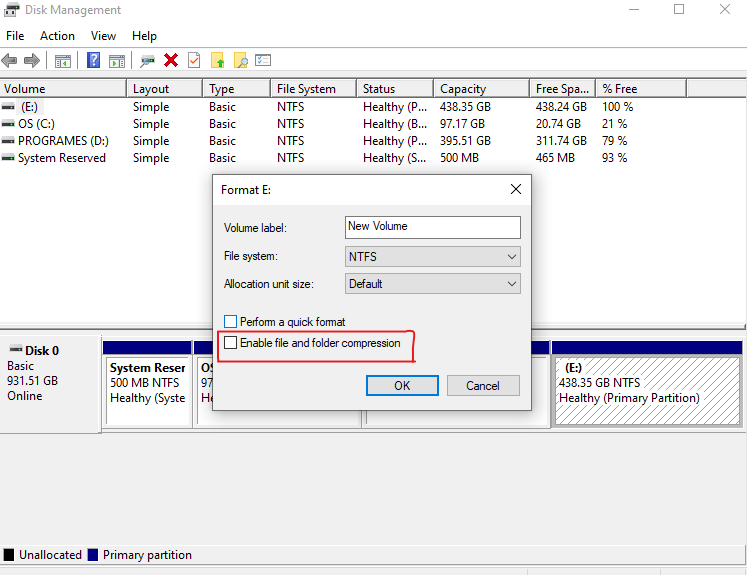
- The final format option is the Enable file and folder compression setting that is unchecked by default, which we recommend sticking with.
Step 4: Confirm your Choice
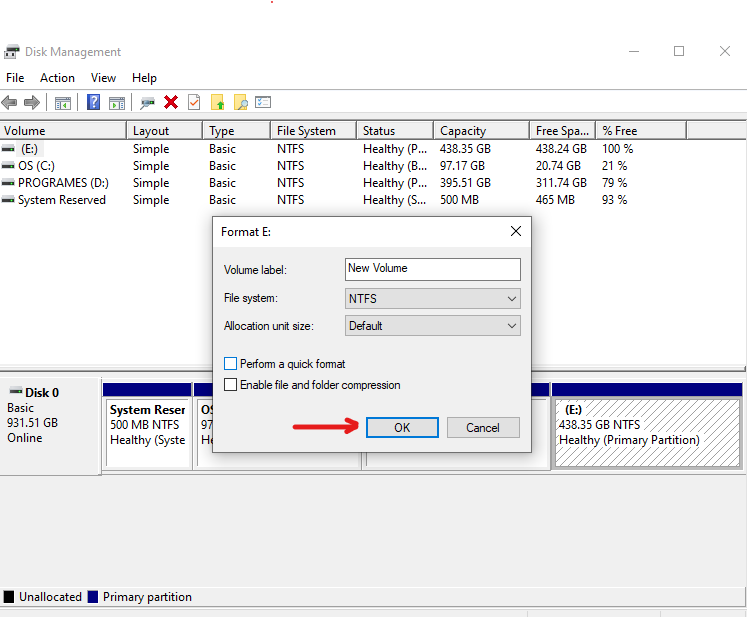
- Click the “OK” button to confirm your choices.
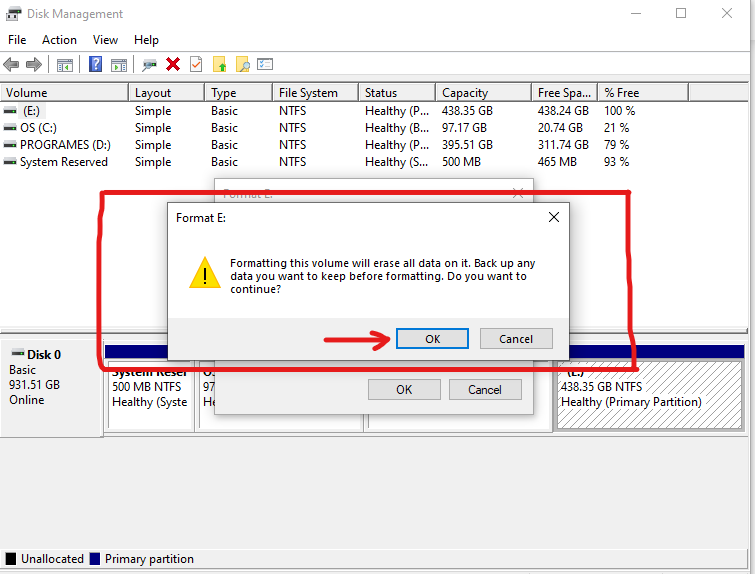
- A warning will pop up, reminding you that all data on the drive will be deleted. Make sure you have backed up any essential data and then click “OK” to proceed.
- The formatting process will begin, and it may take a few minutes, depending on the size of the drive. When it’s finished, you’ll see a message indicating that the formatting is complete.
So these are a few simple steps to Format a Hard drive in Windows, you first need to choose format and then follow the steps as mentioned.
Note: These steps will delete all your files from the drive, So keep the copy of files you may require in future for safety before formatting.
Also Read
FAQs to Format a Hard Drive in Windows
1. How do I completely format a hard drive?
To completely format a hard drive follow the steps:
- Open disk settings
- Right Click on the drive and select format option
- Rename in the Volume label textbox
- A dialog will appear, click Ok to earse all data
2. How do I format an external hard drive?
Formatting steps are same for both internal and external drives, To format your external hard drive you just need to connect it to your computer. Open Disk Management settings select your external drive there and complete the steps to proceed.
3. Why I’m not able to format my Drive?
You may not be able to format a drive due to open files, a Windows error, or the drive being the system drive. Ensure all files are closed, troubleshoot errors, or use a bootable USB to format the system drive if needed.
Share your thoughts in the comments
Please Login to comment...