Microsoft Outlook is a versatile email management tool that helps us stay organized in a world overflowing with emails. It offers various features to enhance your email experience, including the ability to save emails and other items as files. This article will walk you through the step-by-step process of saving emails and other items in Microsoft Outlook.
-as-Files-in-Microsoft-Outlook.webp)
How to Save Emails (and Other Items) as Files in Microsoft Outlook
- How to Save an Email Message as a PDF
- How to Save an Email Message as a File
- How to Save a Contact as a File
How to Save an Email Message as a PDF
Step 1: Launch Microsoft Outlook
Search for “Outlook” in the Search bar and Click on Open.
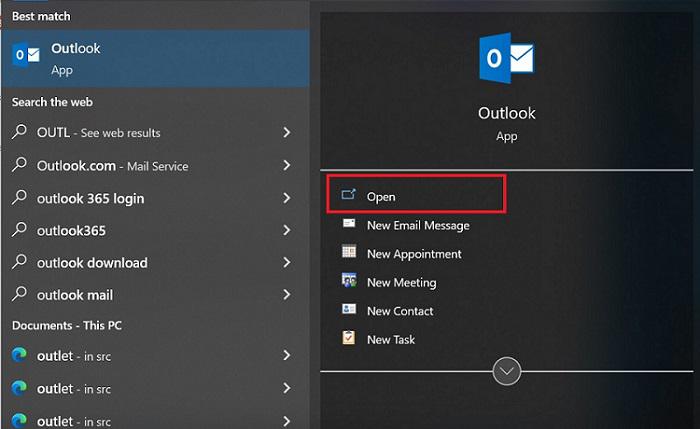
Click on “Open” to open the outlook
Step 2: Open the Email You Want to Save
Navigate your email that you want to save as a pdf. Double-click on the email to open it.
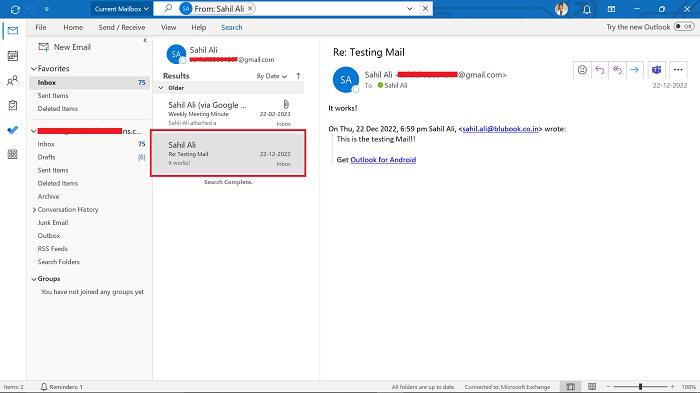
Navigate the email you want to save
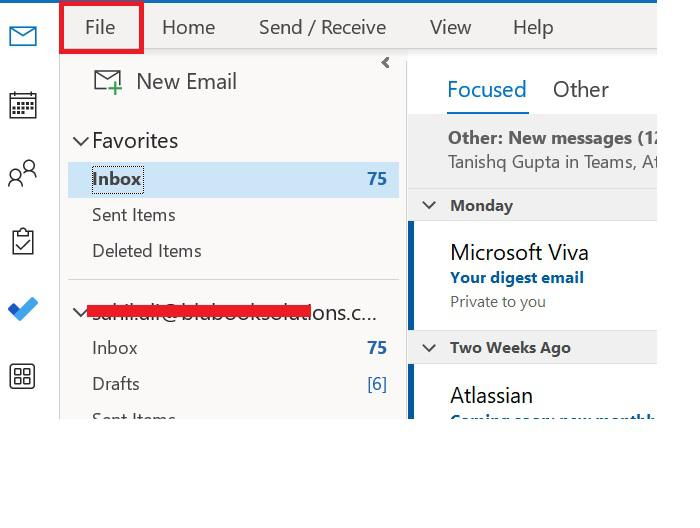
Step 3: Click on the File Option
Now, Click on the “File” menu in the upper-left corner.
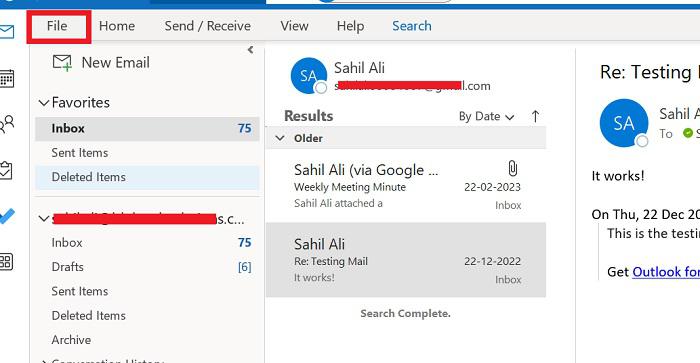
Click on the file option
Step 4: Choose Print Option
Select “Print” and then click on “Print icon” Button. This will open a dialog box that allows you to specify the location where you want to save the email.
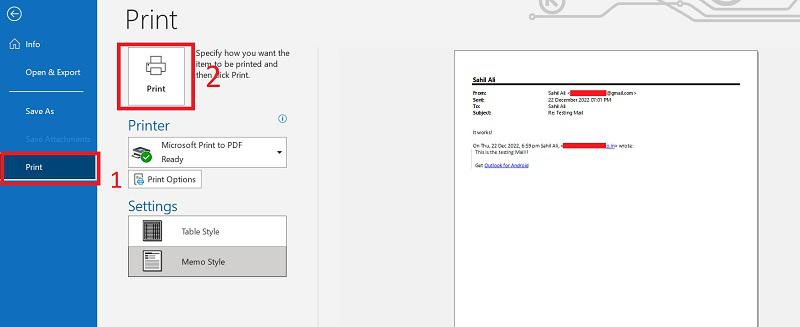
Click on the print option menu then click the print icon button
Step 5: Select the Location & Save
Choose a folder where you want to save the email and write the file name as you want. Click the “Save” button to save the email as a pdf in the chosen location.
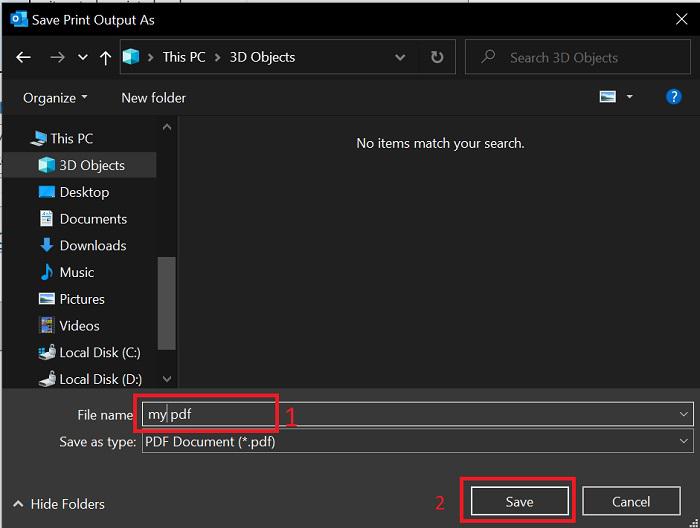
1. Rename your file and 2. Click on the Save button
How to Save an Email Message as a File
Step 1: Open the Email You Want to Save
Navigate your email that you want to save as a file. Double-click on the email to open it.
Navigate your email that you want to save as a file
Step 2: Click on the File Option
Now, Click on the “File” menu in the upper-left corner.
Click the “File”
Step 3: Click Save As
Click on “Save As” option shown in the menu on the left box.
.webp)
click on save as
Step 4: Choose Location and Type
Choose the location where you want to save the file. and then Enter a name for the file in the “File name” field.
In the “Save as type” dropdown menu, choose the desired format (e.g., HTML or Plain Text).
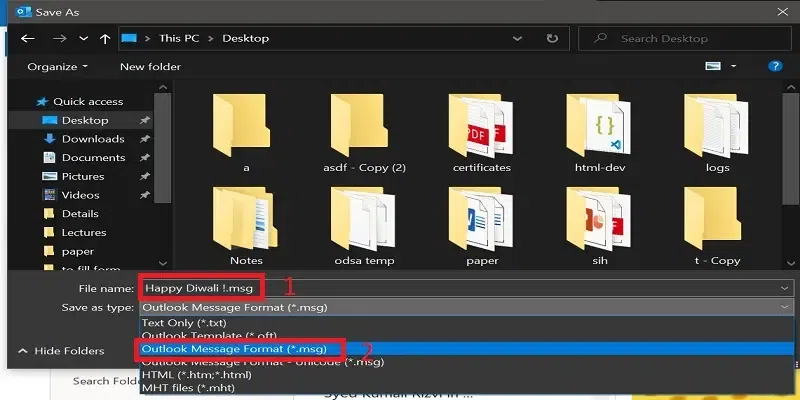
rename and choose .msg
Step 5: Click “Save.”
After Clicking on Save Button your file will save successfully on that specified location
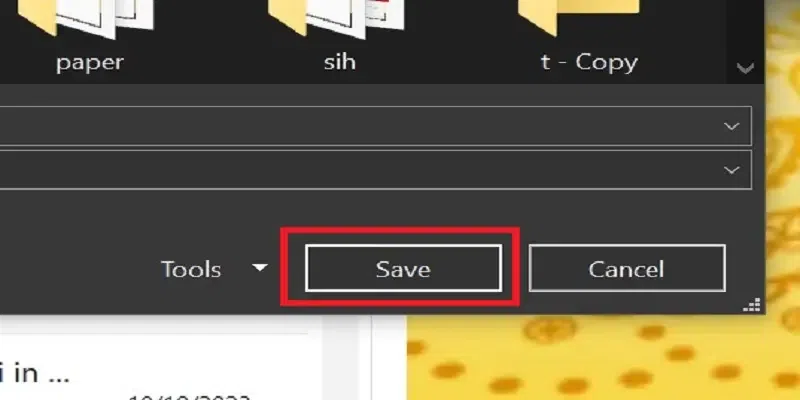
Click on save button
How to Save a Contact as a File
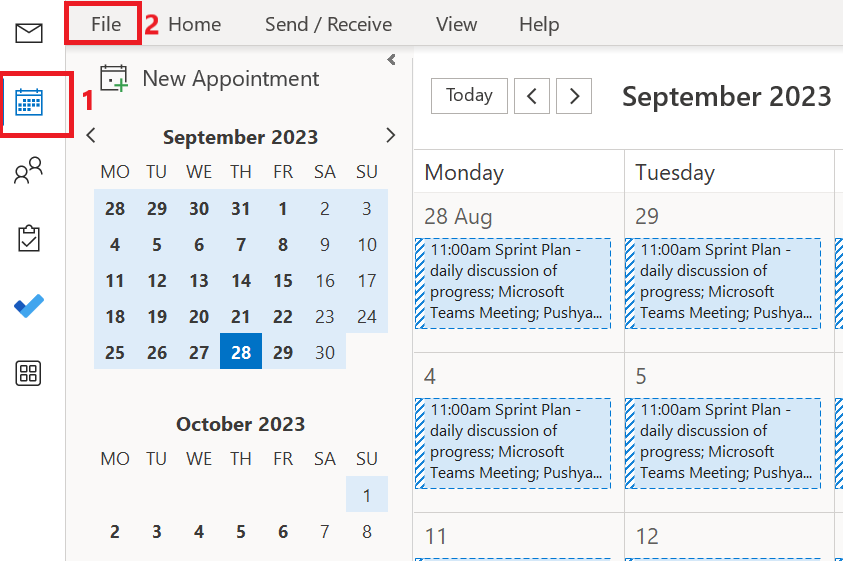
Step 1: Go to the File Tab
Click on “File” located in the top left corner of the Outlook window
Click on File
Step 2: Select Open & Export Option
Click on the “Open & Export” Option
.webp)
Step 3: Click on Import/Export
Now, Click on the “Import/Export” Button
.webp)
Click on Import/Export
Step 4: Select Export to a File and Click on Save
Select “Export to a file” and click the Next button.
.png)
click on export to a file and then next
Step 5: Select Comma comma-separate values
here choose the “Comma Separated Values” and click “Next” button
.png)
select comma-separated value
Step 6: Select Contacts and Click on the Next button
Now, Choose Contact Option and click Next button
.webp)
Select contact and click the next button
Step 7: CSV File Selection
In this step, you will use the Browse button to find and select an existing CSV file. Once you’ve done that, click the Next button to continue.
.png)
Browse existing CSV file
Step 8: Check Export Contacts and Finish
CSV file saved in browsed location.
.png)
Check Export
How to Save an Appointment (or Your Whole Calendar) as a File
Step 1: Click on the Calendar Icon and
Click on the “Calendar” icon located in the lower-left corner of the Outlook window. This will open your calendar.
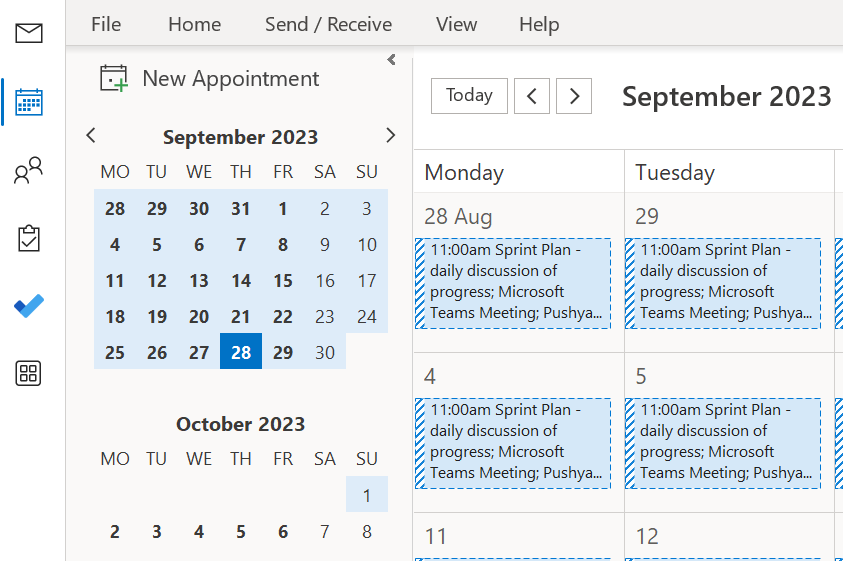
Step 2: Choose the Appointment
Locate the specific appointment you want to save from your calendar. Click on the appointment to open it.
.png)
Step 3: Go to the File Menu
Go to the “File” menu in the upper-left corner of the Outlook window.
Click on file
Step 4: Click on Save As
Select the option “Save As.”
.webp)
Click on “Save as”
Step 5: Specify the Location and File Format
A dialog box will appear, allowing you to specify the location where you want to save the appointment and choose a file format. Common file formats for appointments include “iCalendar (.ics)” or “Outlook Data Files (.pst).” Select the format that suits your needs.
.png)
Rename and select format
In the dialog box, provide a name for the appointment file in the “File name” field. Ensure you choose a descriptive name.
Step 6: Save the Appointment
After specifying the location, file format, and name, click the “Save” button to save the appointment as a file in the chosen location and format.
.png)
Save the file
How to Save Your Whole Calendar as a File
If you want to save your entire calendar as a file, you can follow a similar process but export the entire calendar:
Step 1: Go to File and Click on Open & Export
In the top-left corner of the Outlook window, click on “File.” In the menu that appears, select “Open & Export.”
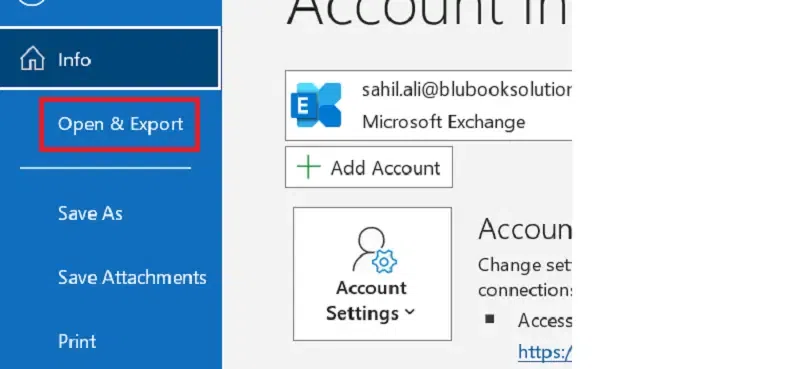
click on “Open & Export.”
Step 2: Choose Import/Export
From the “Open & Export” menu, select “Import/Export.”
Choose “Import/Export”
Step 3: Select Export to a File
In the “Import and Export Wizard” dialog box, select “Export to a file” and click “Next.”
choose export a file
Step 4: Choose Calendar
Select “Calendar” as the type of Outlook data to export, and click “Next.”
.png)
Choose Calendar
Step 5: Specify the Location and File Format
Choose the location where you want to save the calendar file and select a file format, such as “iCalendar (.ics)” or “Outlook Data Files (.pst).” Click “Next.” and then Name the File
Provide a name for the calendar file in the “File name” field. Ensure it’s a descriptive name.
browser your file
Step 6: Finish the Export
After specifying the location, file format, and name, click the “Finish” button to save your entire calendar as a file.
.png)
Check export and click on finish
Conclusion
Finally, Microsoft Outlook provides various tools for efficiently managing your emails and other items. You can easily save emails, contacts, and appointments as files in various formats (available in Outlook) by following all of the steps in this article. Whether you need to save important communications or share them with others, we have you covered.
FAQs (Frequently Asked Questions)
Can I save multiple emails at the same time?
You can save multiple emails at the same time by selecting them in your Outlook inbox and following the steps outlined above.
Is there any size restriction when saving emails?
The file size limitation varies depending on the file format used and the storage capacity of your computer. Keep in mind that large attachments in emails can cause the file size to grow.
Can I save attachments from emails separately?
Attachments can be saved separately. To save an attachment, right-click on it in the email and select “Save As” to specify a location and file name.
Share your thoughts in the comments
Please Login to comment...