How To Create A Timesheet In Google Docs
Last Updated :
04 Feb, 2024
How To Create A Timesheet In Google Docs – Quick Steps
- Open Google Docs > Go to Insert
- Select Table > Specify Table Size
- Customize Table
- Enter Timesheet Data
Get ready to take control of your time with Google Docs! Today, we’re diving into the simple yet powerful world of creating a timesheet. Whether you’re freelancing or part of a team, making a timesheet in Google Docs is the secret to staying organized. Say goodbye to the confusion of tracking hours and hello to an easier, more productive way. Let’s jump in and learn how to create a timesheet that suits your needs effortlessly!

How To Make A Timesheet In Google Docs
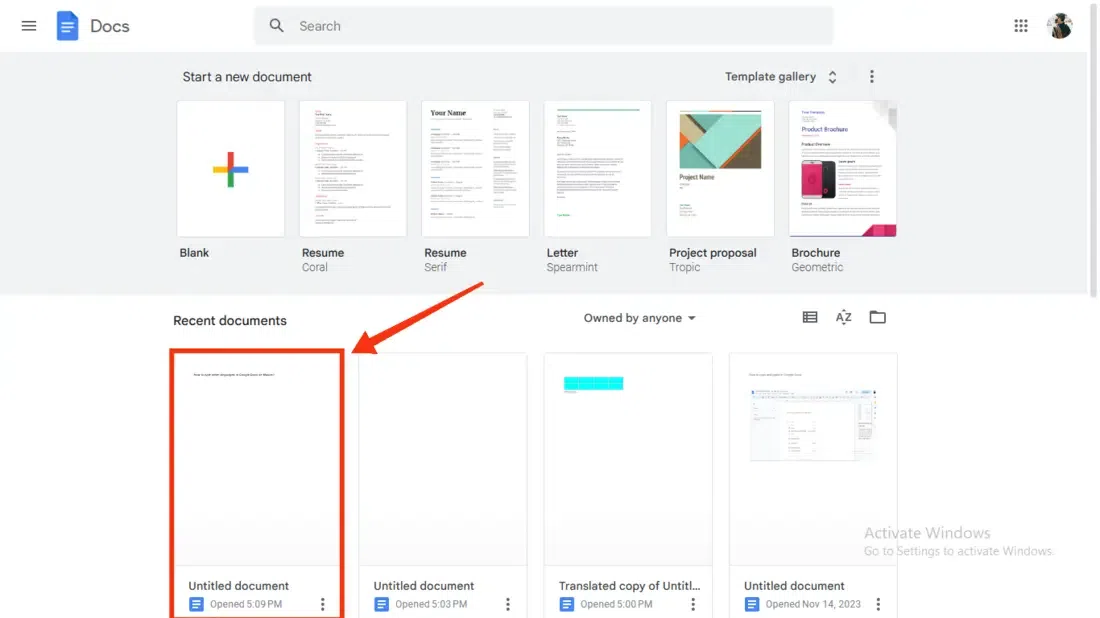
Step 1: Open Google Docs and Select a Document
Open Google Docs on your Desktop and select a document in which you want to create a timesheet or you can also select an existing document to edit it.
Select a Document
Step 2: Click on Insert
In order to create a timesheet in Google Docs you have to take the help of Tables so after opening your Google document click on the Insert to open the drop-down menu.
.webp)
Click on Insert
Step 3: Select “Table”
Now after a drop-down menu will appear click on the “Table” option from it and wait to ask it for the table’s size.
.webp)
Select Table
Step 4: Select Table Size
Now give the Table size by dragging the cursor to your desired cell size, just drag your cursor and click on the position where you want to enter the table size.
.webp)
Select Table size
Step 5: Customize the Table
Now to create a Timesheet using tables in Google Docs you also need to customize your inserted table according to your need such as you can edit it’s size, border, cell size etc.
.webp)
Customize the Table
Step 6: Enter the Timesheet Data
After customizing your table according to the data now enter the Timesheet data in it, you can enter the Name of the Employee, Task Given, Date, Hours Worked, Salary, Address and so many things in the table.
.webp)
Enter Timesheet Information
Step 7: Right-click on Table and Select Table Properties
Now you also have to Format your Timesheet to look make it better, to do so click on right-click on the table and select the “Table Properties” from the menu to format the table.
.webp)
Right-click on Table >> Select Table Properties
Step 8: Format your Timesheet
Selecting the “Table Properties” option from the drop-down menu will open the properties of the table and can adjust the color, layout, column, rows and many other things of the table in order to make your Timesheet look attractive.
.webp)
Format your Table
Free Google Docs Timesheet Templates
You can use Google Docs Timesheet templates in two ways, first by Templates gallery and second by Google Sheets.
Step 1: Open the Google Docs document
Step 2: Go to the File tab, Click on New, and Select From Templates
Open your document and click on the File menu, now select “File >> New >>From Templates to visit the Templates gallery.
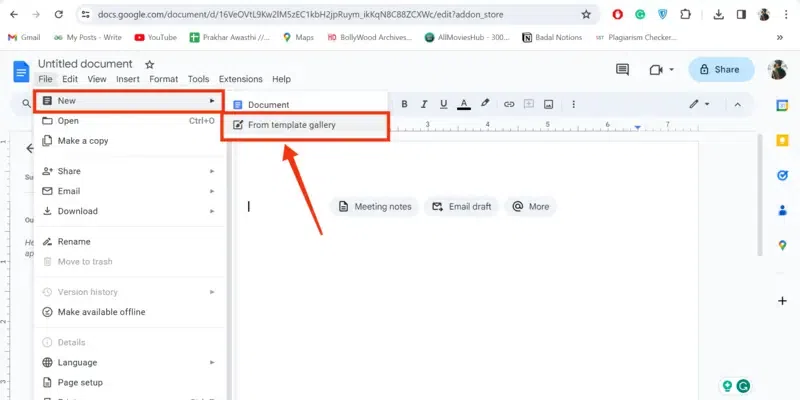
Click “File” >> New >> From Templates
Step 3: Select Templates From the Template Gallery
After reaching the Templates Gallery select your desired templates of Timesheet and use it.
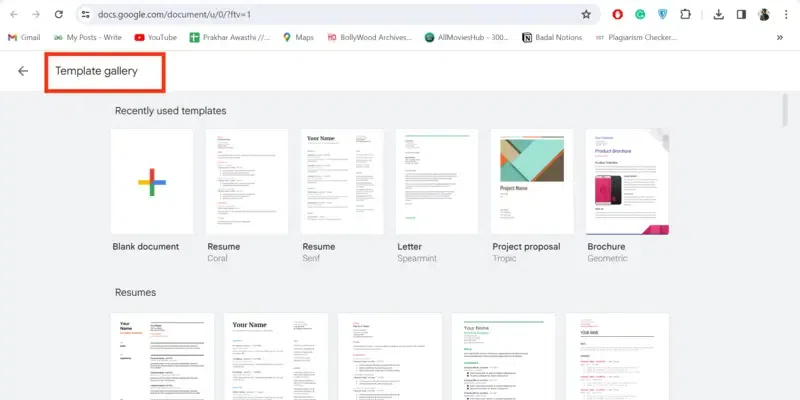
Select Templates
Free Google Docs Timesheet Templates using Google Sheets
Step 1: Visit Google Sheets Timesheet Templates
You can also use Google Sheets timesheet templates so to use them visit Google Sheets timesheets Templates Website.
Visit Google Sheets Timesheet Templates
Step 2: Sign In and Make a Copy
After opening the timesheet template in Sheets sign in with your credentials and make a copy of that template to use in Google Docs.
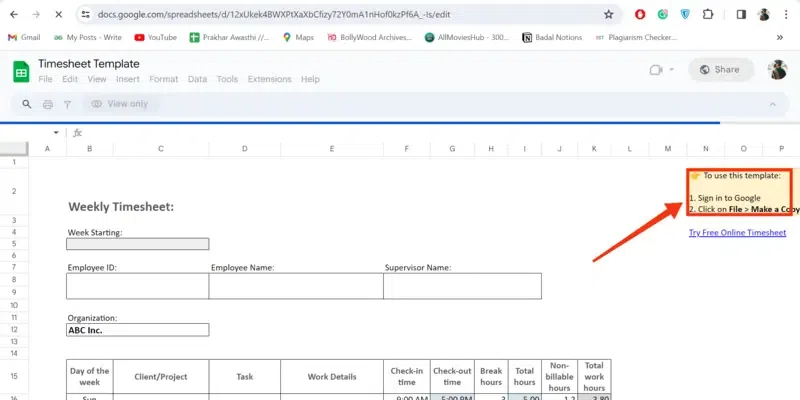
Sign In >> Make a Copy
How To Create A Timesheet In Google Docs on Mobile
Step 1: Open Google Docs and Select a Document
Open Google Docs on your Mobile and select a document in which you want to create a Timesheet.
.webp)
Open Google Docs >> Select a Document
Step 2: Click on “+” Icon
After opening a document for creating a timesheet click on the “+” icon to insert the table into your document.
.webp)
Click on the “+” Icon
Step 3: Select Table from the Menu
When you click on the “+” Icon a menu containing several options will appear from the options available select Table from it.
.webp)
Select Table
Step 4: Specify the Table Size and Click on Insert Table
Now you have to specify the size of the table of which size of table you want to insert into the document and after specifying the size click on the Insert Table button to insert the table.
.webp)
Give Table Size >> Click on “Insert Table”
Step 5: Enter Timesheets Data
Now enter your data into the Timesheet such as the Name of the Employee, Task Given, Date, Hours Worked, Salary, Address and so many things in the table.
.webp)
Enter Timesheet Data
Step 6: Select the Table and Customize your Table
Now select your table and start customizing it by changing the table size, table color, border of the table and so many things.
.webp)
Select the Table >> Format your Table
Step 7: Timesheet Created
Now your Timesheet has been created and you can use your Timesheet anywhere you want.
.webp)
Timesheet Created
Conclusion
Creating a timesheet in Google Docs can be done in many ways one of the ways to create a timesheet in Google Docs is to create a Timesheet by using tables, you can easily create a Timesheet by inserting tables into your Google Docs. All you have to do is open the Google Docs and click on the Insert to open the drop-down menu, after clicking on the Insert select the Tables option from the menu by specifying the size of the tables. In the next step, you can enter the data in your Timesheet and then you can customize your Timesheet by changing its color, size, and border of the Table in order to make your Timesheet attractive.
FAQs
Can I share the timesheet with others for collaborative editing?
Yes, you can share your Timesheet with anyone by clicking on the Share button located on the top-right corner of the interface.
How can I customize the appearance of my timesheet in Google Docs?
Yes, you can customize the appearance of your Timesheet in Google Docs by changing its color shape and size of the Timesheet.
Is it possible to add dropdown lists or checkboxes in the timesheet for easier data entry?
Yes, you can use Google Docs’ Data Validation feature to add lists or checkboxes.
Share your thoughts in the comments
Please Login to comment...