How to Change the Target of a Link in HTML ?
Last Updated :
14 Mar, 2024
In HTML, for changing the target of a link we can use the target attribute in the <a> anchor tag. This attribute mainly specifies where the linked content should be displayed.
Below are the approaches that can be used to change the target link in HTML:
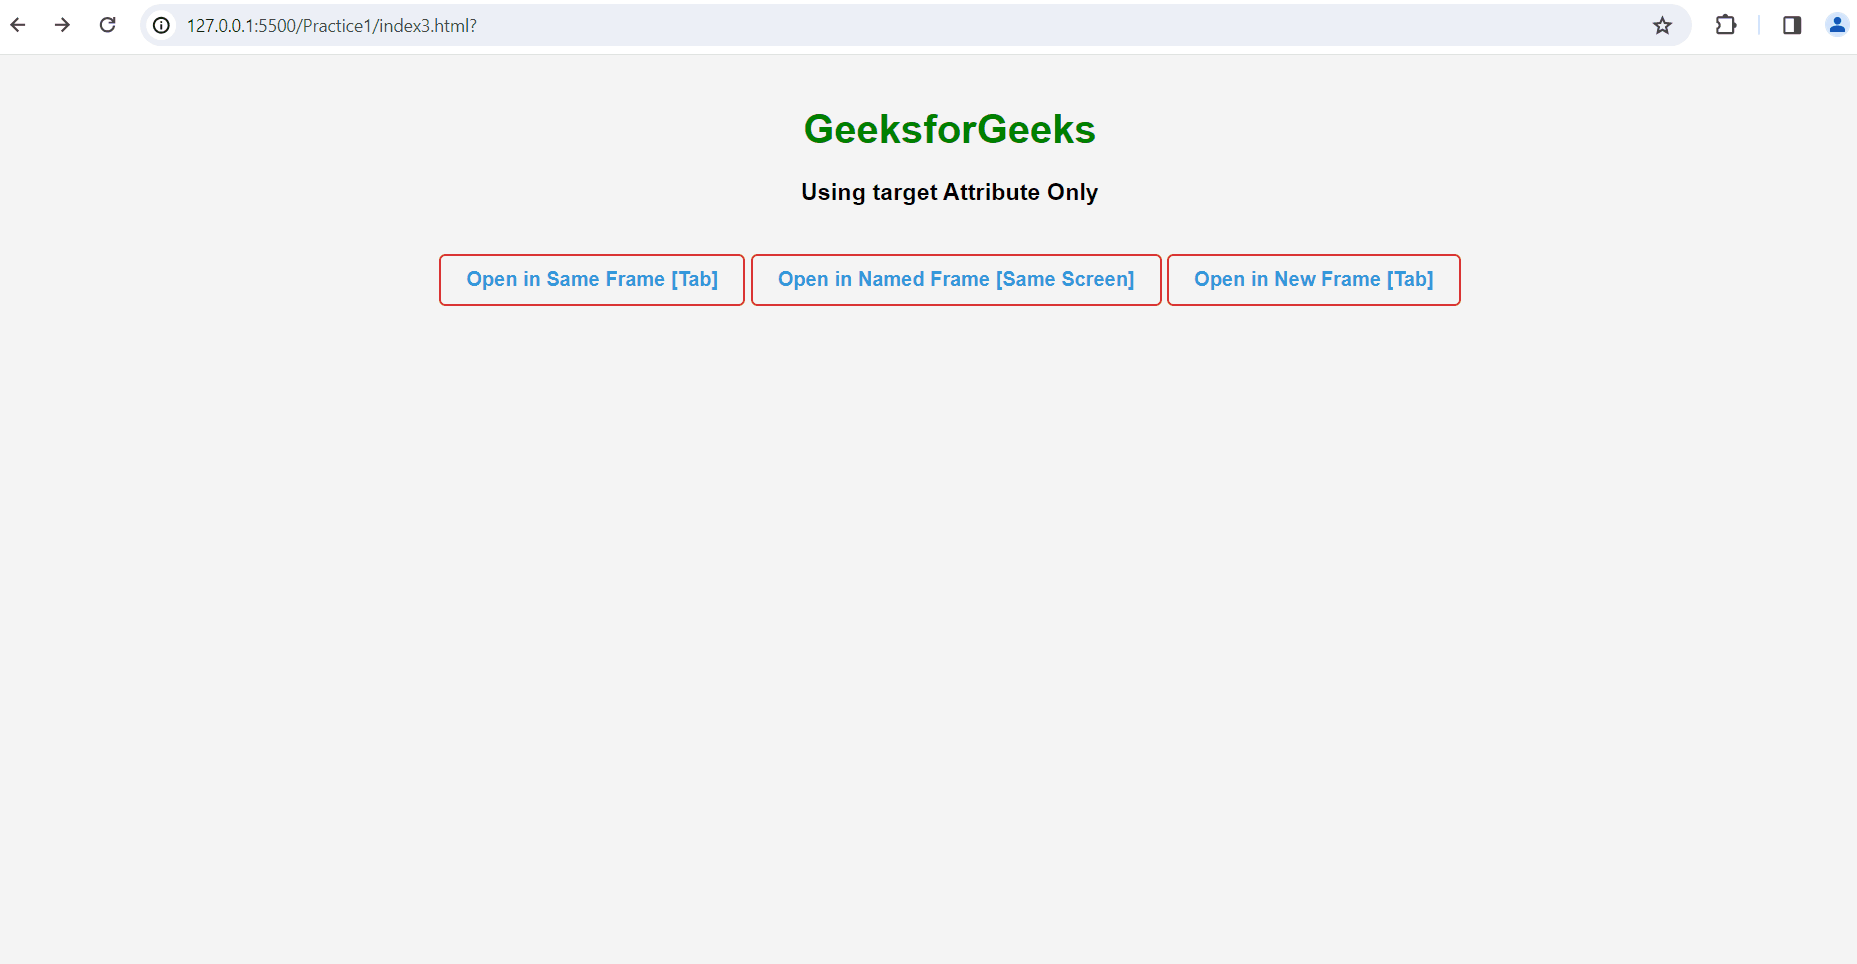
Using target Attribute Only
In this approach, we are using the HTML target attribute to control the behavior of hyperlinks. You can specify different values for this attribute to open the provided link at different locations.
Syntax:
<a href="link" target="_blank" class="link">
    Open in New Frame (Tab)
</a>
Example: The below example uses the target attribute to change the target of a link in HTML.
HTML
<!DOCTYPE html>
<html>

<head>
    <title>Exampl 1</title>
    <style>
        body {
            font-family: 'Arial', sans-serif;
            background-color: #f4f4f4;
            margin: 0;
            padding: 20px;
            box-sizing: border-box;
            text-align: center;
        }

        .link {
            color: #3498db;
            text-decoration: none;
            font-weight: bold;
            padding: 10px 20px;
            border: 2px solid #db3434;
            border-radius: 5px;
            display: inline-block;
            margin-top: 20px;
            transition: background-color 0.3s;
        }

        .link:hover {
            background-color: #34db6c;
            color: #fff;
        }

        .frame-container {
            width: 600px;
            height: 400px;
            overflow: hidden;
            margin-top: 20px;
            display: flex;
            justify-content: center;
        }

        .frame {
            width: 100%;
            height: 100%;
            border: none;
        }
    </style>
</head>

<body>
    <h1 style="color: green;">
        GeeksforGeeks
    </h1>
    <h3>
        Using target Attribute Only
    </h3>
    <a target="_self" href=
"https://media.geeksforgeeks.org/wp-content/uploads/20240108102825/mern.mp4"
        class="link">
        Open in Same Frame [Tab]
    </a>
    <a target="myFrame" href=
"https://media.geeksforgeeks.org/wp-content/uploads/20240108102825/mern.mp4"
        class="link">
        Open in Named Frame [Same Screen]
    </a>
    <a target="_blank" href=
"https://media.geeksforgeeks.org/wp-content/uploads/20240108102825/mern.mp4"
        class="link">
        Open in New Frame [Tab]
    </a>
    <div class="frame-container" style="text-align: center;">
        <iframe name="myFrame" class="frame" src="about:blank"></iframe>
    </div>
</body>

</html>
Output:
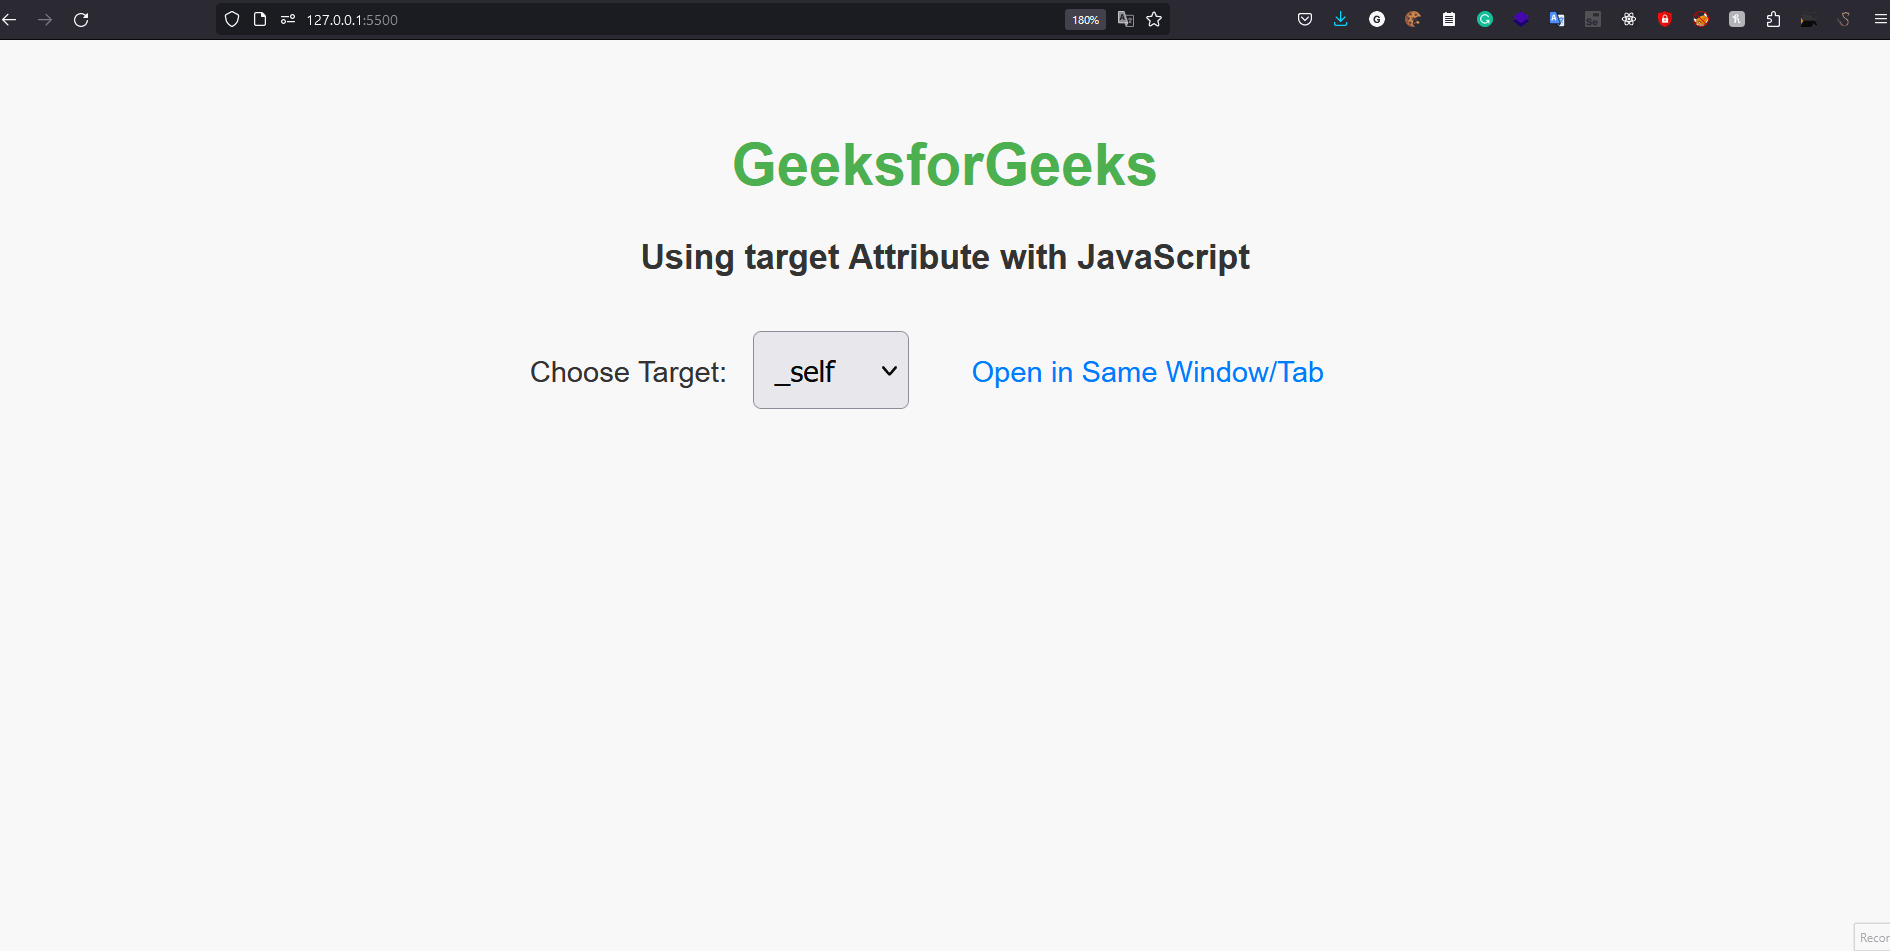
Using JavaScript to change target
In this approach, we will create a JavaScript function which is triggered by the onchange event of an <select> element to dynamically change the target attribute of a link <a> and control the visibility of an <iframe> based on the user’s selection between “_self” and “myFrame” targets.
Example: The below example uses JavaScript to change the target Attribute in HTML.
HTML
<!DOCTYPE html>
<html>

<head>
    <title>Example 2</title>
    <style>
        body {
            font-family: Arial, sans-serif;
            text-align: center;
            margin: 50px;
            background-color: #f8f8f8;
            color: #333;
        }

        h1 {
            color: #4CAF50;
        }

        h3 {
            margin-bottom: 20px;
        }

        select,
        a,
        iframe {
            margin: 10px;
            padding: 10px;
            font-size: 16px;
        }

        a {
            color: #007BFF;
            text-decoration: none;
        }

        iframe {
            border: 1px solid #ccc;
            display: none;
        }
    </style>
</head>

<body>
    <h1>GeeksforGeeks</h1>
    <h3>
        Using target Attribute with JavaScript
    </h3>
    <label for="targetSelector">
        Choose Target:
    </label>
    <select id="targetSelector" onchange="chgFn()">
        <option value="_self">_self</option>
        <option value="myFrame">Frame</option>
    </select>
    <a id="dynamicLink" href=
"https://media.geeksforgeeks.org/wp-content/uploads/20240108102825/mern.mp4"
        target="_self">
        Open in Same Window/Tab
    </a>
    <iframe id="myFrame" width="400" height="300"
    frameborder="0" scrolling="auto"></iframe>
    <script>
        function chgFn() {
            const targetSelect =
                document.getElementById("targetSelector");
            const temp = targetSelect.value;
            const link =
                document.getElementById("dynamicLink");
            const iframe =
                document.getElementById("myFrame");
            link.innerHTML = "Open in " +
                temp.charAt(0).toUpperCase() + temp.slice(1);
            if (temp === "myFrame") {
                iframe.style.display = "block";
                link.style.display = "none";
                iframe.src = link.href;
            } else {
                iframe.style.display = "none";
                link.style.display = "inline";
                link.setAttribute("target", "_self");
            }
        }
    </script>
</body>

</html>
Output:
Share your thoughts in the comments
Please Login to comment...