How to Insert Form Data into Database using PHP ?
Last Updated :
19 May, 2022
In this article, we are going to store data in database which is submitted through HTML form.
Requirements:
HTML form: First we create an HTML form that need to take user input from keyboard. HTML form is a document which stores information of a user on a web server using interactive controls. An HTML form contains different kind of information such as username, password, contact number, email id etc.
The elements that are used in an HTML form are check box, input box, radio buttons, submit buttons etc. With the help of these elements, the information of an user is submitted on the web server. The form tag is used to create an HTML form.
Syntax:
<form> Form Elements... </form>
or
To pass the values to next page, we use the page name with the following syntax. We can use either GET or POST method to sent data to server.
<form action=other_page.php  method= POST/GET>
    Form Elements...
</form>
Database Connection: The collection of related data is called a database. XAMPP stands for cross-platform, Apache, MySQL, PHP, and Perl. It is among the simple light-weight local servers for website development. In PHP, we can connect to database using localhost XAMPP web server.
Syntax:
PHP
<?php
$servername = "localhost";
$username = "username";
$password = "password";
$dbname = "database_name";
$conn = new mysqli($servername,
$username, $password, $dbname);
if ($conn->connect_error) {
die("Connection failed: "
. $conn->connect_error);
}
$sqlquery = "INSERT INTO table VALUES
('John', 'Doe', 'john@example.com')"
if ($conn->query($sql) === TRUE) {
echo "record inserted successfully";
} else {
echo "Error: " . $sql . "<br>" . $conn->error;
}
|
How to get form data: We are going to collect the form data submitted through HTML form. PHP $_REQUEST method is a PHP super global variable which is used to collect data after submitting the HTML form.
Syntax:
PHP
<?php
if ($_SERVER["REQUEST_METHOD"] == "POST") {
$data = $_REQUEST['val1'];
if (empty($data)) {
echo "data is empty";
} else {
echo $data;
}
}
?>
$conn->close();
?>
|
Complete Steps to Design Project:
- Start XAMPP Server.
- Open localhost/phpmyadmin in your web browser.
- Create database of name staff and table of name college.
- Write HTML and PHP code in your Notepad in a particular folder.
- Submit data through HTML Form.
- Verify the results.
Steps In detail:
- Start XAMPP Server by opening XAMPP and click on XAMPP Start.

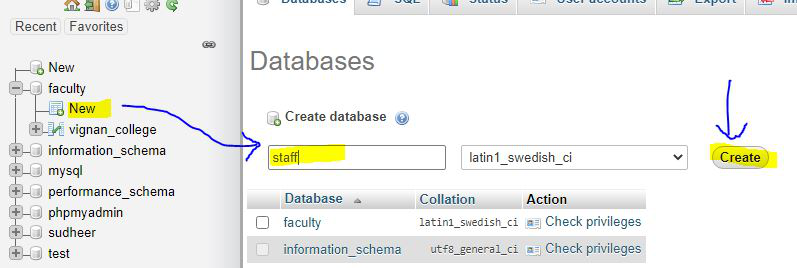
- Open localhost/phpmyadmin in your web browser and create database with database name as staff and click on create.
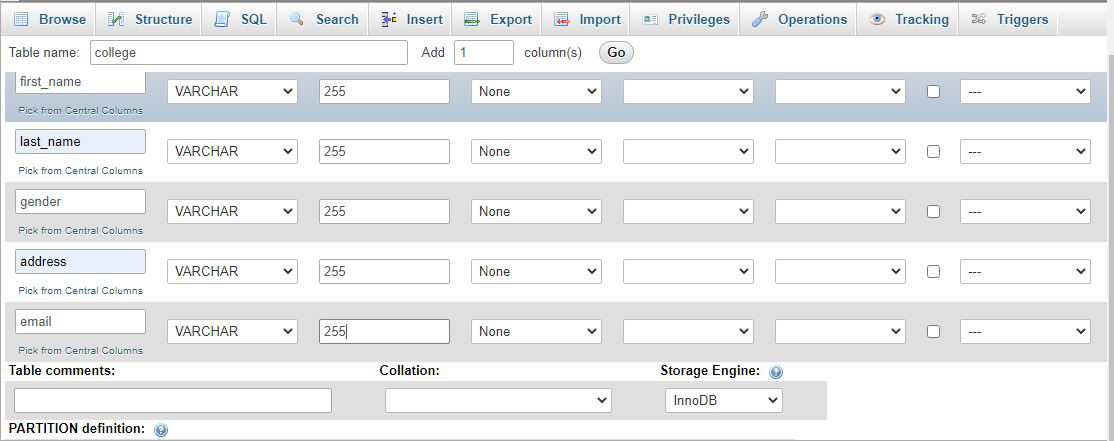
- Then create table name college.

- Enter columns and click on save
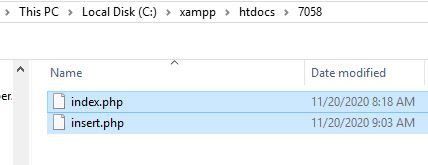
- Now open Notepad and start writing PHP code and save it as index.php and open other notepad and save it as insert.php Save both files in one folder under htdocs.
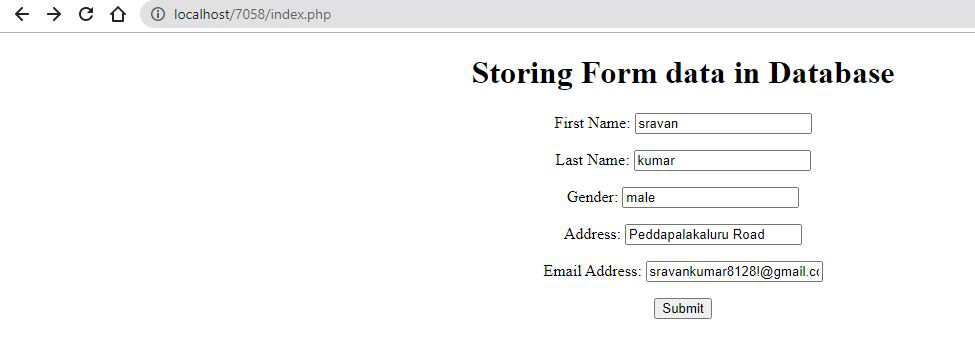
Filename: index.php
PHP
<!DOCTYPE html>
<html lang="en">
<head>
<title>GFG- Store Data</title>
</head>
<body>
<center>
<h1>Storing Form data in Database</h1>
<form action="insert.php" method="post">
<p>
<label for="firstName">First Name:</label>
<input type="text" name="first_name" id="firstName">
</p>
<p>
<label for="lastName">Last Name:</label>
<input type="text" name="last_name" id="lastName">
</p>
<p>
<label for="Gender">Gender:</label>
<input type="text" name="gender" id="Gender">
</p>
<p>
<label for="Address">Address:</label>
<input type="text" name="address" id="Address">
</p>
<p>
<label for="emailAddress">Email Address:</label>
<input type="text" name="email" id="emailAddress">
</p>
<input type="submit" value="Submit">
</form>
</center>
</body>
</html>
|
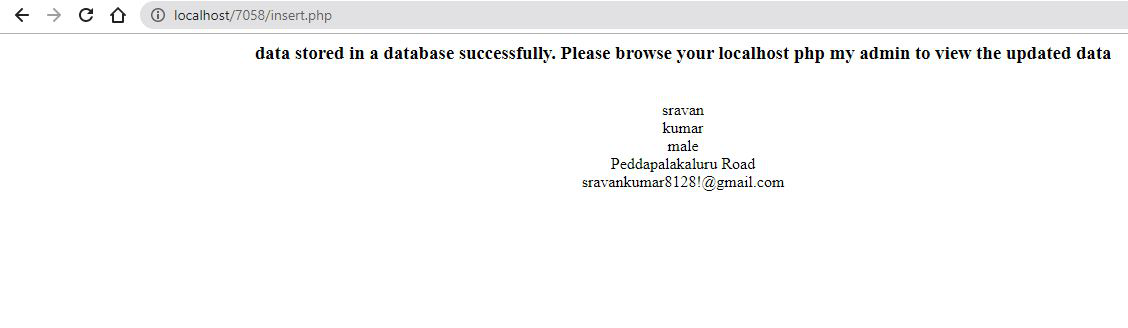
Filename: insert.php
PHP
<!DOCTYPE html>
<html>
<head>
<title>Insert Page page</title>
</head>
<body>
<center>
<?php
$conn = mysqli_connect("localhost", "root", "", "staff");
if($conn === false){
die("ERROR: Could not connect. "
. mysqli_connect_error());
}
$first_name = $_REQUEST['first_name'];
$last_name = $_REQUEST['last_name'];
$gender = $_REQUEST['gender'];
$address = $_REQUEST['address'];
$email = $_REQUEST['email'];
$sql = "INSERT INTO college VALUES ('$first_name',
'$last_name','$gender','$address','$email')";
if(mysqli_query($conn, $sql)){
echo "<h3>data stored in a database successfully."
. " Please browse your localhost php my admin"
. " to view the updated data</h3>";
echo nl2br("\n$first_name\n $last_name\n "
. "$gender\n $address\n $email");
} else{
echo "ERROR: Hush! Sorry $sql. "
. mysqli_error($conn);
}
mysqli_close($conn);
?>
</center>
</body>
</html>
|
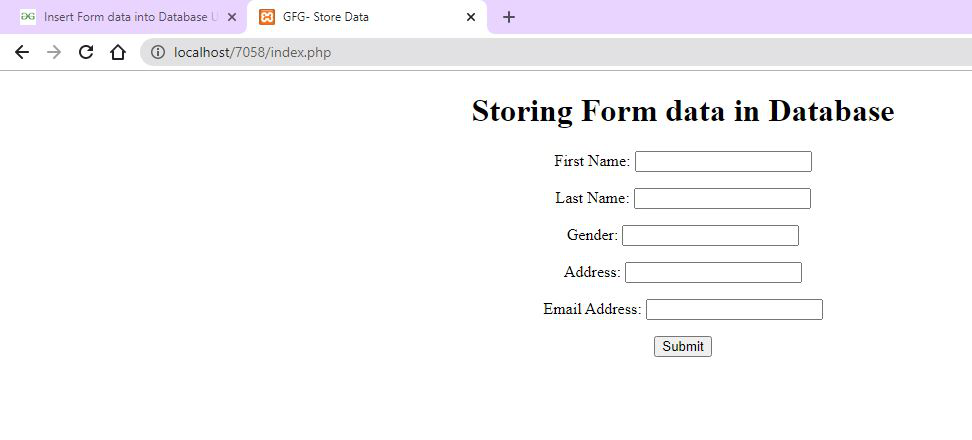
Output: Type localhost/7058/index.php in your browser, it will display the form. After submitting the form, the form data is submitted into database.
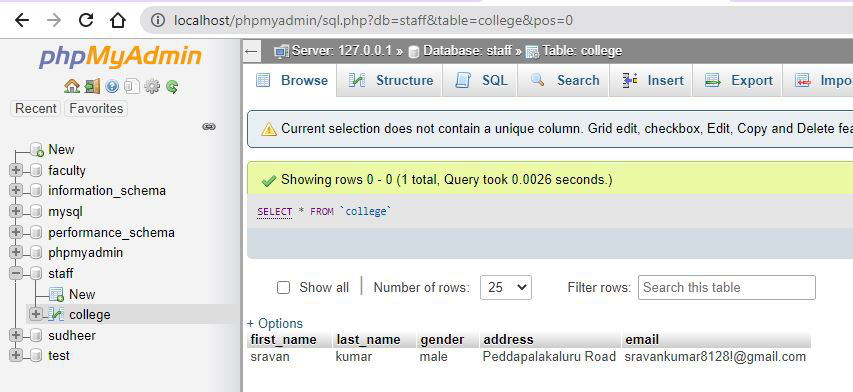
Let’s check in our database
PHP is a server-side scripting language designed specifically for web development. You can learn PHP from the ground up by following this PHP Tutorial and PHP Examples.
Share your thoughts in the comments
Please Login to comment...