HTML <select> Tag
Last Updated :
30 Jan, 2024
The <select> tag in HTML is used to create a drop-down list. The <select> tag contains <option> tag to display the available option of the drop-down list.
Note: The <select> tag is used in a form to receive user responses.
Syntax:
<select>
    <option>
    </option>
    ...
</select>
Attributes:
| autofocus |
Specifies that the dropdown should automatically get focus when the page loads. It is a boolean attribute. |
| disabled |
Specifies that the select element is disabled. A disabled drop-down list is un-clickable and unusable. It is a boolean attribute. |
| form |
Specifies one or more forms that the select element belongs to. |
| multiple |
Specifies that the user is allowed to select more than one value in the <select> element. It is a boolean attribute. |
| name |
Specifies a name for the drop-down list. Used to reference the form data after submitting the form or to reference the element in JavaScript. |
| required |
Specifies that the user should select a value before submitting the form. It is a boolean attribute. |
| size |
Specifies the number of visible options in a drop-down list. |
Example 1: In this example, we simply create a drop-down list in HTML.
HTML
<!DOCTYPE html>
<html>
<body>
<h2>Welcome To GeeksforGeeks</h2>
<select>
<option value="By the way">BTW</option>
<option value="Talk to you later">TTYL</option>
<option value="To be honest">TBH</option>
<option value=" I don’t know">IDK</option>
</select>
</body>
</html>
|
Output:

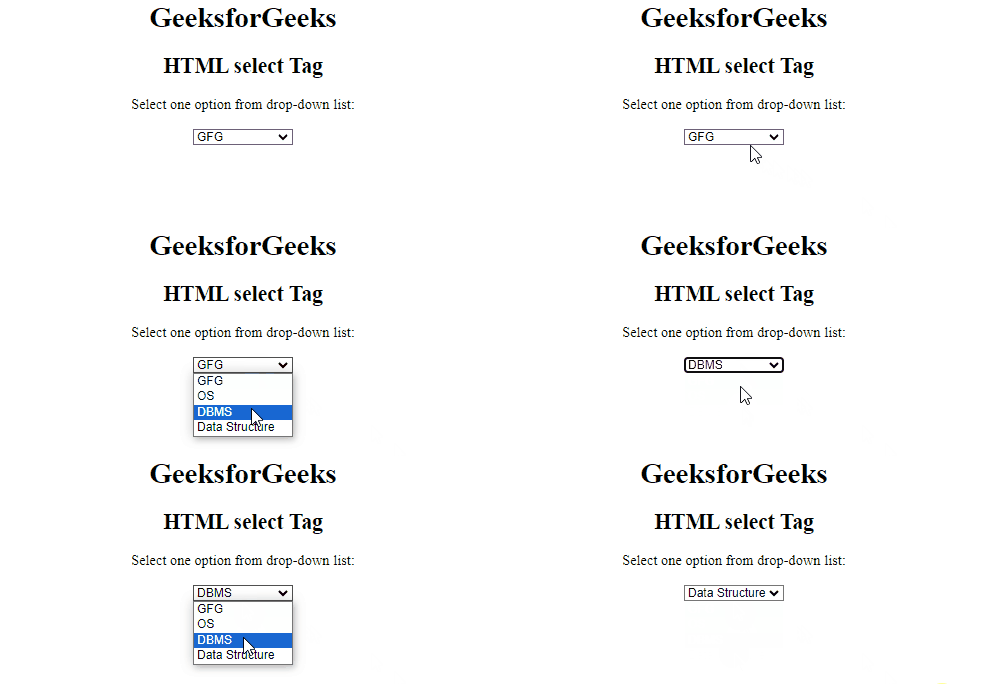
Example 2: This example describes the HTML <select> tag with one pre-selected option.
HTML
<!DOCTYPE html>
<html>
<head>
<title>HTML select Tag</title>
</head>
<body style="text-align:center;">
<h1>GeeksforGeeks</h1>
<h2>HTML select Tag</h2>
<p>Select one option from drop-down list:</p>
<select>
<option value="GFG">GFG</option>
<option value="OS">OS</option>
<option value="DBMS">DBMS</option>
<option value="Data Structure">Data Structure</option>
</select>
</body>
</html>
|
Output:

Example 3: In this example, we are using an optgroup tag with <select> tag. optgroup tag is used for displaying related options in the drop-down list.
HTML
<!DOCTYPE html>
<html>
<body>
<h2>Welcome To GeeksforGeeks</h2>
<label for="Brands">Choose a Brand:</label>
<select name="Brands" id="Brands">
<optgroup label="Tech Brands">
<option value="Google">Google</option>
<option value="Apple">Apple</option>
</optgroup>
<optgroup label="Automative Brands">
<option value="Tesla">Tesla</option>
<option value="audi">Audi</option>
</optgroup>
<optgroup label="Entertainment Brand">
<option value="Disney">Disney</option>
</optgroup>
</select>
</body>
</html>
|
Output:

Supported Browsers:
- Google Chrome 1
- Edge 12
- Firefox 1
- Safari 2
- Opera 1
Share your thoughts in the comments
Please Login to comment...