How to Disable Hardware Acceleration on Windows 10?
Last Updated :
29 Nov, 2023
In the Windows operating system, Hardware Acceleration is the process where the Hardware Components are actively involved in operating certain tasks. This increases the speed & performance of the device. Occasionally, the Enabled Hardware Acceleration creates problems with the Display and Graphics. In such cases, we have to Disable Hardware Acceleration on Windows.
In this article, we will discuss a few handful of methods to Stop Hardware Acceleration on Windows in no time.
How to Prevent Hardware Acceleration on Windows 10?
To restrict Hardware Acceleration on Windows, the following methods can be used. We will start with disabling GPU scheduling.
Method 1: Disable GPU Scheduling
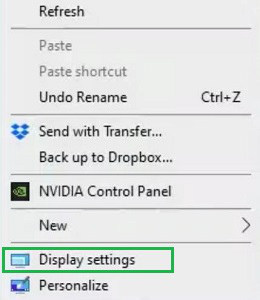
Step 1: Right-click on the Desktop Home Screen & go to the Display Settings.
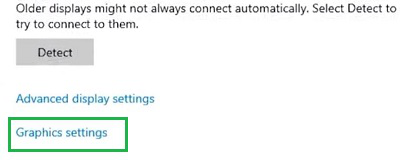
Step 2: Scroll down & go to the Graphics Settings.
Step 3: Toggle off the Button to disable GPU Scheduling.
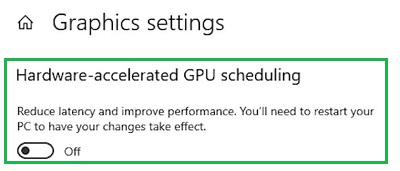
Hence, we have successfully prevented Hardware Acceleration by disabling GPU Scheduling.
Method 2: Stop Hardware Acceleration
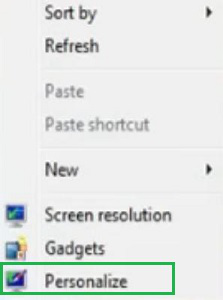
Step 1: Right-click on the Desktop Window to get the Personalize option.
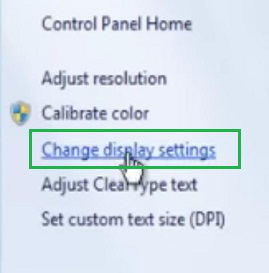
Step 2: Click on the Change Display Settings option.
Step 3: Select the Troubleshoot Tab & select Change Settings.
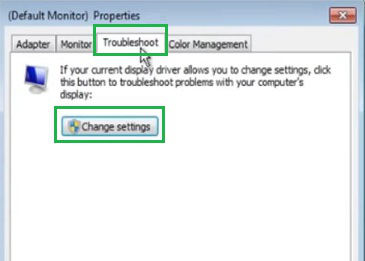
Step 4: Drag the Hardware Acceleration to None & press OK.

Hence, we have successfully prevented Hardware Acceleration by disabling Hardware Acceleration on Windows 7 only.
Method 3: Using Registry Editor
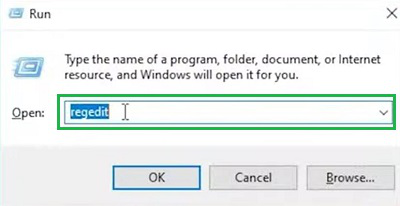
Step 1: Press the Windows + R button to start the Run window. Write down the ‘regedit’ command there. Press Enter.
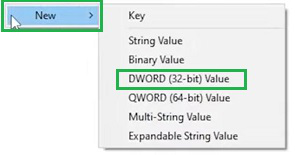
Step 2: In the Registry Editor follow the path HKEY_CURRENT_USER > Software > Microsoft > Graphics. Right-click on the right-hand side. Click on New & then select DWORD (32-bit Value).
Step 3: Write down the name HWAcceleration & save it.

Hence, we have successfully prevented Hardware Acceleration using Registry Editor.
Method 4: Using Edge Browser
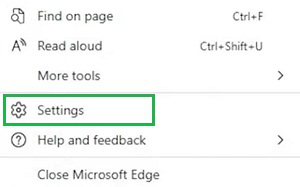
Step 1: Open Edge Browser & click on the three dots to get the Settings option. Go for it.
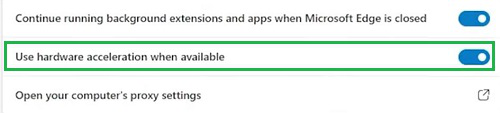
Step 2: In the System Settings, you will get the option to stop the Hardware Acceleration. Toggle Off the button.
Hence, we have successfully prevented Hardware Acceleration using Edge Browser.
Method 5: Audio Hardware Acceleration
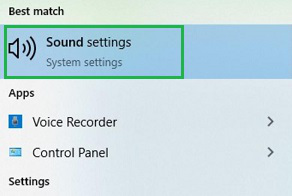
Step 1: Search for the Sound Settings in the Search Bar. And go with the best option.
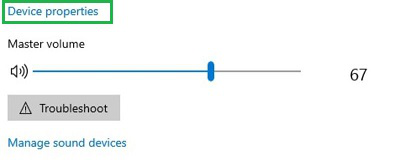
Step 2: Click on the Device Properties.
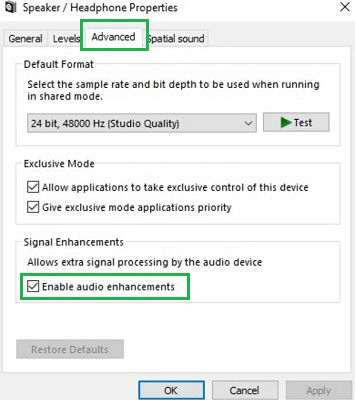
Step 3: In the Advanced Tab, remove the mark from the Checkbox & select OK.
Hence, we have successfully prevented Hardware Acceleration using Audio Hardware Acceleration.
So, these are the simple methods present to prevent the Hardware Acceleration process in the Windows operating system. If you are getting any message where the problem is flagged with the reason Hardware Acceleration, then only go to disable it. Otherwise, you will face the system performance a bit slower.
Also Read
FAQs: Prevent Hardware Acceleration on Windows 10
1. How can I disable GPU Scheduling to stop Hardware Acceleration on Windows 10?
To disable the GPU Scheduling to stop Hardware Acceleration on Windows 10, the following guidelines can be utilized.
- Right-click on Home to get Display Settings.
- Select Graphics Settings.
- Disable the button under GPU Scheduling.
2. What are the steps to stop Hardware Acceleration on Edge Browser?
The steps required to stop the Hardware Acceleration on Edge Browser are the following:
- Open Edge & select Settings.
- Go the the System & Preferences option.
- Disable the button of Hardware Acceleration.
3. How can I stop Audio Hardware Acceleration on Windows 10 PC?
To stop Audio Hardware Acceleration on Windows, follow the below steps carefully.
- Search for the Sound Settings in the search bar.
- Click on the Device Properties.
- Click on the Advanced Tab & disable Enhancement.
Share your thoughts in the comments
Please Login to comment...