Snapchat has blended well with the society of youth and adults. It has become a common and active way of communicating among people. Why is Snapchat becoming increasingly popular with the younger generation? This question often comes up among people. The answer is due to their dynamic and visually appealing elements, such as lenses and filters. You can express your creativity and instantly share content. It is important to note that the story feature of the platform also matches up quite well with the youth. The young audience desires short-lived and transitory updates like using Snapchat Lenses and Filters.
Likewise, Snapchat is attractive to adults because it is simple and keeps one connected with close friends, relatives, and even celebrities. You can even follow your favorite brands. Snapchat has a visual nature that creates an immediate feel. It enables its users to move beyond just age issues by reaching out to the different tastes of both children and adults.
Communication has taken a new shape with Snapchat. The app introduces fun and creativity into chatting with lenses and filters. With these features, you can have some uniqueness in your snaps. Lenses allow you to alter facial expressions or wear accessories. You can even change the tones of your photos or videos by using filters.
Now, let us look at the best ways to use Snapchat lenses and filters.
How to Use Snapchat Lenses and Filters?
How to Access Lenses and Filters on Snapchat?
Snapchat lenses and filters bring a flavor of fun and spice to your snaps. It transforms dull pictures and video images into animated gestures. Below is a detailed procedure for how you will go about making these features work for your snaps.
Filters:
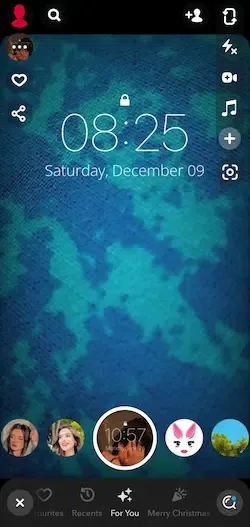
Step 1: Open Snapchat
Open Snapchat on your mobile phone. Ensure that your app is up-to-date for quick and easy use of the very latest filters.
Step 2: Capture a snap
Click on the photo symbol to snap photographs, or press and hold to record a video. This will create a base from which to apply filters.
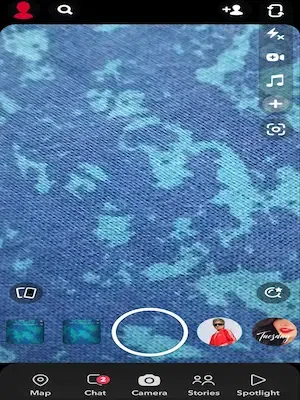
Step 3: Swipe left or right
Swipe left or right on the screen of the phone after your shot. By clicking on this, you will open a carousel of filters. You’ll be able to find new combinations of creative choice filters.
Step 4: Preview Filters
With every swipe, there’s a live preview of every filter on your snap. It allows you to visualize just how well a filter can improve your picture or video. You can compare and choose the option you like.
.webp)
Step 5: Choose a filter
After finding a filter that fits your mood or situation, you can stop swiping. The filter will be placed over your snap. Filters could be as simple as a colored overlay or a specific theme for each of your photos and videos.
.webp)
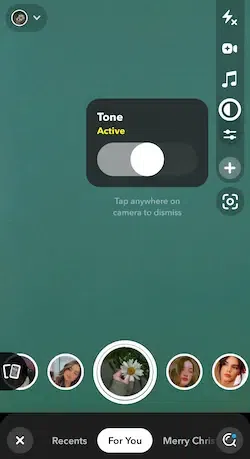
Step 6: Adjust Filter Intensity
In most cases, Snapchat has adjustable intensity levels. Swiping up or down on the screen can further refine the filter’s effect. It allows a higher degree of precision regarding how the image is rendered.
Lenses:
Step 1: Activate the front-facing camera
You can click on the camera flip button at the upper right portion of your screen to change to the front-facing camera.
Step 2: Activate Lenses Feature
See to it that you project your face on the screen. When you find them, press and hold your face on the screen. Swipe near the circle or photograph button for a list of lens options. The options will come up at the bottom.
Step 3: Swipe Through Lenses
Explore different lenses by swiping to the left or right. All these lenses provide different types of augmented realities, ranging from animated characters to interactive elements.
.webp)
Step 4: Try out lenses
Press a lens onto your face for instant effects. Some lenses react accordingly to facial motions and gestures. These lenses are very interactive.

Step 5: Capture Your Snap
Once you have selected a lens, hit the shutter icon to snap a photo. You can even hold the button for a video recording. Lens effects will change your content, making this appear interesting and amusing.
Step 6: Switch lenses during recording
You can change lenses as you record your video. For example, if you do a fast swipe and select one option after another, you will be able to shoot interesting, versatile materials.
How to Create Your Own Lenses and Filters
Following these easy procedures will allow you to discover the different Snapchat filters as well as lenses, enabling you to make unique snaps that will add flavor to your storylines and storytelling. Try a lot of mixtures to know what is the best filter or lens for every occasion that comes by.
How to create your own filters on Snapchat
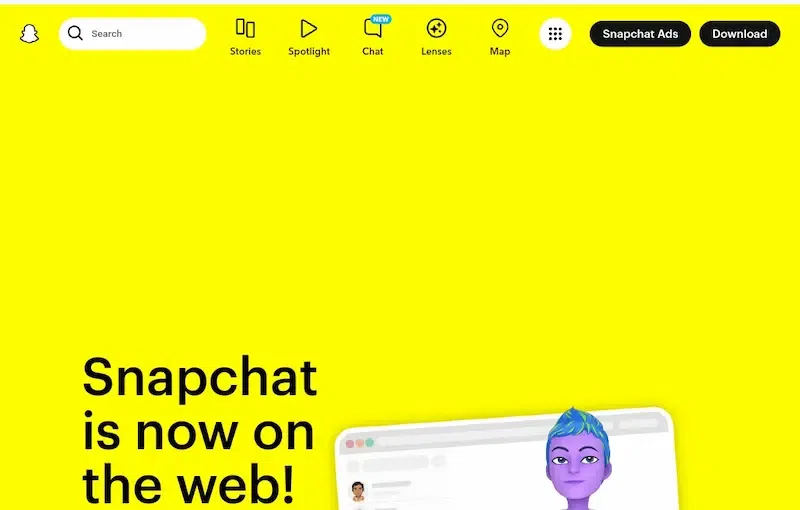
1. Access Snapchat.com:
Go to Snapchat.com and click on “Filters & Lenses” in the top menu.
2. Get Started:
Click the yellow button labeled “GET STARTED” on the page.
3. Choose filters:
Go to Snapchat’s filter creator page by selecting the “Filters” option.
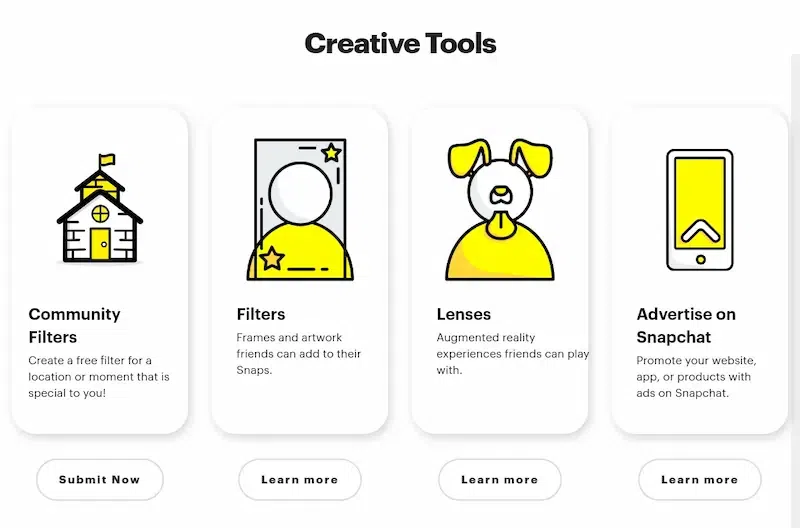
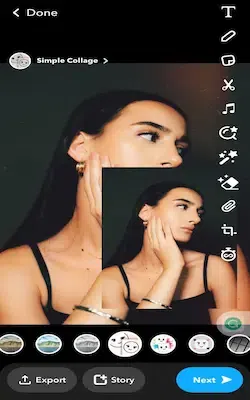
4. Upload or Design:
Upload a pre-designed filter or create a custom filter using the filter creator.
.webp)
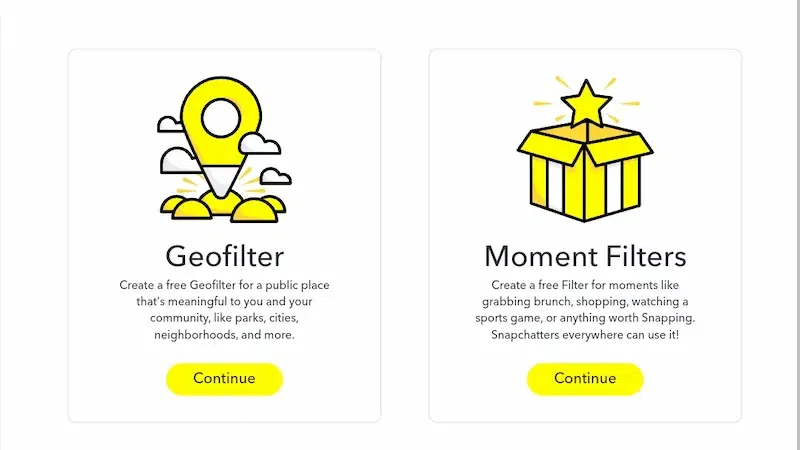
5. Select Template:
Choose a blank or themed template from the “Templates” section.
6. Design Your Filter:
Use the “COLOR,” “TEXT,” and “ELEMENTS” tabs to design your filter. Click “Next” to continue.
7. Set dates:
Set the availability dates for your filter. If recurring, choose “REPEATING EVENT.” Click “Next.”
8. Create Geofence:
Type a location or draw a geofence around the desired area. Adjust the size and click “Next.”
9. Check Price and Checkout:
The price appears; click “Checkout” to pay.
10. Finalize Payment:
Fill out the payment form, accept the privacy policy, and click “Submit” to finalize your custom lens.
How to create your own lens on Snapchat?
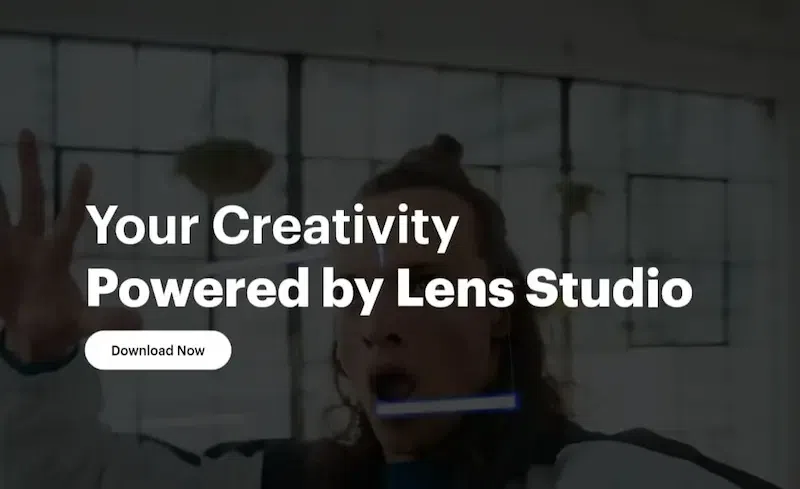
Creating a custom Snapchat lens is effortless with Lens Studio, Snapchat’s dedicated tool boasting over a million lenses. No programming skills are needed. Utilize pre-made textures or craft your own for a unique touch. Here’s a quick guide to Lens Studio basics:
1. Select a template:
Open Lens Studio and choose from beginner-friendly templates like 2D/3D objects, interactive maps, or face-altering effects. Templates cater to various skill levels.
2. Edit using the Studio Panel:
Head to the Studio Panel after selecting a template. Choose 2D/3D animations and explore AR features like liquify, object tracking, color correction, and more. Face lenses offer effects like eye color and face retouching.
3. Preview Your Lens:
Before publishing, click “Preview in Snapchat” to get a Snap Code. Test your creation in the app, make adjustments, and add finishing touches as needed. No coding is required; just unleash your creativity with Lens Studio.
Snapchat Dynamic Features
Snapchat’s dynamic lenses and filters have changed the way we communicate and portray ourselves online. The use of animations, Snapchat lenses, and filters brings a creative dimension to your daily life. Here, every snap becomes a platform to craft unique stories.
Furthermore, the process of accessing these features is easy as well. It is very easy to swipe through lenses and filters. This implies that individuals of any age could easily use Snapchat. You can improve the quality of your photos or videos without any hassle.
Read More About:
Conclusion
The guide on how to put one’s lenses and filters together gives this journey of creativity an extra step forward. Its easy-to-use interface can create and personalize visuals with ease. Snapchat allows personalizing photos or videos. The app makes every form of animation possible. Snapchat allows people to craft filters suitable for daily use or create lenses that will add extra fun to their day.
Snapchat enables a modern digital environment. It is a platform where creativity meets communication. Snapchat lenses and filters can enhance experiences. The app aims to make the platform engaging in the most creative ways possible. Snapchat continues to lead as more and more users download the app. It creates new ways of using filters and lenses frequently. Snapchat turns common experiences into exciting moments.
How to Use Snapchat Lenses and Filters – FAQs
1. How often are new lenses and filters added to Snapchat?
Answer:
Snapchat regularly updates its Lenses and Filters library. It introduces newer options to keep the creative possibilities fresh. Check back regularly to discover the latest additions.
2. Can I use lenses and filters in videos as well as photos?
Answer:
Lenses and filters can be applied to both photos and videos. It allows you to add a touch of flair to your moving memories.
3. Are custom lenses and filters only accessible to the creator?
Answer:
No, once your custom lens or filter is approved, it becomes available to all Snapchat users. Share your creativity with friends and followers to enhance their Snapchat experience.
4. Do lenses and filters work on all devices?
Answer:
While most modern smartphones support Snapchat lenses and filters, some older devices may have limitations. Ensure your device is running the latest version of the Snapchat app for optimal performance.
Share your thoughts in the comments
Please Login to comment...