How to Make a Calendar in Google Sheets
Last Updated :
14 Dec, 2023
Google Sheets is one of the popular cloud-based spreadsheet applications developed by Google as a part of Google Workspace. Similar to Microsoft Excel, it enables us to create, and edit data on spreadsheets and also enables us to share with our peers online. Calendar helps in organizing and maintaining data easily while keeping information up-to-date.
However, creating a Calendar in Google Sheets is no easy task but look no further in this tutorial I’ll teach you how to harness the power of rows and columns in Google Sheets and create a personalized Calendar that suits your needs.
How to Create A Calendar In Google Sheets
There are two ways to create a Calendar in Google Sheets but first, you’ll have to choose whether you want to create a Calendar from scratch or you want to use a Calendar theme. The two approaches are:
1. Creating a Custom Calendar Google Sheets from scratch
Customs calendars are the best suited for if you have a specific need in mind like extra lines for daily tasks or space.
2. Creating a Calendar using templates
Creating a calendar using templates is best if you don’t have enough time to create a calendar from scratch and want to use a pre-built calendar and apply necessary changes to it.
How to Create a Custom Calendar in Google Sheets
Step 1: Create a Spreadsheet
Open a new spreadsheet in Google Sheets and give the title as your current month,(In this case we renamed it as August 2023).
Step 2: Add Title of the Calendar
Use the first row as the name of the month, you can use merge cells text-aligning to format it.
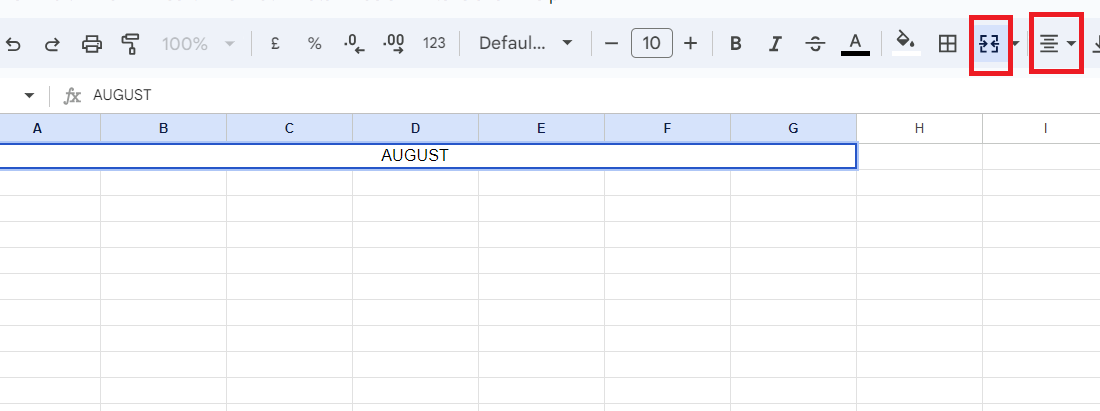
Setting Title
Step 3: Assign Days of the Week
In the second, row write the days of the week from A1 – G1 (MONDAY, TUESDAY …).
You can either type manually or you could just type MONDAY in the First Cell and use the Auto Fill function. Just select the first cell, click on the circle on the bottom right of the cell, ll, and hold while you drag your mouse horizontally from A2-G2.
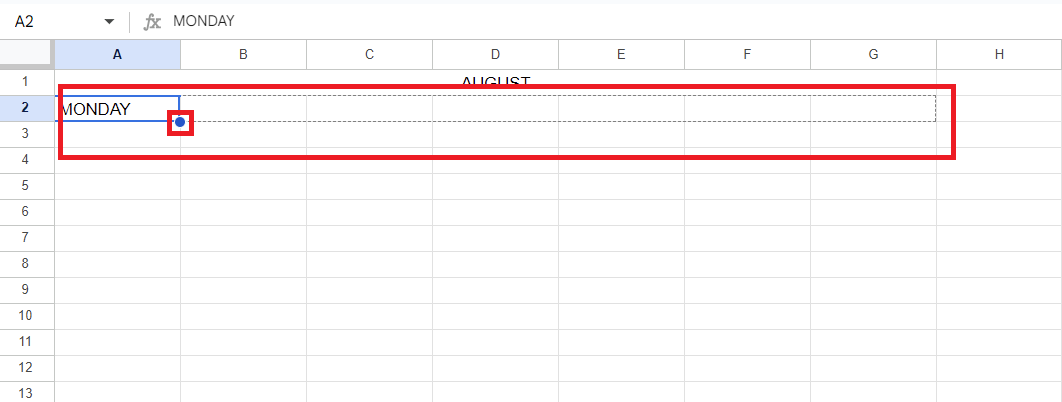
Assigning Days
Step 4: Assign Dates to the Cells
Add another calendar to fill the dates in the calendar accordingly. In this case, the month starts on Tuesday, so I’ll start 1 from Tuesday and start assigning the dates to each.
Don’t forget to skip an RTO to make it look cleaner.
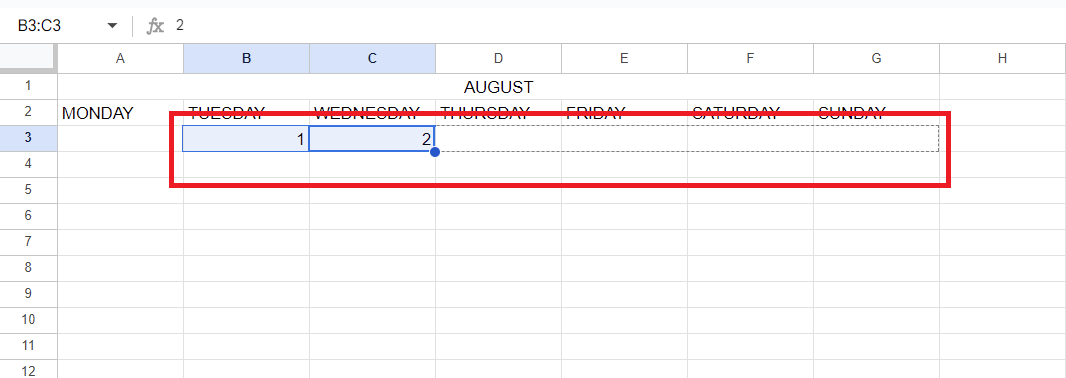
Assign dates to the o calendar
Step 5: Customise Calendar
Now you can give you personalized touch to the calendarize by changing the color of the text, giving it some background and all.
How to Create a Calendar Using Templates
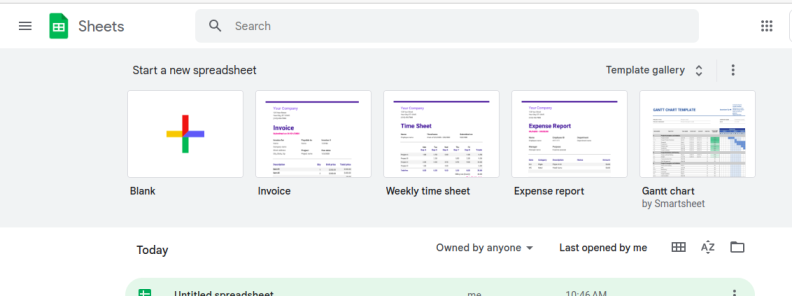
Step 1: Open Google Sheets
Open Google Sheets and create a new blank spreadsheet.

Open Google Sheets
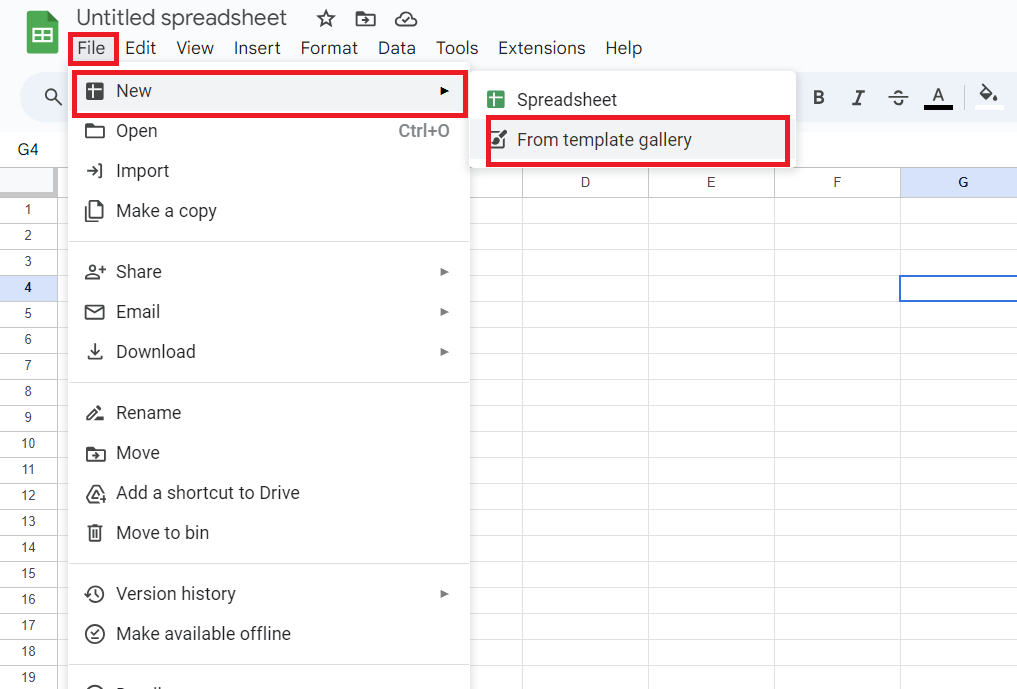
Step 2: Access File Tab, Click on New and Select From Template Gallery
Go to File in the top left menu click on New, and then click on From Template Gallery. This will open a new tab in your browser where you’ll see multiple templates to use in your spreadsheet.
Go to Template Gallery
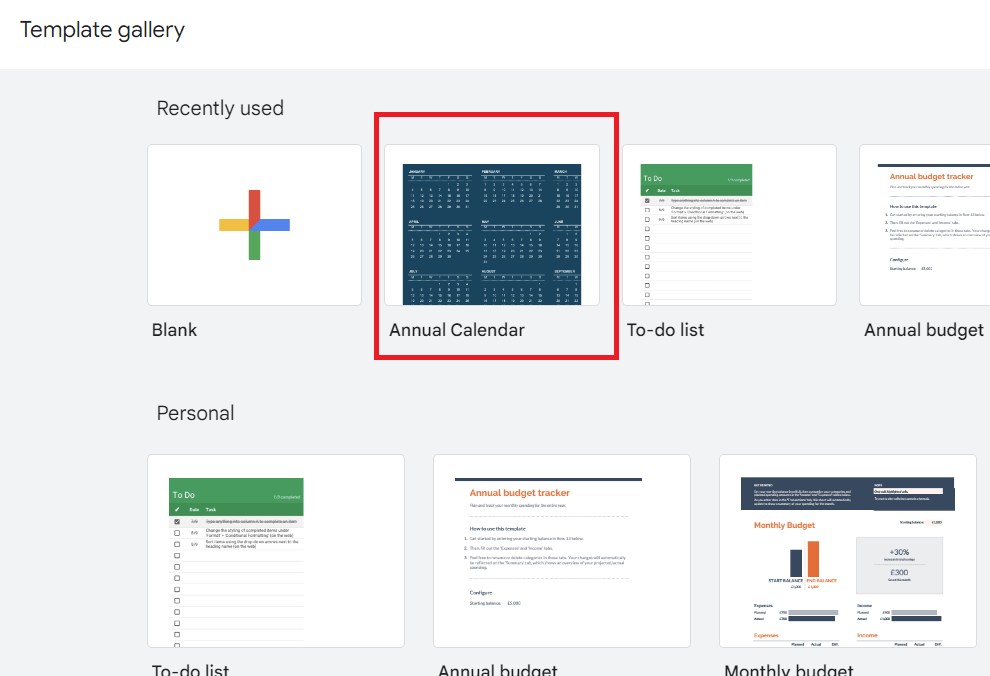
Step 3: Select Annual Calendar
In the new opened sheet among the different given templates select the Annual Template.
Select Annual Calendar
Step 4: Customize the Calendar
When you click on the annual calendar it will create a calendar in a new spreadsheet. Now you can give your calendar a personalized touch. You change the color of the calendar, change the font style and many other things.
How to Customise a Calendar in Google Sheets
To customize the Calendar quickly follow these simple steps:
Open Google Sheets > Format >Theme > customize calendar
How to Delete A Calendar in Google Sheets
Not that we learned how to create a Calendar in Google Sheets, but there will be a time come when the need for our Calendar will be ver, whether the purpose of the Calendar is fulfilled or the task associated with it has been completed, for that we should know how to remove or delete the Calendar in Google Sheet-
Here are the steps to Delete A Calendar in Google Sheets-
Step 1: Open Google Sheets
Go to your web browser, open Google Sheets and log in to your Google Account. Access the calendar you want to delete.
Open Google Sheets
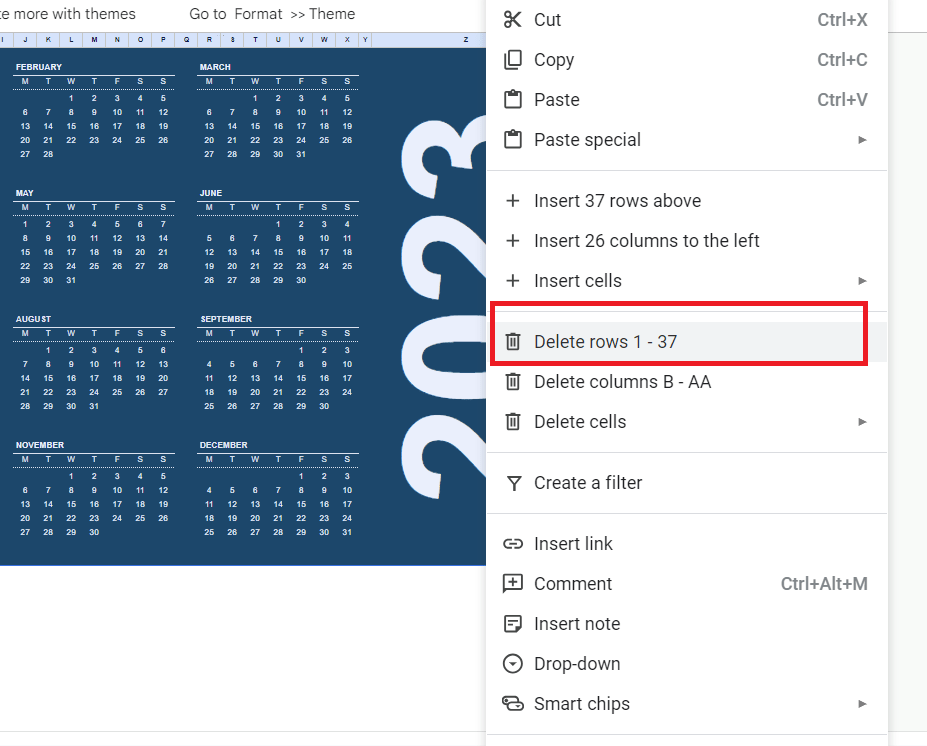
Step 2: Remove the Calender
Click on the Calendar and click on Delete rows [STARTING_ROW, ENDING_ROW] from the menu. In your case stringing and rows may be different depending upon the Calendar.
Remove Calendar in Google Sheets
Step 3: Review Your Deletion
Make sure and review that you have deleted the right calendar, don’t worry if you have deleted the wrong Calendar by mistake then press Ctrl +Z (UNDO) to bring it back.
Conclusion
Google Sheets is one of the applications for creating, managing, ing, and editing spreadsheets, it provides various features for data analysis, chacreationing, and various templates like annual calendars, to-do lists, etc. One of the commiserate of Google Sheets is event management or management. Now that you have learned how to create and delete calendars in Google Sheets, you can create your custom Calendars for various events and tasks and share them with your co-workers and peers.
FAQs
What is Google Sheets?
Answer. Google sheets is a one of the popular cloud-based spreadsheet application developed by Google as a part of Google Workspace. Similar to Microsoft excel, it enables us to create, edit data on spreadsheets and also enable us to share with our peers online.
Does Google Sheets have a 2023 calendar template?
Yes, Google sheets provide a template that consists days of the week running from Sunday to Saturday, and notes can be written at the bottom of the template.
What are the uses of Custom Calendar?
Answer. Custom calendars are used when the traditional Calendar tools fails to fulfil our needs, like creating a work related calendar for manage, shifts meeting and track assignments or creating a fitness related calendar for to schedule workouts.
How do I Automate a Calendar in Google Sheets?
1. Open a spreadsheet
2. Format the Calendar
3. Fill in the days of the week
4. Fill in the numbers.
5. Repeat the process until required
Share your thoughts in the comments
Please Login to comment...