Render Model in Django Admin Interface
Last Updated :
11 Sep, 2021
Rendering model in admin refers to adding the model to the admin interface so that data can be manipulated easily using admin interface. Django’s ORM provides a predefined admin interface that can be used to manipulate data by performing operations such as INSERT, SEARCH, SELECT, CREATE, etc. as in a normal database. To start entering data in your model and using admin interface, one needs to specify or render model in admin.py.
Render Model in Django Admin Interface Explanation
Consider a project named geeksforgeeks having an app named geeks. Let us initialize a model having fields title, content, views, URL, image, etc as in a blog. To know more about various fields and their implementations visit Django model data types and fields list.
Refer to the following articles to check how to create a project and an app in Django.
Enter the following code into models.py file of geeks app.
Python3
from django.db import models
from django.db.models import Model
class GeeksModel(models.Model):
title = models.CharField(max_length = 200)
content = models.TextField(max_length = 200, null = True, blank = True)
views = models.IntegerField()
url = models.URLField(max_length = 200)
image = models.ImageField()
|
One can easily create instances of this model using django shell but to access the admin panel and use admin panel for inserting, deleting or modifying the data following steps are to be followed:
- Before starting to use admin interface of django one needs to create superuser in django. A superuser is like an admin who can access and modify everything of a particular Django project. To create a superuser enter the following command into the terminal.
Python createsuperuser
- Enter your Name, Email, Password, and confirm password.

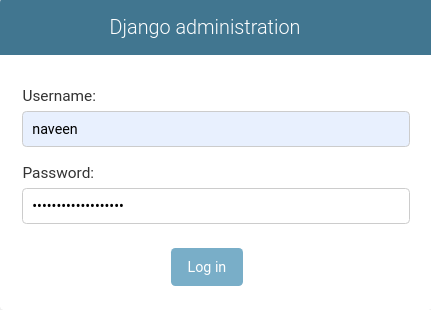
- Now let us login into the admin panel
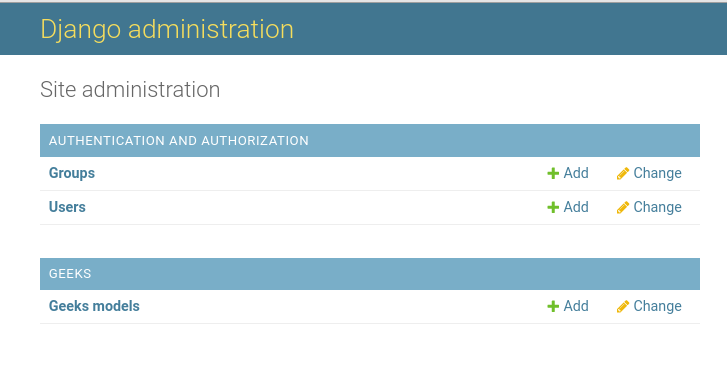
- Its time to render our model in this admin interface. Go to admin.py in geeks app and enter following code. Import the corresponding model from models.py and register it to the admin interface.
Python3
from django.contrib import admin
from .models import GeeksModel
admin.site.register(GeeksModel)
|
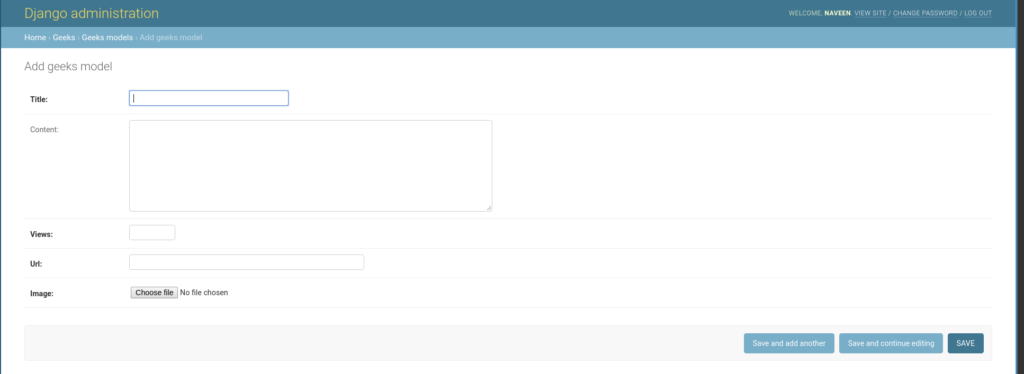
- To add data into the model, tap add and enter corresponding data into the required fields. click on save.
Bingo..!! Model GeeksModel has been successfully rendered into the admin interface. One can similarly render all types of models and any number of models in the Django Admin Interface.
Also Check –
Share your thoughts in the comments
Please Login to comment...