How to Render Data in Django
Last Updated :
25 Sep, 2023
Django’s render() function is a fundamental tool for building dynamic web applications. It simplifies the process of combining HTTP requests with HTML templates and dynamic data, making it easier for developers to create interactive and data-driven web pages.
What is render()?
In Django, the render() function is part of the django.shortcuts module. It is essentially a shortcut method that combines several common steps in the view layer of a web application. The primary purpose of render() is to take a request, a template, and a dictionary of context data and return an HTTP response with the rendered HTML content.
Required Packages
Implementation of Django render()
Setup Project
Use the below commands to start your Project
django-admin startproject <project_name>
cd <project_name>
python manage.py startapp mini
Step 1: mini/views.py
Here, In the views.py the render() function takes three arguments:
- request: This argument is required and represents the incoming HTTP request. It contains information about the user’s request, such as headers, method, and any data submitted via forms.
- ‘my_template.html‘: This is the name of the template file you want to render. Django will look for this template in your project’s templates directory.
- context: The context is a dictionary containing key-value pairs. These pairs provide data that can be dynamically inserted into the template. In the example, two variables, variable1 and variable2, are passed to the template.
Python3
from django.shortcuts import render
def home(request):
print("correct")
context = {
'message': 'Hello, Django!',
}
return render(request, 'myapp/index.html', context)
|
Step 2: template/index.html
Create a template folder inside your mini app, then in file we use Django template tags to access the ‘message’ variable from the context data and display it within an <h1> element.
HTML
<!DOCTYPE html>
<html lang="en">
<head>
<meta charset="UTF-8">
<title>Render Example</title>
</head>
<body>
<h1>{{ message }}</h1>
</body>
</html>
|
Step 3: mini/urls.py
In this URLs, we define a URL pattern that maps to the home view function.
Python3
from django.urls import path
from . import views
urlpatterns = [
path('', views.home, name='home'),
]
|
Step 4: urls.py (projects urls)
Python3
from django.contrib import admin
from django.urls import path, include
urlpatterns = [
path('admin/', admin.site.urls),
path('', include('mini.urls')),
]
|
Step 5: setting.py
If you find error in template rendering, Specify the DIR path. (Applicable for both Linux and Windows).

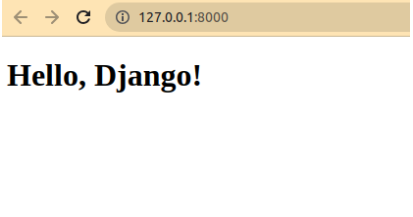
Now, when you access the URL in your Django project, the home view function will be called, and the ‘index.html’ template will be rendered with the context data, displaying “Hello, Django!” as the message.
Deploy Project
python manage.py runserver
Output
Share your thoughts in the comments
Please Login to comment...