Jinja for Server-Side Rendering in Django
Last Updated :
06 Dec, 2023
Server-side rendering is a fundamental part of web development, and it plays a crucial role in delivering dynamic and interactive web applications. In Django, one of the most popular Python web frameworks, you have several template engines to choose from for rendering HTML content on the server. Jinja2 is one of these options, and it offers a powerful and flexible way to create templates in Django. In this article, we will explore how to use Jinja for server-side rendering in Django.
Jinja2 Template Engine
Jinja2 is a fast and expressive templating engine for Python programming. It is widely used in web development and is known for its simplicity and flexibility. It allows you to embed dynamic content within your HTML templates by using placeholders and control structures.
Django Templates
Django has its built-in template engine, but it also allows you to use other template engines like Jinja2. Django templates define the structure of your HTML pages and enable you to insert dynamic data from your application into these pages.
Syntax: Jinja2 uses double curly braces {{ variable_name }} for placeholders and control structures enclosed in curly braces with percent signs {% control_structure %}.
Jinja for Server-Side Rendering in Django
To use Jinja for server-side rendering in Django, follow these steps:
First create a django project by following this article – How to create a Django project?
Step 1 – Install Jinja2
Make sure you have Jinja2 installed in your Django project. You can do this using pip:
pip install Jinja2
Step 2: Configure Jinja2
In your Django project’s settings.py file, configure Jinja2 as the template engine by adding the following lines:
Python
TEMPLATES = [
{
'BACKEND': 'django.template.backends.django.DjangoTemplates',
'DIRS': [BASE_DIR/'templates'],
},
]
|
Step 3 – Create Jinja2 Templates
Create your HTML templates (e.g., templates/index.html) in the root directory using Jinja2 syntax. You can use placeholders and control structures like loops and conditionals to inject dynamic data into your templates.
HTML
<!DOCTYPE html>
<html>
<head>
<title>{{ title }}</title>
</head>
<body>
<h1>{{ title }}</h1>
{% if user_authenticated %}
<h1>Welcome, {{ username }}!</h1>
{% else %}
<p>Please log in to access the content.</p>
{% endif %}
<ul>
{% for item in items %}
<li>{{ item }}</li>
{% endfor %}
</ul>
</body>
</html>
|
Step 4 – Render Templates in Views
In your Django project, create a new views.py file and render the Jinja2 templates using the render function as follows:
Python
from django.shortcuts import render
def index(request):
context = {
'title': 'Hello, Jinja in Django!',
'user_authenticated': True,
'username': 'GeeksforGeeks',
'items': ['C/C++', 'Java', 'Python', 'Javascript']
}
return render(request, 'index.html', context)
|
Step 5- Use Templates in URLs:
Create URLs that map to your views in Django’s urls.py and configure your URLs to display the Jinja2-rendered templates.
Python
from django.contrib import admin
from django.urls import path
from .views import index
urlpatterns = [
path("admin/", admin.site.urls),
path("", index),
]
|
In this example, {{ title }} is a placeholder that will be replaced with the value passed in the context dictionary when the template is rendered. You can also use control structures like {% for %} and {% if %} to create dynamic content. Using Jinja2 for server-side rendering in Django provides you with a powerful way to create dynamic web applications while maintaining clean and expressive templates.
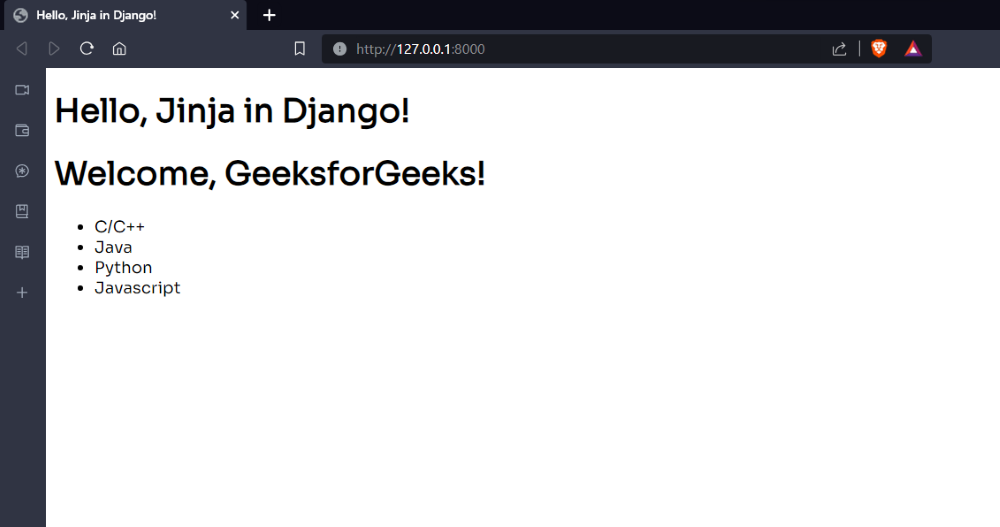
Output
Conclusion
Using Jinja for server-side rendering in Django offers developers increased flexibility, separation of concerns, and access to rich templating features while enjoying the support of a vibrant Python web development community. Jinja2’s excellent performance and compatibility with Django make it a compelling choice for creating dynamic and efficient web applications, streamlining development, and ensuring maintainability. By integrating Jinja into your Django project, you can achieve a well-structured, high-performing web application that delivers an engaging user experience.
Share your thoughts in the comments
Please Login to comment...