Pug View Engine Introduction
Last Updated :
29 Feb, 2024
Pug is a template engine that works with JavaScript libraries and frameworks. It simplifies the process of writing HTML by reducing traditional HTML syntax. It uses indentation to represent HTML structure. By using Pug you can reuse the HTML code. In this article, we will learn about how to use pug and its syntax examples.
What Is Pug Used For?Key Features:
- Simplified HTML Creation: Pug is used to make it easier to write and maintain HTML code. It uses indentation to represent the structure of HTML tags, making the code more concise and readable.
- Reduced Boilerplate: With Pug, you write less boilerplate code. You don’t need to worry about closing tags or excessive brackets, which can make your templates more compact.
- Dynamic Content: Pug allows you to embed dynamic content using variables and control structures. This is particularly useful when working with server-side rendering in NodeJS applications.
- Cleaner and Readable Code: The syntax of Pug is designed to be clean and readable, which can lead to more maintainable code. The indentation-based structure often results in templates that are visually simpler than equivalent HTML.
- Expressive Templates: Pug provides a concise and expressive way to define your HTML structure. This can be beneficial when working on projects that involve a lot of templating and view rendering.
How to use Pug?
Pug is a template engine that simplifies the HTML structure and is used to serve dynamic content. The pug file is denoted by the .pug extension. It doesn’t require to close the tag.
Installing Pug:
Before using Pug, we need to install it in our project. we can install Pug using the package manager for NodeJS (npm).
npm install pug
Pug HTML Basic Syntax:
Doctype, Tags Syntax:
Pug uses a simplified syntax for defining the document type and HTML tags.
doctype html
html
  head
    title My Pug Page
  body
    h1 Welcome to Pug
    p This is a Pug template.
Class, IDs, and Attributes:
Pug provides a short way to define classes, IDs, and attributes:
// " . " (dot) For class name,  " # " For Id and Attributes are define inside round bracket
div.container#main-content
  p.text-info Welcome to Pug!
  img(src='image.jpg', alt='Pug Image')
In this syntax, div has the class container and the ID main-content. paragraph has the class text-info and the image has a source and alt attribute.
Plain text and text blocks:
//Plain Text
p This is plain text in a paragraph.
//Text Block
p.
  This is a multiline
  text block in a paragraph.
Comments:
// This is a single-line comment
//- This is another single-line comment
/*
  This is a
  multi-line comment
*/
Using JavaScript in Pug HTML:
Pug allows you to embed JavaScript code directly into the template. You can include variables, expressions, and control structures within your Pug code.
Buffer vs Unbuffered Code:
Buffered code outputs its result directly into the HTML, while unbuffered code does not. Buffered code is denoted by placing an equals sign (=) before the code, while unbuffered code uses a hyphen (-).
- let name = "Pug";
p Hello, #{name}! //- Unbuffered code
p= "This is buffered code." //- Buffered code
Interpolation:
Interpolation is the process of embedding variables or expressions within the template. you can use #{…} for interpolation.
- let user = { name: "Jaimin", age: 21 };
p Welcome, #{user.name}! You are #{user.age} years old.
Iteration:
Pug supports iteration for rendering lists or arrays.
ul
  each item in ['Apple', 'Banana', 'Orange']
    li= item
Conditionals:
Conditional statements can be implemented using if, else if, and else in Pug.
- let isAuthenticated = true;
if isAuthenticated
  p Welcome back!
else
  p Please log in.
Key Features:
- It supports variable, conditionals and loops directly in the template to generate dynamic content.
- It can be easily used with NodeJS frameworks like ExpressJS.
- It uses Indentation to define the structure of HTML.
- It reduces the traditional HTML syntax.
- It supports reusable components through mixins.
- It supports use of inline JavaScript.
Steps to Create Application:
Step 1: Create a NodeJS application using the following command:
npm init
Step 2: Install required Dependencies:
npm i pug express
The updated dependencies in package.json file will look like:
"dependencies": {
    "express": "^4.18.2",
    "pug": "^3.0.2"
}
Example: Below is an example of using Pug.
HTML
//File path: views/index.pug
// Pug template
html
head
// Set the title of the HTML page
title Pug Example
// Internal CSS styles for the page
style.
h1 {
color: green;
}
body
// Display the main heading of the page
h1 GeeksForGeeks | Pug Example
// Display a subheading
h4 This data is coming from Server:
// Display data received from Express server
p The server sent the following data: #[strong #{message}]
// Display the list of courses using the each loop
ul
each course in courses
// Display each course as a list item
li= course
|
Javascript
const express = require('express');
const path = require('path');
const app = express();
const port = 3000;
app.set('view engine', 'pug');
app.set('views', path.join(__dirname, 'views'));
app.get('/', (req, res) => {
const data = {
message: 'Hello from GeeksForGeeks!',
courses: ['Web Development', 'DSA', 'Java']
};
res.render('index', data);
});
app.listen(port, () => {
console.log(`Server is running at http:
});
|
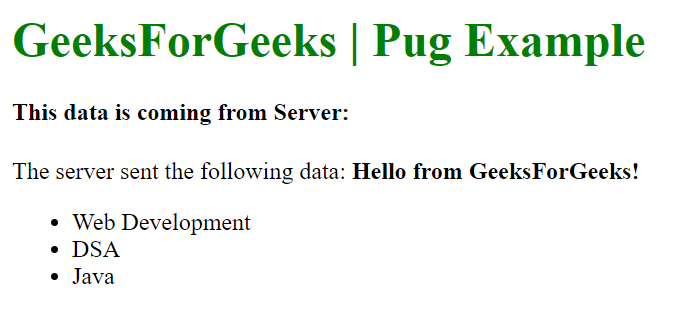
To run the application use the following command:
node index.js
Output: Now go to http://localhost:3000 in your browser:
Share your thoughts in the comments
Please Login to comment...