Pug View Engine Installation
Last Updated :
06 Mar, 2024
Pug, once known as Jade, makes writing HTML codes easy for NodeJS and web browsers. It’s clear syntax and handy features speed up web work and keep things simple. This quick guide will go over what you need to use Pug, how to install it, and what it does, and will give you clear steps along with examples to create your first application using Pug.
Prerequisites :
Features of Pug :
- Easy Syntax: In HTML templates, Pug gives you a way to write less. Plus, it’s easy to read.
- Template Building: You can build reusable parts with Pug. It’s great for creative projects.
- Useful Features: With Pug, you can reuse bits of code. It helps keep things tidy and easy to handle.
- Node.js Compatibility: Pug works smoothly with Node.js apps. It’s why people like it for server-side tasks.
- Speed: Pug’s got a fast engine. It compiles and goes through templates quickly.
Steps to Create Install Pug View Engine:
Step 1: This command will help to install pug and pug cli in the machine.
npm install pug
npm install pug-cli -g
Step 2: Create a Pug Template: Now lets create a new pug file with the name of index.pug with some code in it
doctype html
html(lang="en")
  head
    title Pug Example
  body
    h1 Welcome to Pug World
    p This is a simple Pug page.
Step 3: Compile the Pug file to HTML: This command will help to compile pug into html file and there after it will can be run into the browser to see output.
pug index.pug
Output (index.html):
<!DOCTYPE html>
<html lang="en">
<head>
    <title>Pug Example</title>
</head>
<body>
    <h1>Welcome to Pug World</h1>
    <p>This is a simple Pug page.</p>
</body>
</html>
Output:
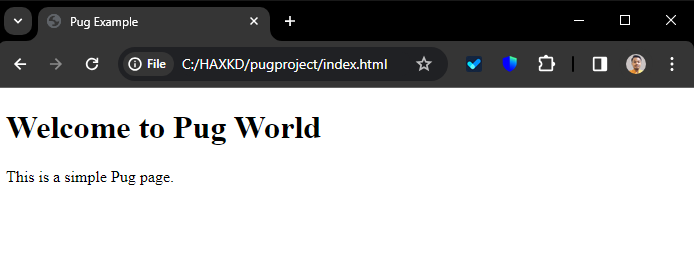
creating a pug project
Share your thoughts in the comments
Please Login to comment...