How to Use JMeter for Performance and Load Testing?
Last Updated :
14 Feb, 2024
In today’s digital landscape, applications face ever-increasing demands. Users expect seamless, responsive experiences, regardless of peak traffic or complex workflows. Ensuring your software can handle these challenges is crucial for maintaining user satisfaction and business success. This is where load testing comes in. Load testing simulates realistic user loads on your application, helping you identify performance bottlenecks, assess scalability, and predict behavior under various conditions. This valuable information allows you to proactively optimize your application and ensure it delivers a consistent, high-quality experience for all users.
Prerequisites
Steps to Perform Performance Testing & Load Testing with JMeter
Step 1: Launch JMeter
Extract the JMeter archive to your desired location and launch it by running the JMeter Windows Batch file from the ‘bin’ directory. Ensure Java is installed on your system as JMeter requires Java to run.

Step 2: Create a Test Plan
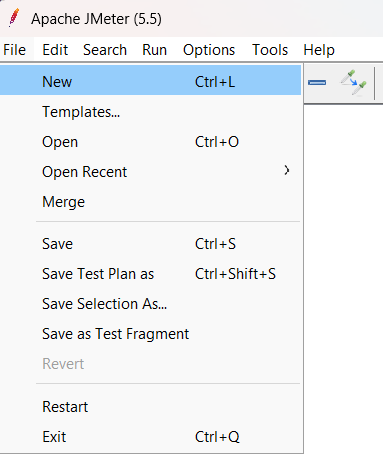
Open JMeter, navigate to File -> New Test Plan and provide a name for your test plan to create a new testing project within the JMeter interface.
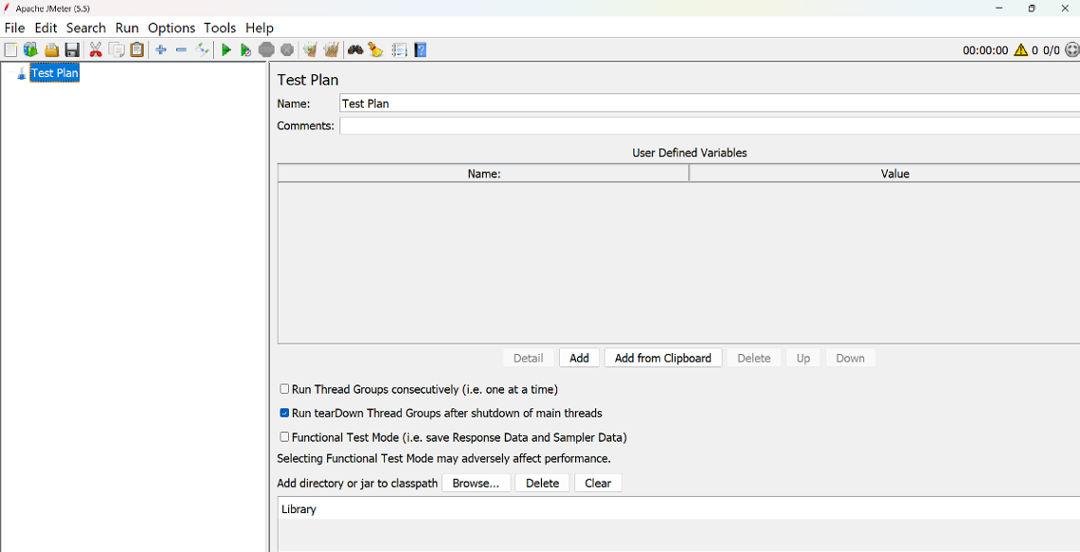
Once the Test Plan gets created, we can change the name of the Test Plan. Along with this, we can configure various settings of the Test Plan.
Step 3: Add a Thread Group
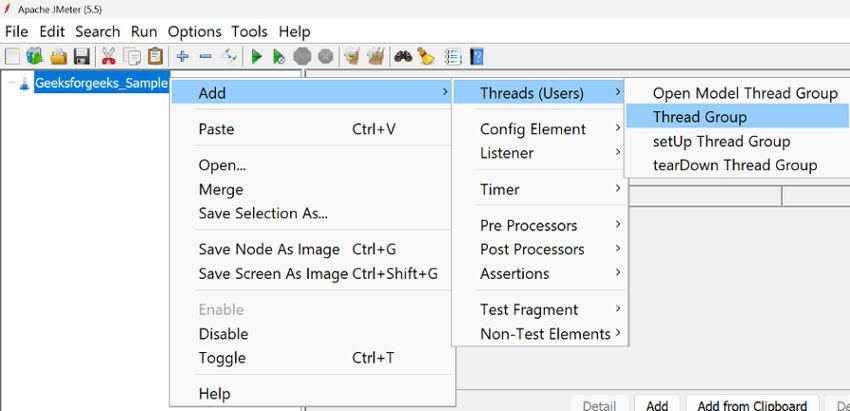
Right-click on the Test Plan, and select Add -> Threads (Users) -> Thread Group in the tree view.
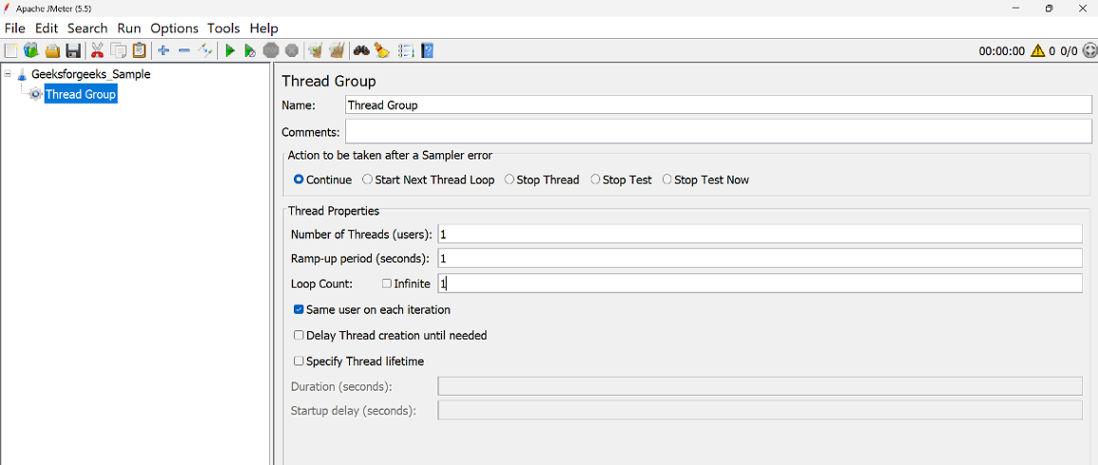
Configure the Thread Group by setting the number of threads, ramp-up period, and loop count for simulating user behavior and load in the performance test. Adjust as needed for your specific scenario.
Step 4: Add Sampler (HTTP Request)
Inside the Thread Group, right-click and choose Add -> Sampler -> HTTP Request to add an HTTP Request Sampler.
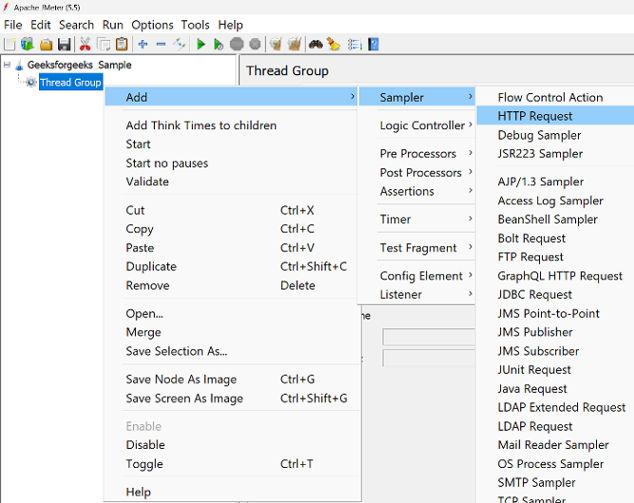
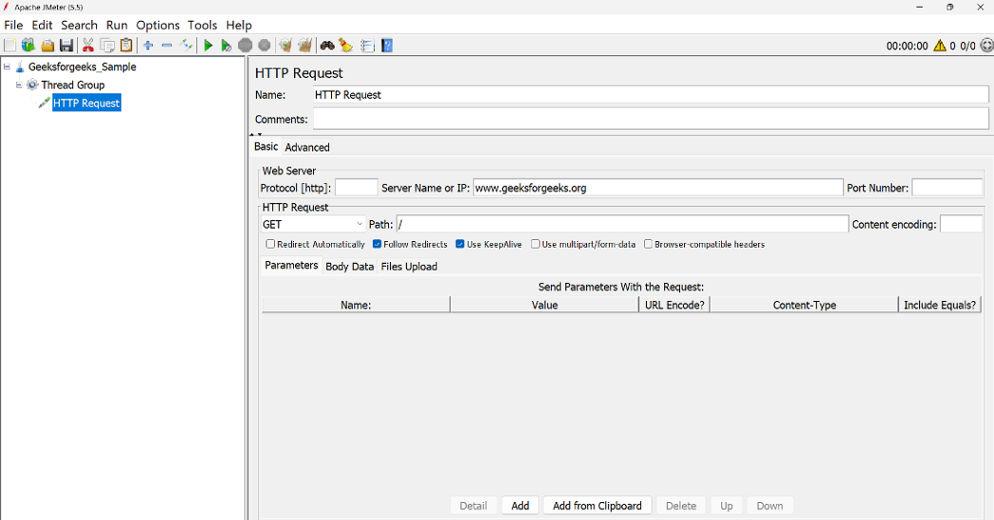
Configure the sampler by providing the server details such as server name, port, and path to simulate HTTP requests in the performance test. Performance and Load Testing were conducted on the GeeksforGeeks official website, utilizing its server name without specifying a path and employing ‘/‘ to assess the overall website performance. Additionally, HTTP requests were incorporated, and it is worth noting that various other protocols can be employed for testing as well.
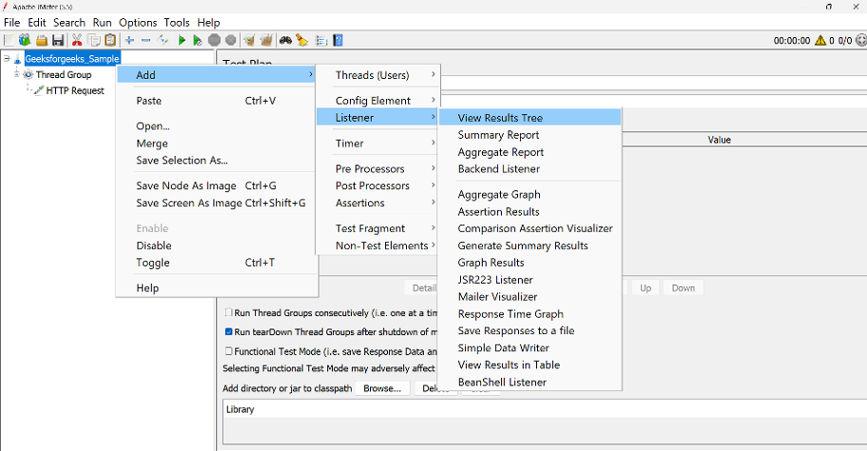
Step 5: Add Listeners
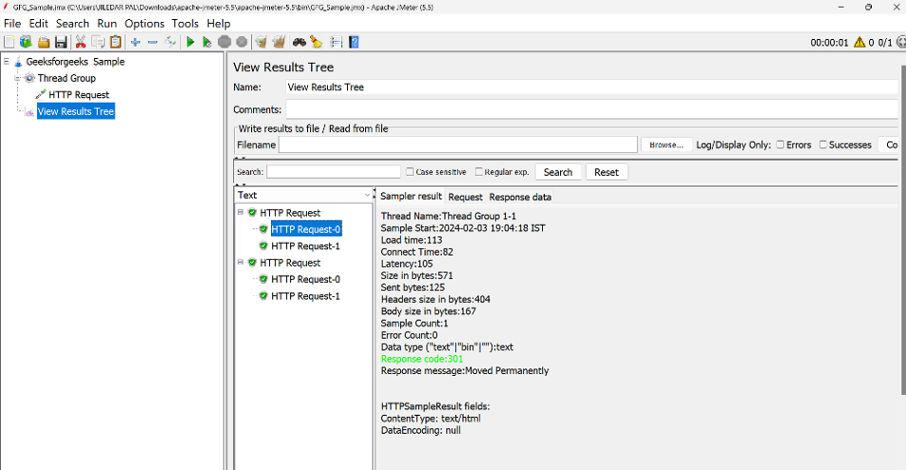
Within the Thread Group, right-click and select Add -> Listener. Common listeners, such as View Results Tree, Summary Report, and Response Times Over Time, can be added. Configure listeners to display pertinent information about the test results.
Step 6: Configure Additional Elements (Optional)
If necessary, configure additional elements by adding Config Elements to set variables, Assertions to validate responses, and Timers to introduce think time. Customize these elements based on your specific test requirements.
Step 7: Configure Load Scenarios
Fine-tune the Thread Group settings to configure load scenarios. Adjust the number of threads, ramp-up period, and loop count to simulate realistic user behavior and define load scenarios in your performance test.
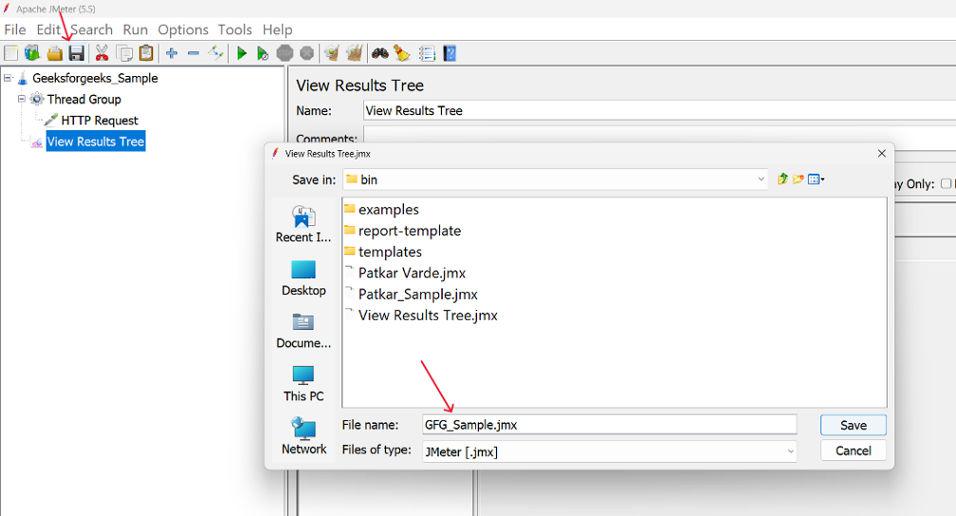
Step 8: Run the Test
Save your test plan with a meaningful name using the “File -> Save Test Plan” option.
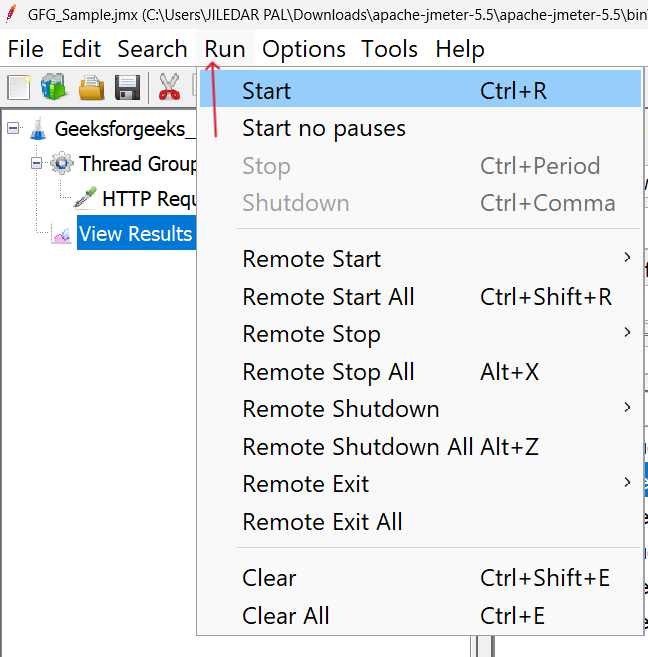
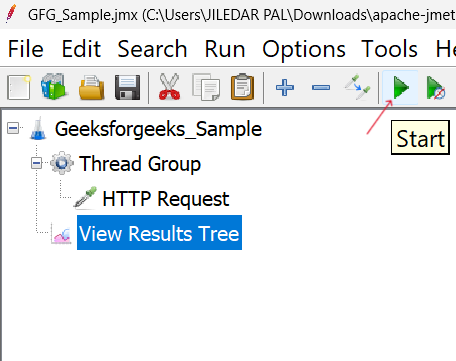
Click on the “Run” menu, then select “Start,” or press the “Play” button to initiate the test. Monitor the test progress in the listeners to analyze the performance metrics.
Clicking on the Start button which is situated at the top of the option bar.
Step 9: Analyze Results
Review the test results after completion, utilizing the configured listeners. Examine response times, errors, throughput, and other pertinent metrics to assess the performance of the application under load.
Conclusion
In conclusion, load testing with JMeter is an important step in making sure your applications meet the demands of today’s digital landscape. By using realistic user loads, identifying performance bottlenecks, and analyzing key metrics, you can proactively optimize your software for scalability and deliver a consistent, high-quality user experience. The comprehensive steps outlined above provide a structured approach for conducting performance testing and load testing with JMeter, empowering you to enhance user satisfaction and achieve business success.
Share your thoughts in the comments
Please Login to comment...