How to Install Scala Kernel in Jupyter?
Last Updated :
13 Mar, 2023
Jupyter notebook is widely used by almost everyone in the data science community. While it’s a tool with extensive support for python-based development of machine learning projects, one can also use it for Scala development as well, using the spylon-kernel. In this article, we will see how to install spylon-kernel and configure it to build Scala-based projects on Jupyter.
Pre-requisite: Running Scala on Jupyter will require JRE to be installed, with its PATH environment variable set to Java bin folder(C:\Program Files\Java\jre1.8.0_211\bin in our case). Check this tutorial.
Installation Scala Kernel in Jupyter:
Follow the below steps to install Scala Kernel in Jupyter
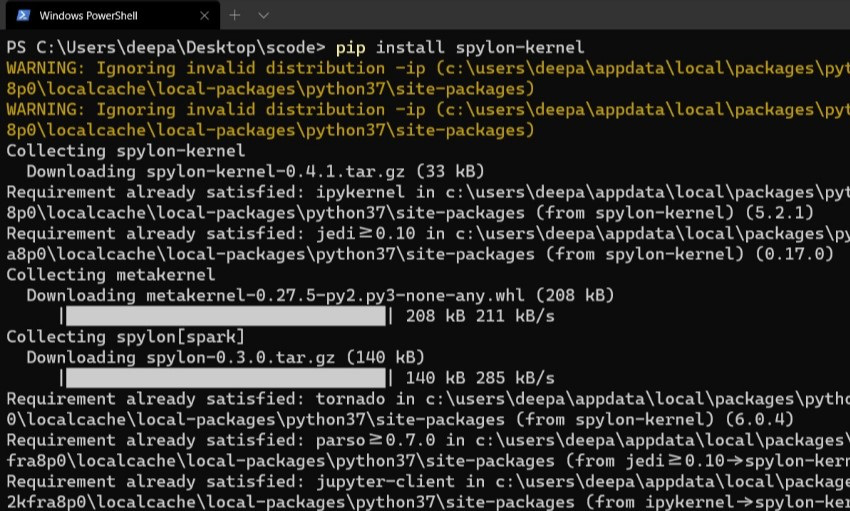
Step 1: Launch terminal/powershell and install the spylon-kernel using pip, by running the following command.
pip install spylon-kernel
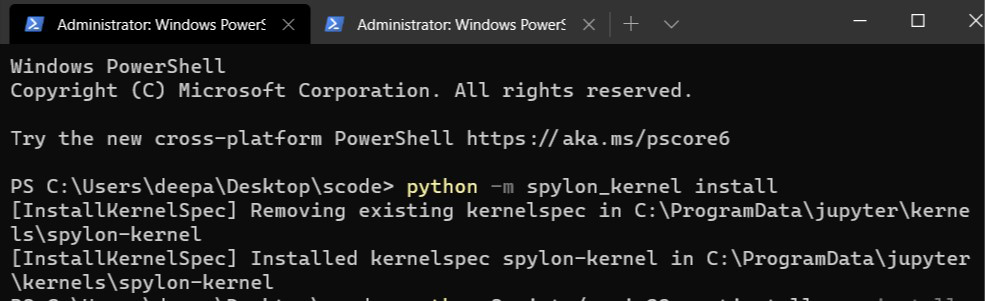
Step 2: Select the Scala kernel in the notebook, by creating a kernel spec, using the following command.
python -m spylon_kernel install
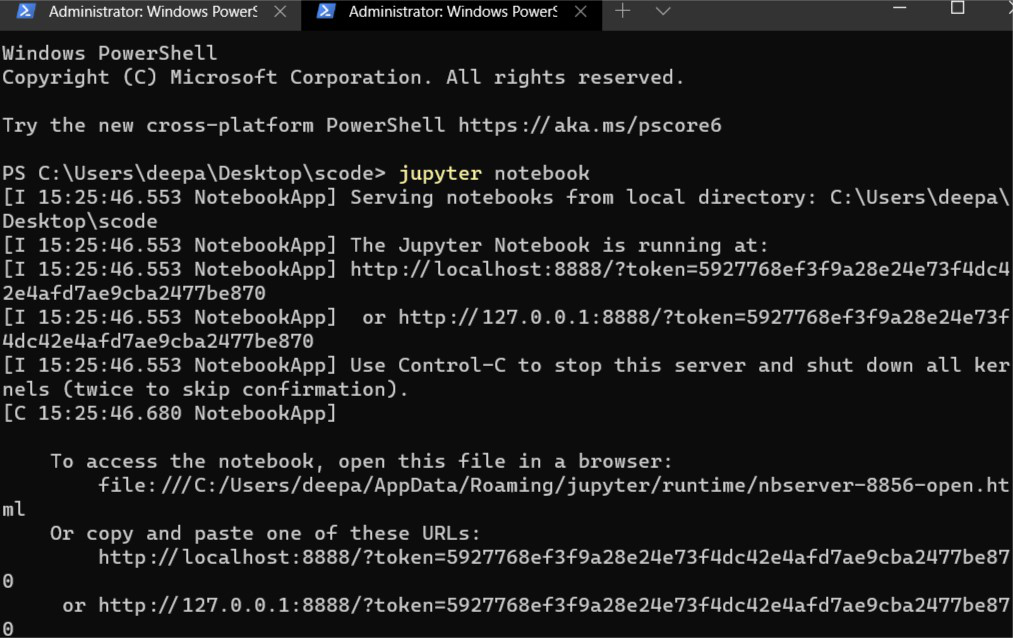
Step3: Launch Jupyter notebook on Browser.
jupyter notebook
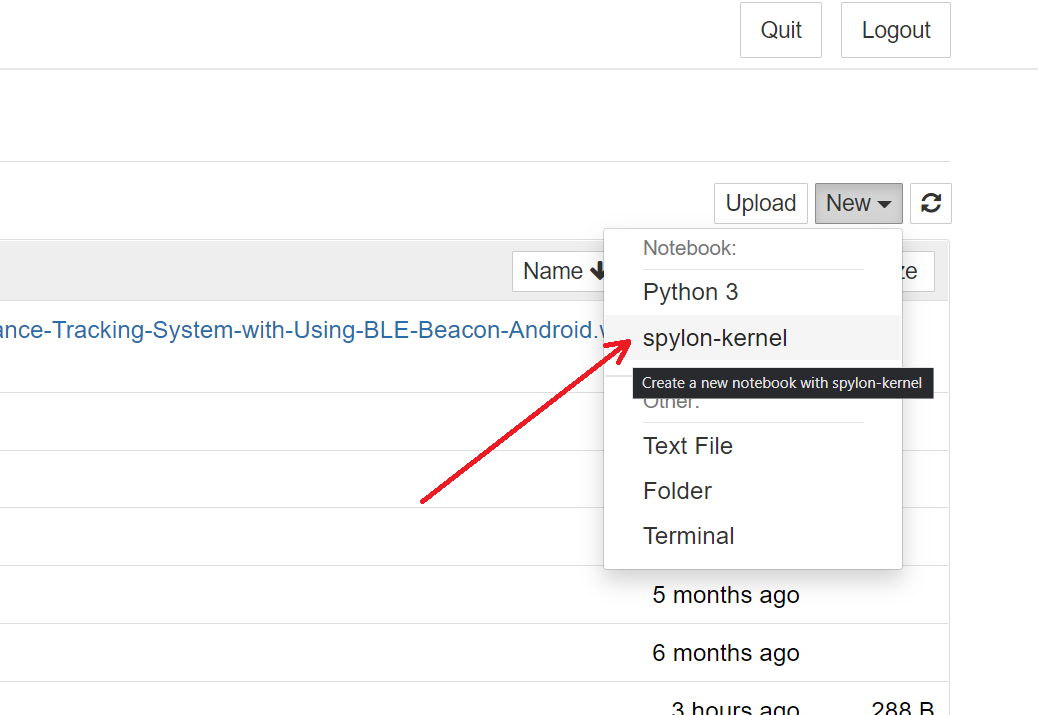
Step 4: On the Jupyter homepage, select New -> spylon-kernel. This creates a new ipynb notebook which makes us of the Scala kernel.
Let’s test the install by running some Scala code:

Scala kernel installation and configuration is successful.
Share your thoughts in the comments
Please Login to comment...