How to Upgrade Linux Kernel on CentOS 7
Last Updated :
27 Jun, 2022
The kernel is a central component of an operating system that manages the operations of the computer and hardware. It basically manages operations of memory and CPU time. It is a core component of an operating system. Kernel acts as a bridge between applications and data processing performed at the hardware level using inter-process communication and system calls.
Like any other software, Linux Kernel also needs an update periodically. Linus Torvalds releases the new updates to the Linux Kernels. Every update typically includes fixes to security loopholes, bug fixes to problems, better hardware compatibility, improved stability, more speed, and occasionally major updates also bring some new functions and features. In this article, we’re going to upgrade the CentOS 7 kernel.
Note: To get more understanding of the kernel please check this article
Updating the Kernel
Follow the below steps to upgrade the kernel:
Note: Make sure you’re executing each command as a root user or with the sudo privileges
Step 1: Check the current kernel version
uname -mrs

Checking current version
Step 2: Update CentOS package repositories
yum update -y
updating packages…
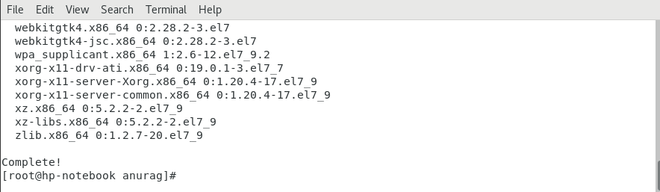
Updating repositories
Step 3: Enable the Elrepo repository
Add the ELRepo gpg key to the system.
rpm –import https://www.elrepo.org/RPM-GPG-KEY-elrepo.org
Add the new Elrepo repository
rpm -Uvh https://www.elrepo.org/elrepo-release-7.0-3.el7.elrepo.noarch.rpm
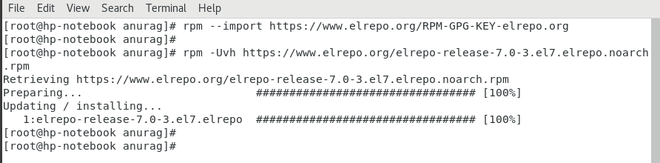
Adding Elrepo repository
Step 4: List available kernel versions
yum list available –disablerepo=’*’ –enablerepo=elrepo-kernel
Step 5: Install the latest kernel version
To install stable long-term support release:
yum –enablerepo=elrepo-kernel install kernel-lt
to install a mainline release then change kernel-lt to kernel-ml
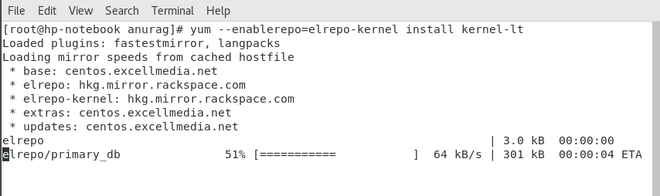
Installing kernel
As you can see we’ve successfully installed the long-term support kernel release.
Step 6: Reboot and choose the latest kernel to boot
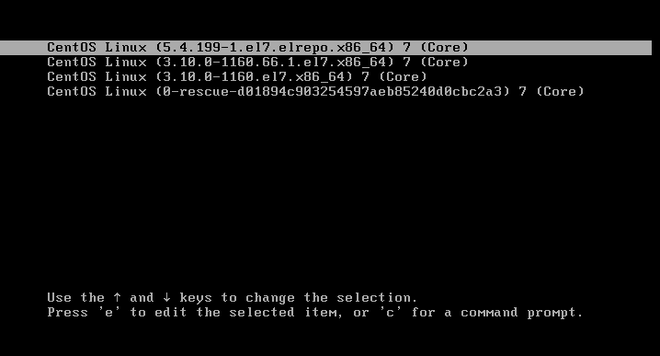
Rebooting to latest kernel
Verify the kernel version:
Step 7: Set default kernel version
Edit the default grub file with your preferred editor and change GRUB_DEFAULT=saved to GRUB_DEFAULT=0
vim /etc/default/grub
Recreate the kernel configuration
grub2-mkconfig -o /boot/grub2/grub.cfg

Recreating kernel config
Finally, reboot to verify that the latest kernel entry will be by default selected.
Share your thoughts in the comments
Please Login to comment...