How to Install Fonts on Mac?
Last Updated :
25 Aug, 2023
Fonts are powerful machinery that helps to attract users’ attention to the work. In 1816, when the first font, Sans Serif, was designed, nobody could imagine its unlimited power in one user’s life. Since then, the number of fonts has increased with time & now, nearly 200,000 fonts exist in the world today. Every operating system can change the fonts as per users’ choice.
And the Mac operating system is no different from that. The Mac operating system also comes with a lot of choices in the font section. In general, the Mac operating system comes with the default font SF Pro which can be changed later. You can easily add a new font Mac operating system.
In this article, we will try to find out some easy methods that will help to install fonts macOs & use them. So, let us start discussing them.
How To Install Fonts On Mac OS?
First, we will guide you through the installation of a new font on the Mac operating system using the DaFont website. Later, we will move towards the use of the inbuilt FontBook application.
Install Fonts on Mac From DaFont:
Step 1: Browse the official website of DaFont & from the list of fonts choose whatever suits you. Click on Download just beside it.

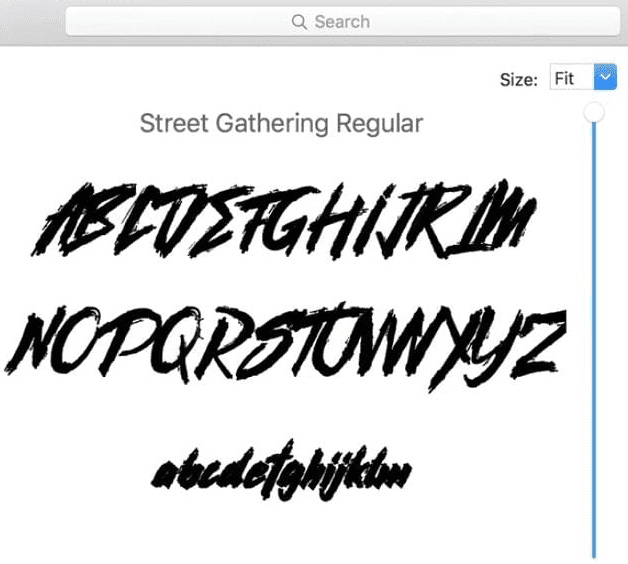
Step 2: After downloading the file, open the folder. Double-click on the downloaded file to execute it.

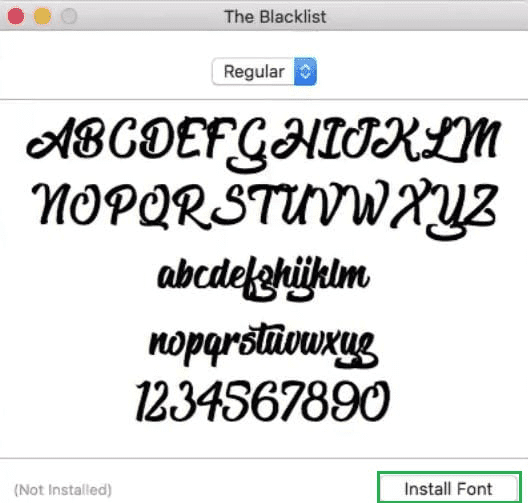
Step 3: Now, in the new window click on the Install Font button to install it on the device. After installation, the fonts will be changed.
Hence, we have successfully installed fonts on the Mac operating system using the DaFont website.
Install Fonts On Mac From FontBook:
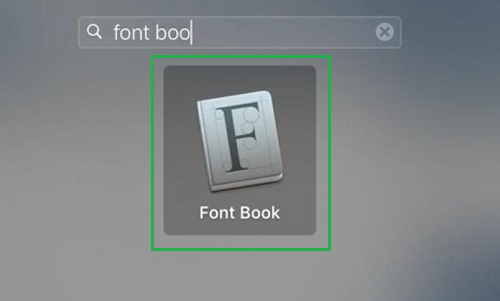
Step 1: Search for FontBook on your Mac device & click on it to open the application.
Step 2: Now, click on the Plus button to add some more fonts to the FontBook.
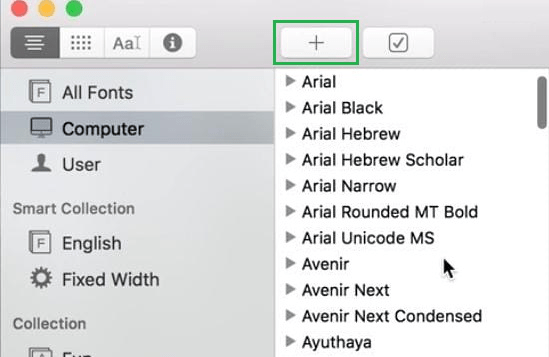
Step 3: Select the Font that you want to save on the device. And after that, click on the Open button to execute it in the FontBook application.

Step 4: Now, the FontBook home page will again open. You will find the newly added font there.
Hence, we have successfully installed fonts on the Mac operating system using the FontBook application.
These are the simple steps that can be executed for installing new fonts in the Mac operating system. But one thing, you should be aware that all the fonts are not free of cost to use. Sometimes, they charge some amount for using it or need to subscribe to any application for that.
Also Read
Share your thoughts in the comments
Please Login to comment...