How To Deploy Python Application In Kubernetes ?
Last Updated :
21 Mar, 2024
In today’s IT world we are moving from the monolithic to microservice architecture to make our applications highly available and scalable to bring fault tolerance. In this transformation, containerization i.e., containerizing the application are a fundamental aspect of this micro services. In this article we will guide you how to deploy a python application in Kubernetes.
Understanding Of Primary Terminologies
- Python: Python is a generic programming language that is used for many purposes. It provides features such as simplicity in writing the code and it is rich in providing built in libraries.
- Docker: Docker is a containerization platform tool it helps in managing the lifecycle of a container, It helps in package a application with all its dependencies into a single entity.
- Dockerfile: It is a text document file that contains all the commands to make a customizable docker image.
- Kubernetes Deployment: It is a service kubernetes that helps in deploying an application with providing features such as scaling and rollbacks options.
Deploy Python Application In Kubernetes: A Step-By-Step Guide
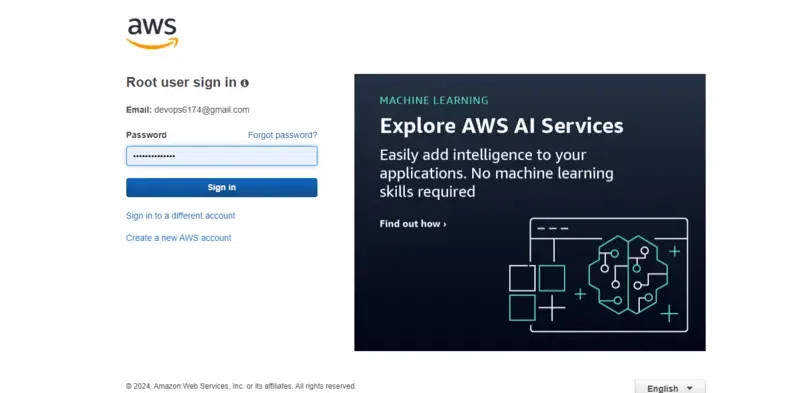
Step 1: Login In AWS Console
- Login into the AWS Console and enter your credentials. Firstly begin with Entering your username.

Step 2: Login In With The Password
- Login in the AWS account with the password as per credentials to the your username.
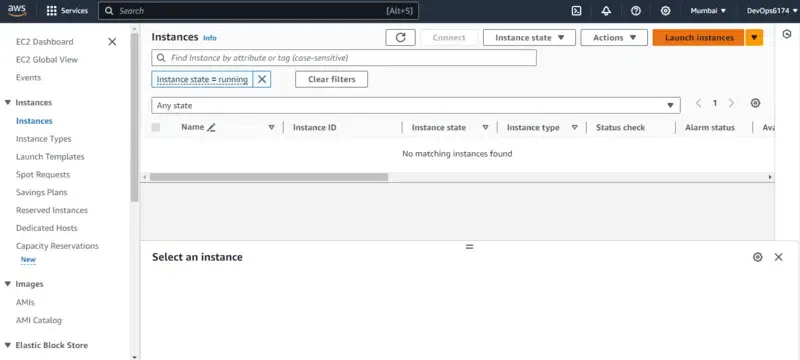
Step 3: Create Instance
- Start creating an EC2 instance with clicking on Create Instance.
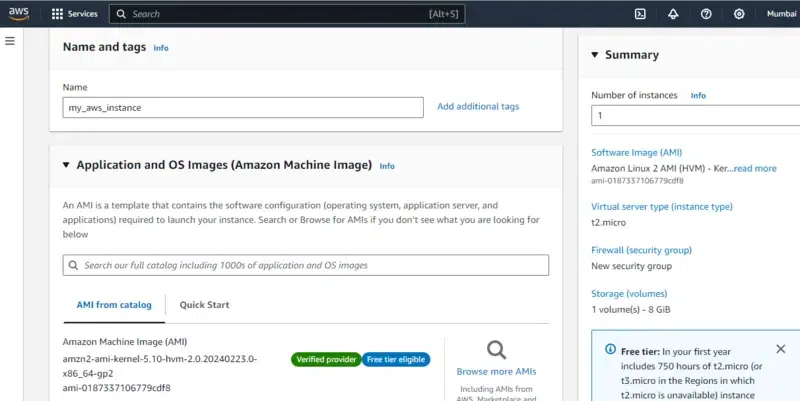
Step 4: Choosing AMI
- Choose the AMI Image such as Amazon Linux2 to your creating instance. Provide the name to the instance, no of instance your want to create.
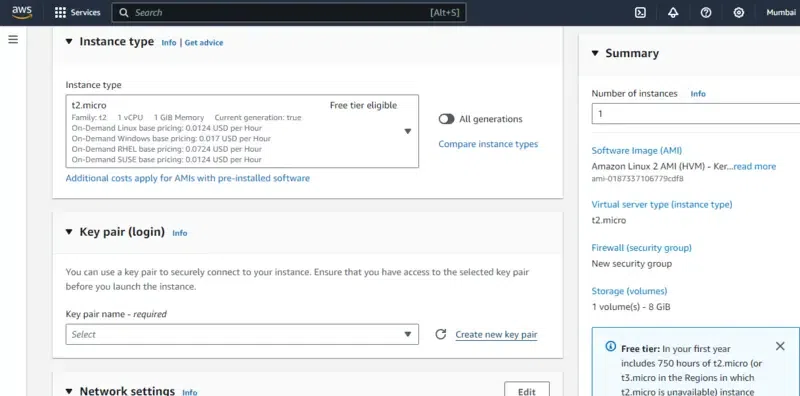
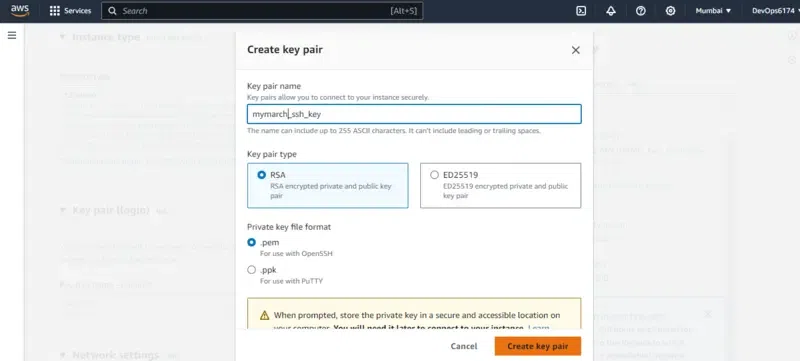
Step 5: Create Key Pair
Create a Key pair to this creating instance.
Step 6: Choosing Pem Key
- Choose key pair type as pem format and assign name to the creating key pair.
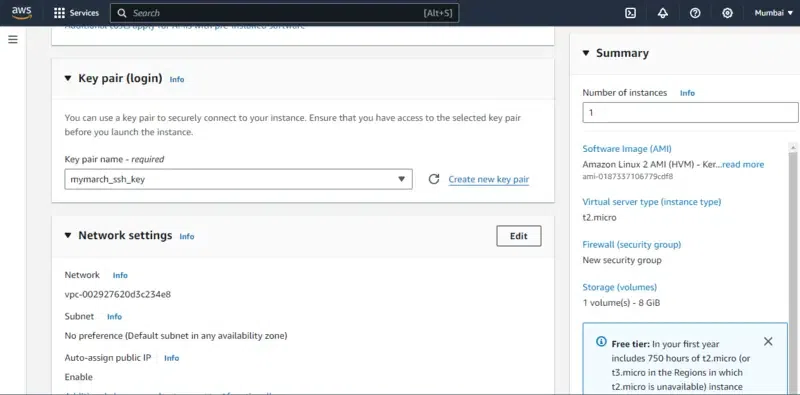
Step 7: Choosing Key Pair
- Now, after return back from the creating key pair page, you have to choose the created key pair.
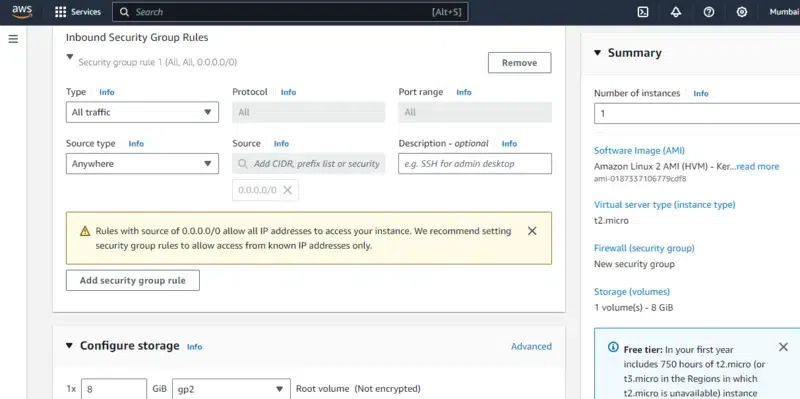
Step 8: Configure Security Groups
- Click on the edit option beside the network security groups and add the network rules such as “all traffic” , protocol as “All” , port range as “All” , Source type as “Anywhere”. It helps in not facing any kind of security issues from the aws security instance. If you want to provide the security your can restrict this values.
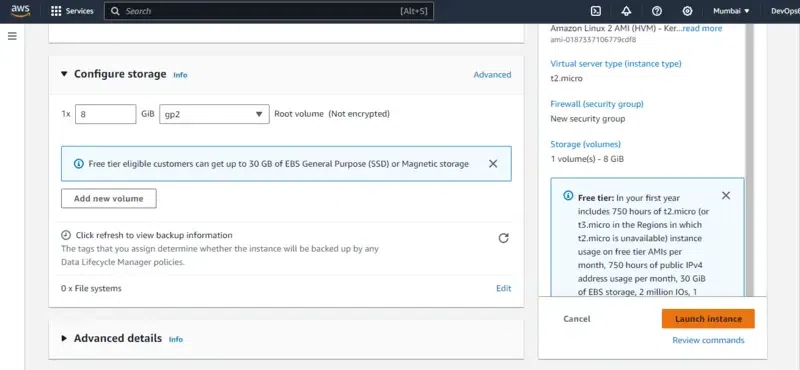
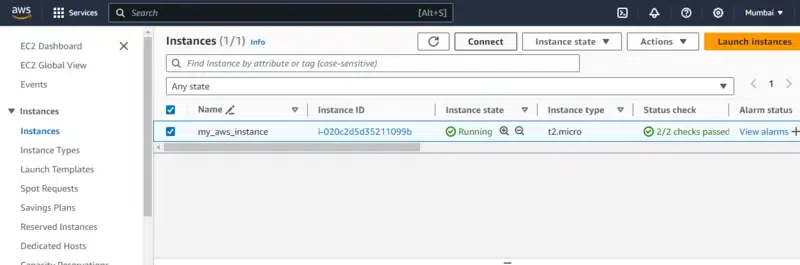
Step 9: Launching The Instance
- Review you all the configuration that you provided and as confirmation click on the launch instance, it will start launching the instances.
Step 10: Connect Instance
- Wait in the Instance Running page, The created instance takes some time to come for running state.
- Once the instance came to running state, check the instance and click on the connect button.
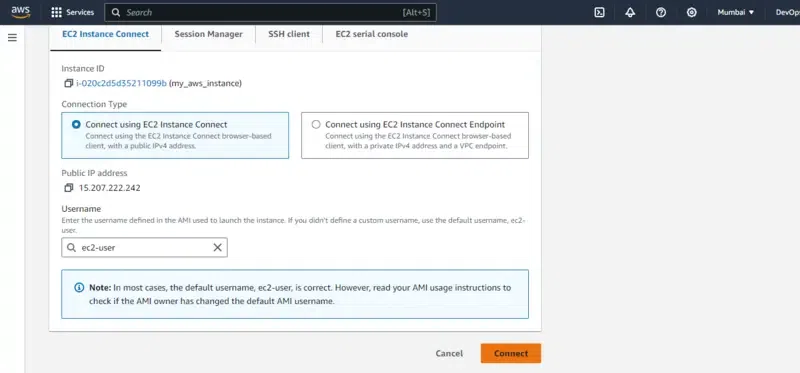
Step 11: Connect EC2 Console
- After from their navigate to EC2 Instance Connect section and click on connect button.
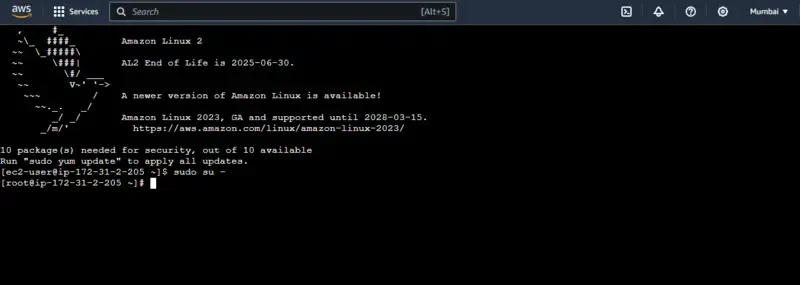
Step 12: Switch To Root User
- Now, switch to root user, to access the console with full adminstrative power.
sudo su -
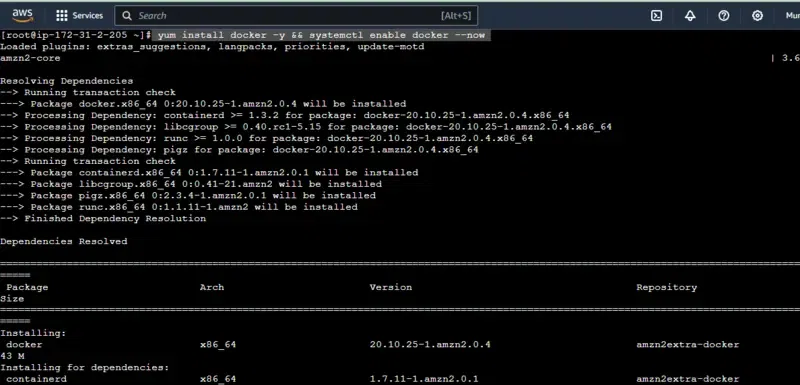
Step 13: Install Docker
- Firstly update the software with following command:
yum update
- Now, install the docker software with the following command:
yum install docker -y
Step 14: Start Docker Service
- After once, installing the docker, start the docker service with the following command:
systemctl enable docker --now
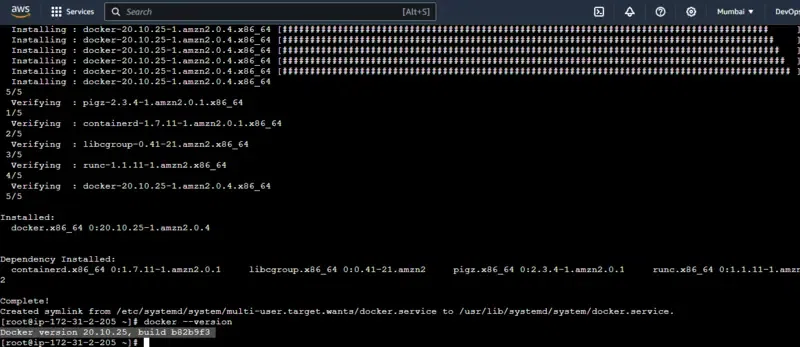
Step 15: Verify Docker
- Check the docker installation with following command:
docker --version
- Check the status of the docker service with the following command:
systemctl status docker
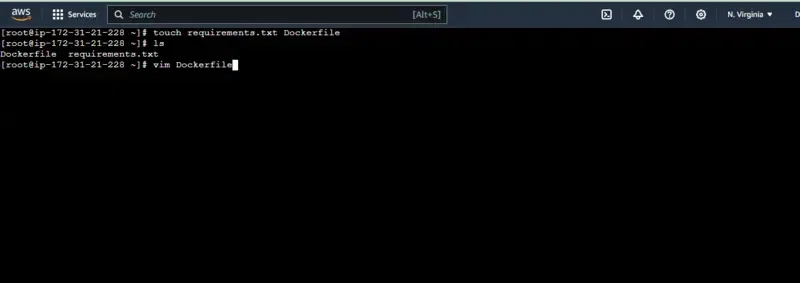
Step 16: Create A Dockerfile
- Kubernetes operates with containers. We need to containerize your Python application using Docker or any other containerization tool. So we create a Dockerfile for your Python application.
- Create a Dockerfile and requirements.txt files.
- If you want to add any other software you can included in it. Here we are leaving it as empty file.
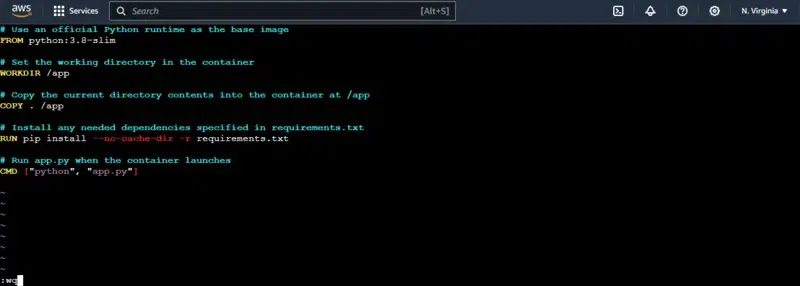
- Here’s a simple example Dockerfile for a Python application for Configuring created Dockerfile.
FROM python:3.8-slim

    # Set the working directory in the container
    WORKDIR /app

    # Copy the current directory contents into the container at /app
    COPY . /app

    # Install any needed dependencies specified in requirements.txt
    RUN pip install --no-cache-dir -r requirements.txt

    # Run app.py when the container launches
    CMD ["python", "app.py"]
- The following screenshot also illustrates the same that configuring the python Application with respective to its dependencies in Dockerfile.
Step 17: Build Your Docker Image
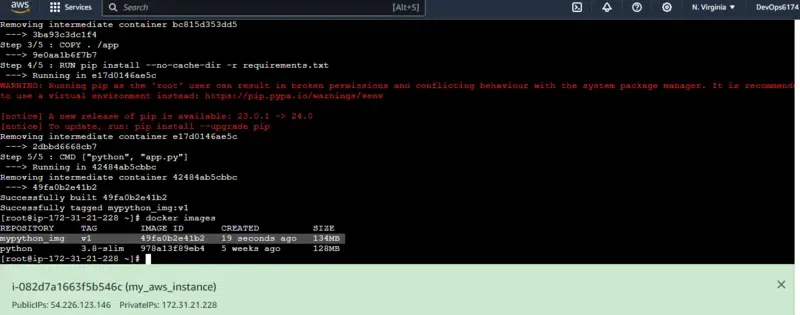
- Build the Docker image known from the configured Dockerfile with following command:
docker build -t mypython_img:v1 .
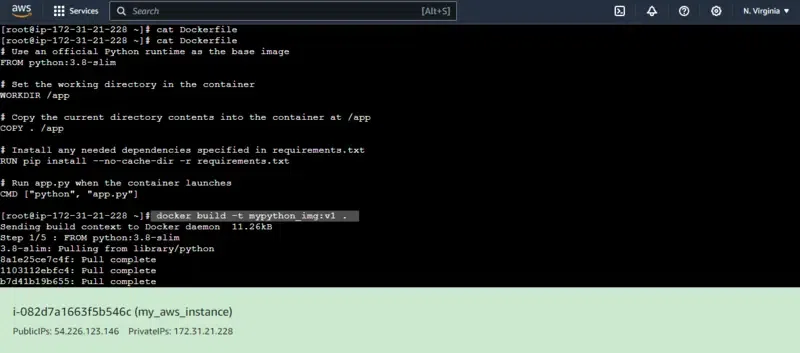
- In the following screenshot we can see the successful creation of Docker image. The red colored lines some warning that can be neglectable. Checking the created docker python image with following command:
docker images
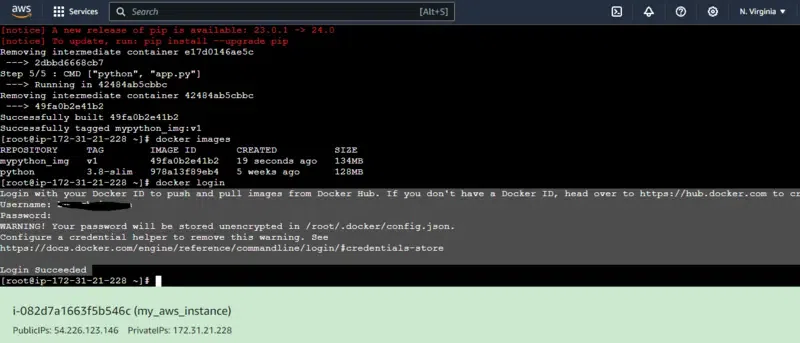
- To make this image public available push it into your docker hub. For that firstly login in with your docker hub account with the following command and then provide your docker hub credentials such as username and password.
docker login
Step 18: Push Docker Image To Registry
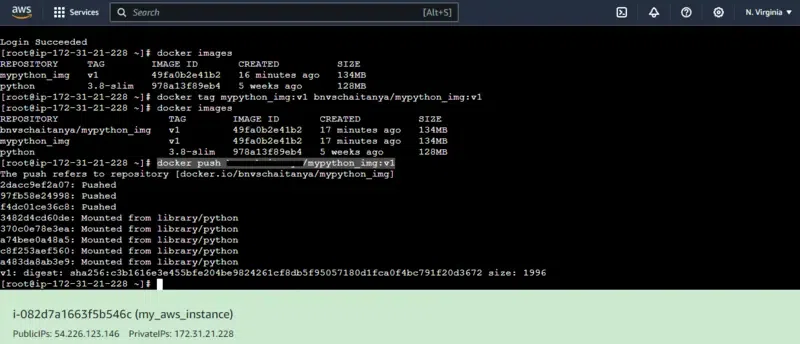
- After once you login in with your docker hub account, Change the tag of docker image name as shown in the figure with following command, Replace the Username with your docker hub username.
docker tag mypython_img:v1 [username]/mypython_img:v1
- Push the created custom docker image into your docker hub account to make the image available in public.
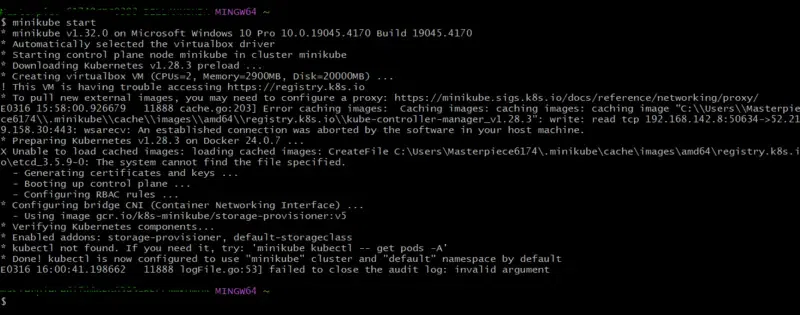
- Now, let Start kubernetes cluster that is available for you, Here we are performing local minikube setup. Start the minikube with following command:
minikube start
- Checking the resource of the kubernetes cluster such as pods, deployments, replicas etc.. with the following commands:
kubectl get pods
- Check the deployments in the cluster with
kubectl get deployments
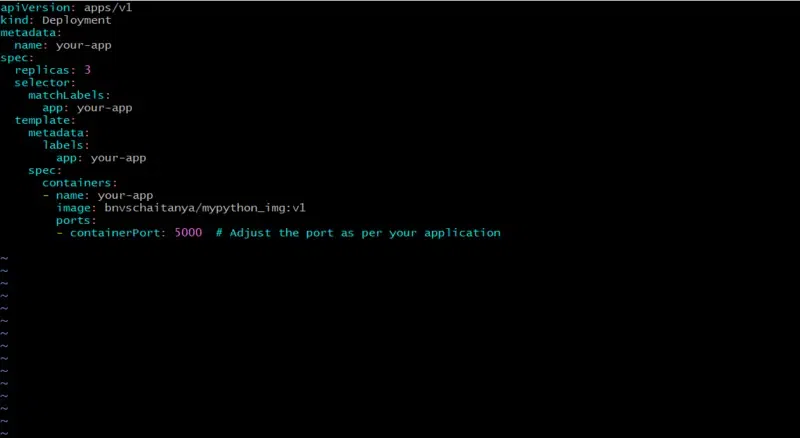
Step 19: Create Kubernetes Deployment Manifest:
- Now, Create Kubernetes Yaml Manifest to deploy the created Containerized python application in this cluster.
- Configure the Code in the Manefist file such as
apiVersion: apps/v1
kind: Deployment
metadata:
  name: your-app
spec:
  replicas: 3
  selector:
    matchLabels:
      app: your-app
  template:
    metadata:
      labels:
        app: your-app
    spec:
      containers:
      - name: your-app
        image: bnvschaitanya/mypython_img:v1
        ports:
        - containerPort: 5000
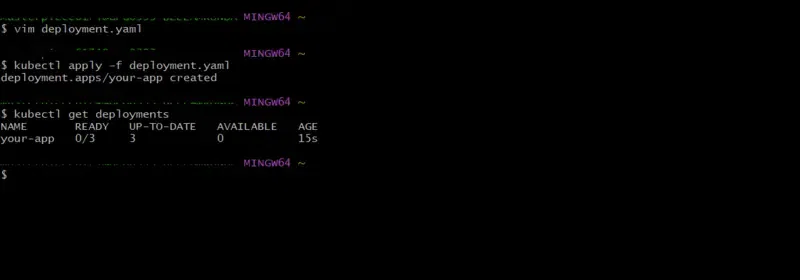
Step 20: Apply Deployment to Kubernetes
- Deploy the Python application in the kubernetes cluster in the following command:
kubectl apply -f deployment.yaml
- The following screenshot illustrates the deployment of the python application.
Deploy Python Application And Kubernetes – FAQ’s
What Are The Benefits Of Deploying A Python Application On Kubernetes?
Deploying the Python application on top of Kubernetes facilitates the features such as scalability, flexibility, and efficient resource utilization.
How Do I Containerize My Python Application For Kubernetes Deployment?
Create a Dockerfile to your python application and build a Docker image to it.
What Is The Purpose Of A Kubernetes Deployment Object?
A Kubernetes Deployment object manages the lifecycle of your application with providing featues such as scaling, updates, and rollbacks.
How Can I Expose My Python Application Running On Kubernetes To External Traffic?
Expose your Python application by creating a Kubernetes Service with a LoadBalancer type to route external traffic to your application’s pods.
Share your thoughts in the comments
Please Login to comment...