Fix: Account Has Been Disabled. Please See Your Administrator
Last Updated :
22 Nov, 2023
Imagine a scenario where you’re sitting in front of your computer, you eagerly press the login button, and instead of your usual welcome screen, an error message pops up on your screen, “Your account has been disabled.
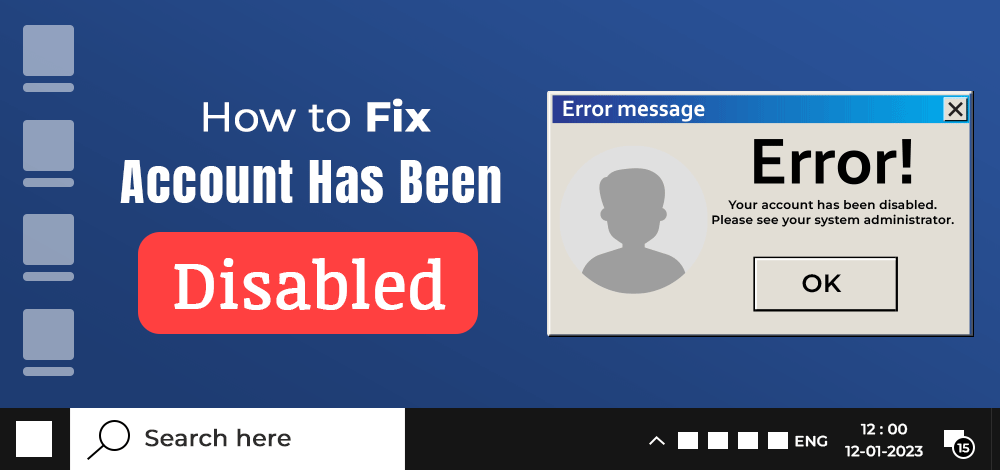
Please contact your administrator.” This nightmarish scenario strikes terror in the hearts of any Windows user. This isn’t restricted to only the Windows OS. The error is seen in MacOS and Linux also.
.png)
Many individuals have encountered this frustrating issue across various Windows systems, be it Windows 7, Windows 10, or even Windows 11. Fret not, this article will show you how to solve/fix the “Your account is disabled” problem.
Why does this Error “Account Has Been Disabled” Occur?
There are many reasons contributing to this error. The common one may be some bugs, or you tried to change the current Admin name of the system. This may cause the system to bug and deny access to you.
How to Solve the “Account Has Been Disabled” Problem in Windows 11/10?
Here, you’ll go through how to fix the problem in Windows 10/11 OS. This technique works even in Windows 7.
Method 1: Forcing your PC into Safe Mode
One of the easier methods is to restart Windows in safe mode and use the Admin login to enable your account again. This is done using the Administrator Account. To access the Administrator account, however, you must go into “safe” mode.
Step 1: To start with, press the restart button, (in the login, click the Power button and select “Restart”) press the “Shift” key constantly along the way. This will open the “Troubleshoot” screen as shown below and Click on the “Troubleshoot” option.
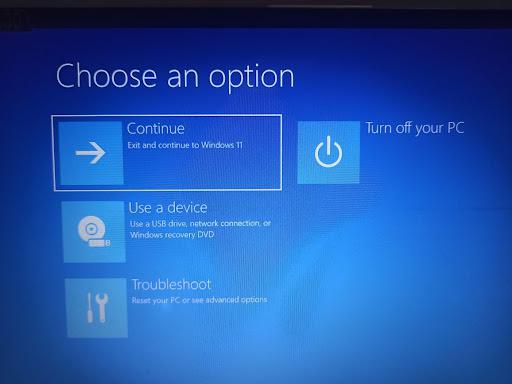
Step 2: Now, select Windows “Startup Settings” from the options available.
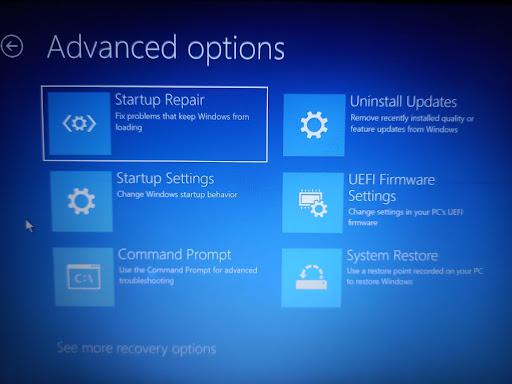
Step 3: Now, click “Restart”.
.jpeg)
Step 4: In the system options, click, “Enable Safe Mode with Command Prompt”.
This will restart the computer and open the hidden “Administrator” account. Log into it. This will open the Command Prompt in the system by default.
.png)
Step 5: In the command prompt, type down the following commands.
net user /add <username>
net localgroup administrators <username> /add

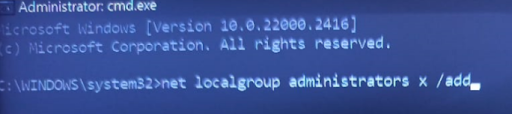
Once both of these commands are executed successfully, you can restart your System and log into your new Admin account, and then the “Account is disabled” will not persist.
Step 1: Perform the steps similar to the previous one till you get the troubleshooting options. Now, Select “System Restore”.

Step 2: You will get the “points” to restore your system. In that, there will be a point showing where the “Account has been disabled” option, and choose the point before that. With the point selected, start the System Recovery.
Step 3: If there is any prompt to choose any user account, select “Administrator” and wait till the system restore process is complete. After completing the process, restart your computer and log in as Normal. Now, the disabled account problem has been fixed.
Method 3: Re-enabling the Disabled Account from Administrator Login
Step 1: Follow all the steps in Method 1 to create a new administrator account. Then, in the administrator account press the Windows button + “R” to open the run window. In that, type the following command:
lusrmgr.msc
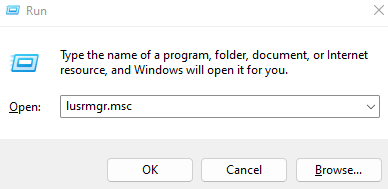
This will open the number of available users.

Step 2: Select the account causing problems, then right-click on it and select “Properties”.
Step 3: In the Properties, check whether the box showing “Account is disabled” is checked on. If so, uncheck the box and press “OK” to continue with the changes. After doing so, restart your PC as normal and log into your account. Now the problem would be rectified.
How to Solve the “Account Has Been Disabled” Problem in Ubuntu/Linux OS?
The problem is very simple to solve in Linux OS. When you log into an Ubuntu system, you do not have administrator privileges or be the “root user”. Hence, you’ll need to enable it in the terminal. If your account is disabled follow the following steps.
Step 1: Log into another account in Ubuntu and then type the following commands.
sudo su

Step 2: Type in the password and gain access. Now you can simply enable any disabled users by typing the command:
sudo passwd -u <username>
Step 3: Type in the password and now your disabled account has been enabled. Now you won’t get this problem anymore.
How to Solve the“Account Has Been Disabled” Problem in MacOS?
If you open your Apple Store or the iTunes app, and it says your account has been disabled either:
- You haven’t used your account for a long time and hence Apple has disabled your account for security reasons. Follow the following steps to resolve:
- In this case, you’ll have to sign in using the browser.
- After that, you need to verify the date and time on your device.
- Next, you’ll need to reset your Account Password.
- Check and update the payment methods/gateways.
- Now log out of your account and go back to your Apple ID.
- Payments weren’t updated/ a glitch made it disable your account. Follow the following steps to resolve:
- Contact Apple support with the access code given to you in the beginning.
- The Apple management/team will then go through your request and activate your account.
- The management will be unable to help you if you do not have your access codes or you have lost your access codes. Keep your account access code safe.
Conclusion
In some cases, you will not need an account to go into your Android OS. Hence, there is no fear/reason to be locked out provided you didn’t forget your pin/ pattern authentication strategy.
As seen above, there are many problems encountered by the system users while using many different Operating Systems. It works surprisingly well with the various ways offered to troubleshoot/ work on the problems on your own. Keep in mind that this is a sensitive process and a very vulnerable state of your computer. Hence, it is a good idea to work on this problem when you are alone and away from prying eyes.
Also Read
Share your thoughts in the comments
Please Login to comment...