Deploying Your Web App using Azure App Service
Last Updated :
28 Apr, 2023
Pre-requisite: Introduction to Microsoft Azure | A cloud computing service The majority of Computer Science students start with Web Development or Machine Learning. Now after learning how to create a website, we should learn to deploy it online. By deploying our website, we can share it with others, perform alpha or beta testing, perform live changes on websites, etc. These practices help us to find bugs, find better approaches towards a solution and we get to learn something different than the rest of our classmates or colleagues. We can deploy our website using cloud services like Microsoft Azure, Amazon AWS, or Google Cloud. In this article, we will learn how to deploy a website using Azure App Service via Github. Before we go ahead, you may want to check out:
Note: Microsoft Azure has a free trial offer for new users. You can visit this link and create a new Microsoft Azure Account for free. Pre-requisites for this tutorial are:
- A Microsoft Azure Account
- A GitHub Account
- A Sample HTML Website
Step 1: Open your Microsoft Azure Account Sign in to the Microsoft Azure Account. After that, you have to open your Azure portal.

Step 2: Create a new App Service Go to the navigation panel on the left side of your Dashboard and select App Services.
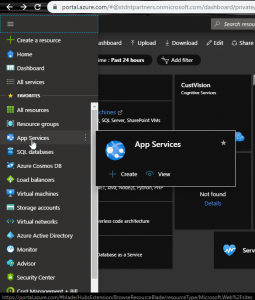
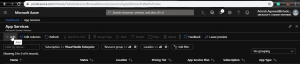
Click on the Add button. This will open the panel to create a new App Service.
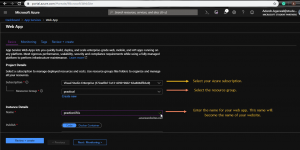
step 3: Setting up the properties of our App Service We have to set certain properties of our App Service.
- Select your Azure subscription.
- Select the resource group.
- Enter the name for your web app. This name will become the name of your website.
- Runtime Stack: Select the platform or framework you used to create and run your web app.
- Select the operating system as per your wish.
- Region: Cloud servers are placed at different locations. Choose the region closest to your current location.
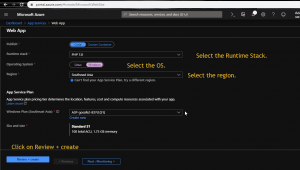
Left rest of the details as it is. Click on Review + Create button. Step 4: Validation and Creation of App Service After clicking on Review + Create button, Azure will
validate the settings and will return error if found.

Click on Create and wait for some time, your App Service will be created. Now we have to connect it with our GitHub profile to deploy our web app. Step 5: Checking out our newly created App Service This is the panel of our newly created App Service named practiceGfGs. This panel contains features to change the properties of our App Service, test our Web App, perform analysis and various other tasks.

Click on Browse tab. It will open your current App Service as a website.
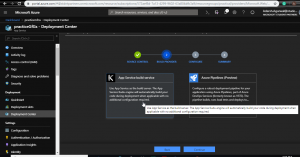
Step 6: Setting Up Deployment Center Click on Deployment Center on the left panel. Azure provides different sources to deploy your web app some of them are:
- Docker
- GitHub
- Bitbucket
- OneDrive

Since we want to deploy our We App from our GitHub profile, click on GitHub. It will ask you to sign-in to your GitHub profile. Now select App Service to build a service build provider. This feature helps us to perform changes in our Web App in Azure.
- Select your Organization from which you want to deploy.
- Select the Repository which you want to deploy. Make sure that the home page of your website is named index.html.
- Select the Branch.
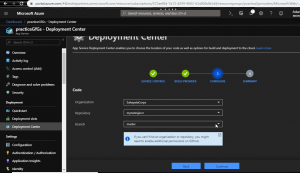
Click on the Continue button to verify the summary. If everything is alright, then click on Finish button and wait for some time.
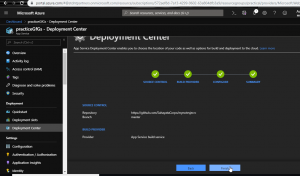
Step 7: Checking out our Web App

After the successful deployment, click on Browse, and Voila! Your Web App will be online. Now your Web App is online and you can share your Website with others via URL.
Share your thoughts in the comments
Please Login to comment...