Kubernetes, or K8s, is an open-sourced container orchestration technology that is used to automate the manual processes of deploying, managing, and scaling applications with the help of containers. Kubernetes was originally developed by engineers at Google, and In 2015, it was donated to CNCF (Cloud Native Computing Foundation). In this tutorial, we will see how we deploy a Node.js application in a Kubernetes cluster.
Prerequisites
- Docker and Kubernetes installed on your local machine
- NodeJS installed in your local machine
- An Account on DockerHub
- Basic knowledge of Node.JS, Docker, and Kubernetes
Objectives
Our objectives for the tutorial will be the following:
- Creating a Node.js Application
- Creating a Dockerfile
- Building an Image and Pushing it to Docker Hub
- Creating Kubernetes Deployment and Services
- Deploying the application in a local Cluster
Tutorial – Deploying a Node.js Application in Kubernetes
Follow the given step-by-step tutorial to create and deploy a Node.js application in a Kubernetes cluster:
Step 1: Creating the Node.js application
Let’s start with creating the Node.js application. Enter the following command to start a Node.js application:
npm init
create an index.js file with the following code inside it:
var express = require('express');
var app = express();

app.get('/', function (req, res) {
    res.send('{ "response": "Hey There! This is Shubham" }');
});

app.get('/will', function (req, res) {
    res.send('{ "response": "Hello World! this is /will page" }');
});
app.get('/ready', function (req, res) {
    res.send('{ "response": " Great!, It works!" }');
});
app.listen(process.env.PORT || 3000);
module.exports = app;
And this is how my package.json looks like (only for reference, yours can be different):
{
  "name": "node-app",
  "description": "Nodeapp for CICD test",
  "version": "0.0.1",
  "private": true,
  "dependencies": {
    "express": "4.17.1"
  },
  "devDependencies": {
    "mocha": "9.1.1",
    "supertest": "6.1.6"
  },
  "scripts": {
    "start": "node index.js",
    "test": "./node_modules/.bin/mocha ./test/test.js"
  }
}
The scripts here must be noted since it will be used in creating the Dockerfile.
Step 2: Creating Dockerfile
Let’s create a Dockerfile that we will use to build an image of your node.JS application. Create a file named “Dockerfile” in your project and add the following code inside it:
FROM node:latest
WORKDIR /usr/src/app
COPY package.json ./
RUN npm install
COPY . .
EXPOSE 4000
CMD [ "node", "index.js" ]
Step 3: Building the image
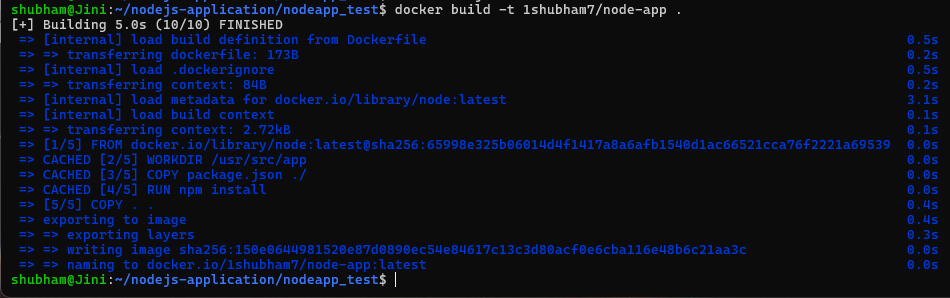
Now that we have created the Dockerfile, let’s create an image from it. Enter the following code in your terminal:
docker build -t 1shubham7/node-app .
What this command does is that it asks Docker to build an image of tag “1shubham7/node-app” and the Dockerfile that Docker needs to build the image is in the same directory as this.
note:- 1shubham7 represents my DockerHub account username, make sure you use your DockerHub account username to avoid problems while pushing the image.
This command will result in following output:
Step 4: Checking our image
Now let’s make sure that we have our image built. For that we will check the list of images in our machine. Enter the following command in your terminal.
docker images
this will show you the list of images in your machine. We can find our docker image in the list with the name 1shubham7/node-app.

Step 5: Creating and running the container
Since we have verified that our image, now let’s create a container from that image and run it so that we can see our application running. Enter the following command to create and run the container from 1shubham7/node-app image.
docker run -d -p 3000:3000 1shubham7/node-app
Now our container should start running after some time. To check the list of containers running, enter this command:
docker ps
we can see that our container created using 1shubham7/node-app is present with the id bbce0fa9fb52, this ID will be different for everybody, make sure to note that ID since we will need it ahead.

Step 6: Running the web app
Now since our container is up and running, if we go to our browsers and go to localhost:3000, we will find our application running just as we intended.
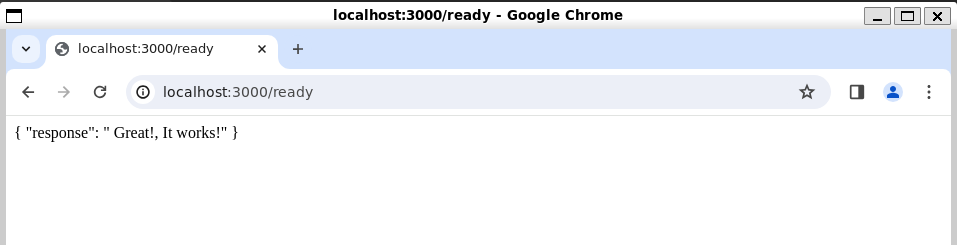
 Make sure to also check localhost:3000/ready:
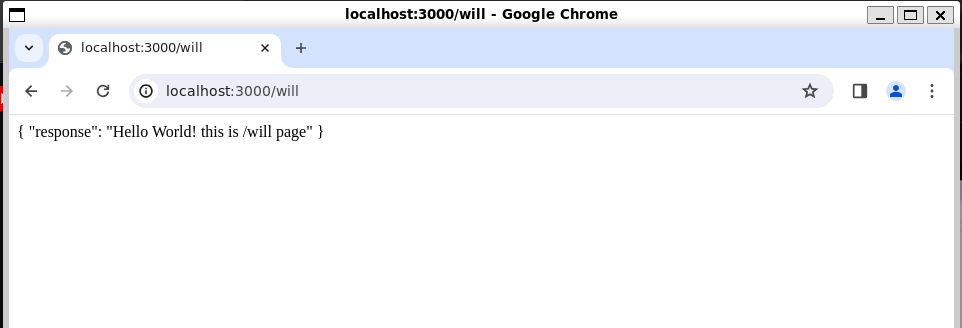
and make sure to check localhost:3000/will as well. the application is working perfectly fine.
Step 7: Stopping and deleting the container
We saw in the previous step that we could dockerize our application and run it, but the goal of this tutorial is to deploy the application in a Kubernetes cluster, so let us first delete the running container. for that first let us get the list of containers using the following command:
docker ps
Now copy the Container ID of the 1shubham7/node-app image and use it in the following command:
docker rm -f bbce0fa9fb52
This command will delete the container. So now if we check the list of containers:
docker ps

We will not find the container for 1shubham7/node-app image.
Step 8: Pushing image to DockerHub
In order to push the image we created to DockerHub, we need to first have a Docker and DockerHub account. After that we will have to log in to our Docker account in the terminal, for that, you have to enter the following command:
docker login
After this enter your username and password and you will receive a similar output.

Now that we are logged in, we can simply push our image to our docker registry using the following command.
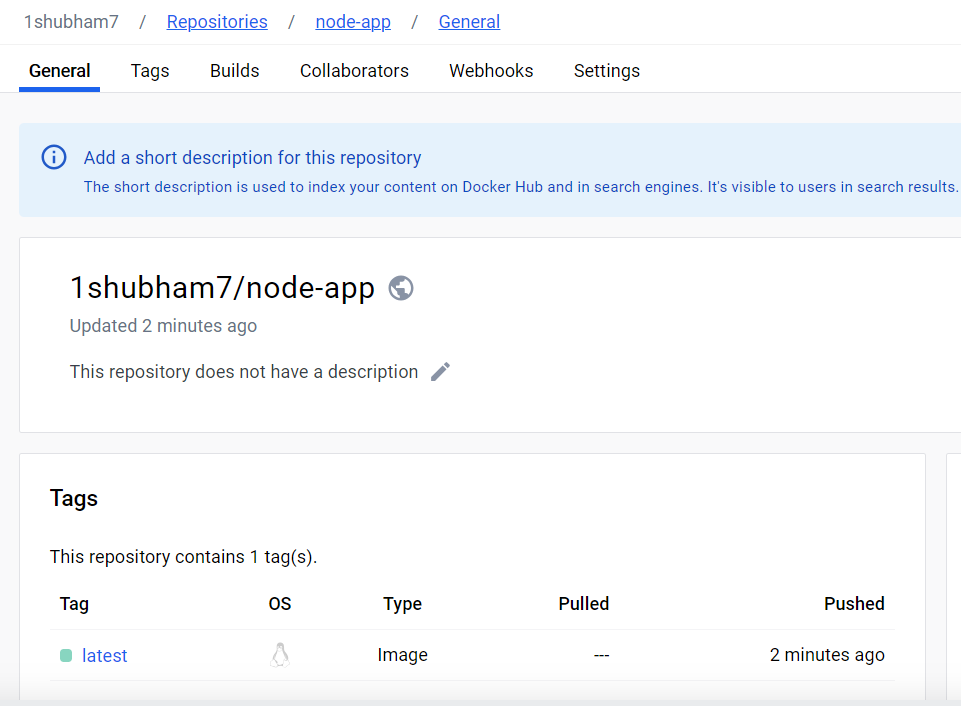
docker push 1shubham7/node-app:latest
Remember, use your username instead of 1shubham7. “latest” refers to the tag name, default tag in any image is “latest”. And now when you will visit your DockerHub account you will find the node-app repository, inside that repository you will get the image we just pushed.
Step 9: Creating a Kubernetes Cluster
You can skip this step if you already have a Kubernetes Cluster running in your machine. But in case you don’t have a Cluster running enter the following command to create Kubernetes locally using Minikube:
minikube start
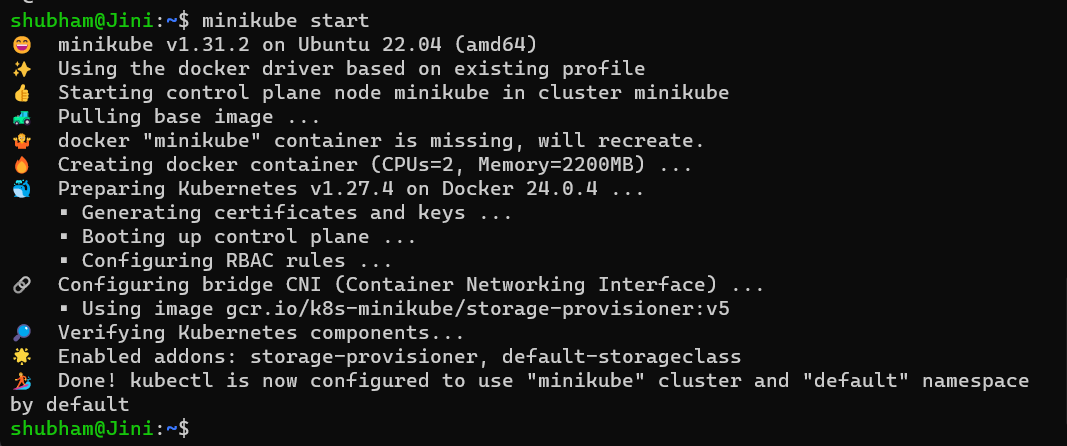
Minikube is a one-node Kubernetes cluster where master processes and work processes both run on one node.
Step 10: Configuring required Deployments and Services files
In order to deploy our application in a Kubernetes Cluster we will have to create a Deployment file that will create Pods where our application will run and Service file that will configure a Service that will expose the application to an endpoint so that we can access the application from browser.
Create a file deployment.yaml and enter the following code inside it:
apiVersion: apps/v1
kind: Deployment
metadata:
  name: nodeapp-deployment
  labels:
    app: nodeapp
spec:
  replicas: 1
  selector:
    matchLabels:
      app: nodeapp
  template:
    metadata:
      labels:
        app: nodeapp
    spec:
      containers:
      - name: nodeserver
        image: 1shubham7/node-app:latest
        ports:
        - containerPort: 3000
This file will create a single replica Pod that will run the 1shubham7/node-app:latest image container inside it.
Now create a deploymentservice.yaml file and enter the following code inside it:
apiVersion: v1
kind: Service
metadata:
  name: nodeapp-service
spec:
  selector:
    app: nodeapp
  type: LoadBalancer
  ports:
  - protocol: TCP
    port: 5000
    targetPort: 3000
    nodePort: 31110
This is a LoadBalancer Service, now Load Balancer Service type allows the Service to become accessible externally through a Cloud Provider’s Load Balancer functionality. For now this file will allow us to access our application through the web and the target port for that will be 3000.
Step 11: Creating the Deployment and the Service
Now we simply have to create the Deployment and Service in the cluster using the configuration file we just created. To create a Deployment from the deployment.yaml file, enter the following command:
kubectl apply -f deployment.yaml
Similarly, to create a Service from the deploymentservice.yaml file, enter the following command:
kubectl apply -f deploymentservice.yaml
Step 12: Checking the Pod and the Service
The next step would be to confirm if the Pod and the Service are running or not. We can find the list of running Pods using the following command:
kubectl get service
We can find our nodeapp-service in the list. the kubernetes Service is a built-in service from Minikube so you don’t have to worry about it.

Similarly we can check the list of Pods by entering the following command:
kubectl get pods
we can see our Pod running. One thing you need to take care of is the Status of the Pod, my Pod has a status Running hence my application is running inside the Pod, running a Pod might take time depending on the performance of your machine so only move ahead after your Pod starts running.

Step 13: Accessing the application from browser
Out application is finally deployed in the cluster, but in order to access our deployed application from the browser, we first need to expose the Service to our local machine. For that enter the following command:
minikube service nodeapp-service
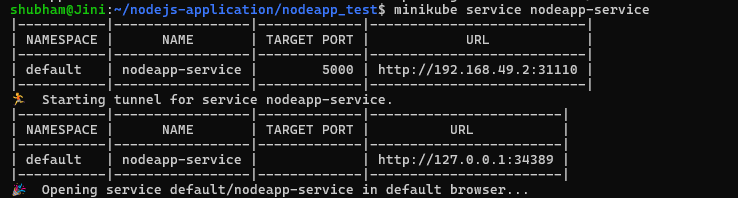
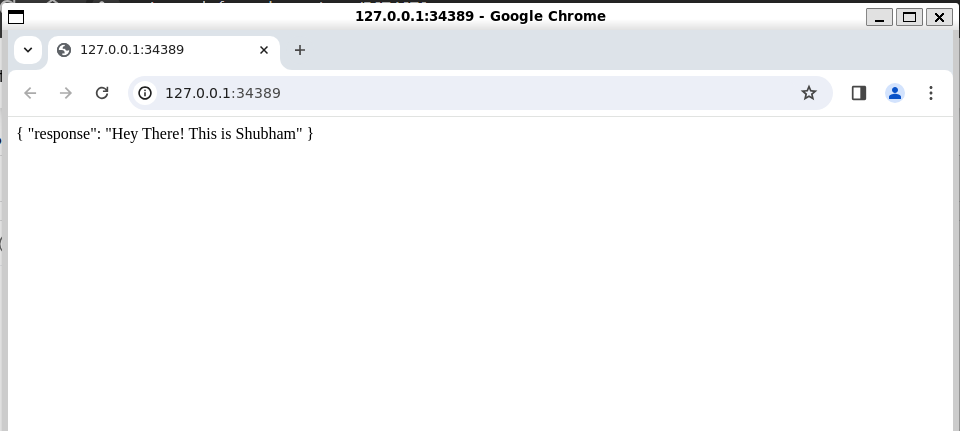
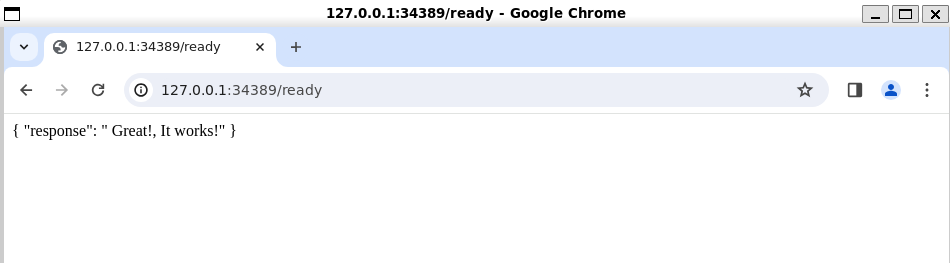
This is automatically open up your browser and the URL where the application is running. For me it is 127.0.0.1:34389. We can see the response we coded in the index.js file.
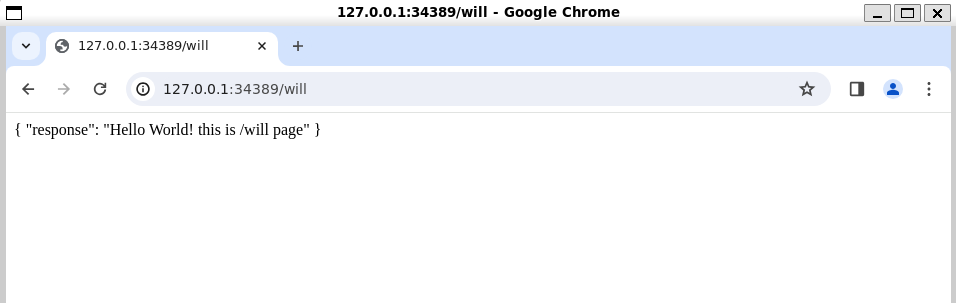
 You can also check out the /will page.
 As well as you can check out the /ready page.
And with this finally we deployed our Node.js application in a local Kubernetes Cluster. You can pat yourself in the back, you did a great job.
Conclusion
This tutorial really covers the most important concepts of Kubernetes like Deployment, Service and Pods as well as concepts about how to deploy a Node.js application in Kubernetes. Kubernetes is a container orchestration tool that is used for automating the manual processes of deploying, managing and scaling applications by the help of containers. This similar concept is used in larger code bases to deploy them in a server only difference being that organizations would deploy the application in a Kubernetes Cluster in a server or cloud rather than local machine. Make sure to deploy your own Node.js or MERN stack application on a Kubernetes cluster for some more in hand practice.
Node.js Application In kubernetes – FAQ’s
What is the use of Kubernetes Service?
Service is used for exposing a network application that is running as one or more Pods in your cluster
What are Kubernetes Pods?
Pod is the smallest or fundamental component of a Kubernetes architecture.
What is Kubernetes Deployment?
Deployment is the Kubernetes component that manages the replication and lifecycle of the Pods in the Kubernetes Cluster.
Can we deploy a MERN stack application on Kubernetes Cluster?
Yes, you can deploy a MERN stack application on Kubernetes Cluster
Can a pod have 2 Services?
Yes, a Pod can have 2 Services in Kubernetes.
What are the formats supported by Kubernetes Configuration file?
The formats that are supported by Kubernetes Configuration file are:
- YAML (YAML Ain’t Markup Language)
- JSON (JavaScript Object Notation)
Share your thoughts in the comments
Please Login to comment...