AWS EC2 Instance Setup with Apache Server
Last Updated :
02 Apr, 2024
Amazon Web Services (AWS):
Amazon Web Services (AWS) is a secure cloud services platform, offering compute power, database storage, content delivery and other functionality to help businesses scale and grow. Explore how millions of customers are currently leveraging AWS cloud products and solutions to build sophisticated applications with increased flexibility, scalability and reliability. First of all, we have to learn about the cloud computing and their services.
Cloud computing:
In Simplest terms,
cloud computing
means storing and accessing the data and programs on remote servers that are hosted on the internet instead of computer’s hard drive or local server. Cloud computing is also referred to as Internet-based computing. Cloud Computing Architecture: Cloud computing architecture refers to the components and subcomponents required for cloud computing. These components typically refer to:
- Front end(fat client, thin client)
- Back end platforms(servers, storage)
- Cloud based delivery and a network(Internet, Intranet, Intercloud).
AWS Cloud Products
Amazon Web Services offers a broad set of global cloud-based products including compute, storage, databases, analytics, networking, mobile, developer tools, management tools, IoT, security and enterprise applications. These services help organizations move faster, lower IT costs, and scale. AWS is trusted by the largest enterprises and the hottest start-ups to power a wide variety of workloads including web and mobile applications, game development, data processing and warehousing, storage, archive, and many others. Now we will learn how to create an account on Amazon Web Services(AWS) which works on cloud, it will follow pay you get the system it means you pay for the services that you used and that services are storage, servers …etc . Below are the steps to create AWS account:
Step 1:
First go to the website “https://aws.amazon.com/”
.jpg)
Step 2:
And then go to the sign in, and click on create new account it will create a new account for you and then fill all details

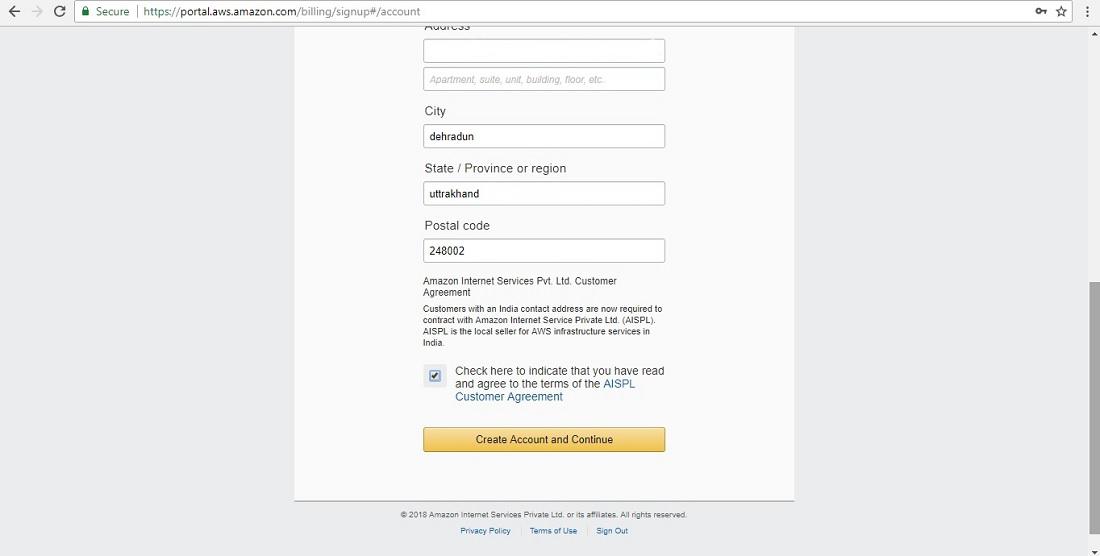
Step 3:
After click on continue then it will show a screen like given below and first you have to fill your Full name then the company name or the university name if you are a student, after filling your phone number, country, your own address, city, state and the postal code of your region. click on Create Account and Continue.
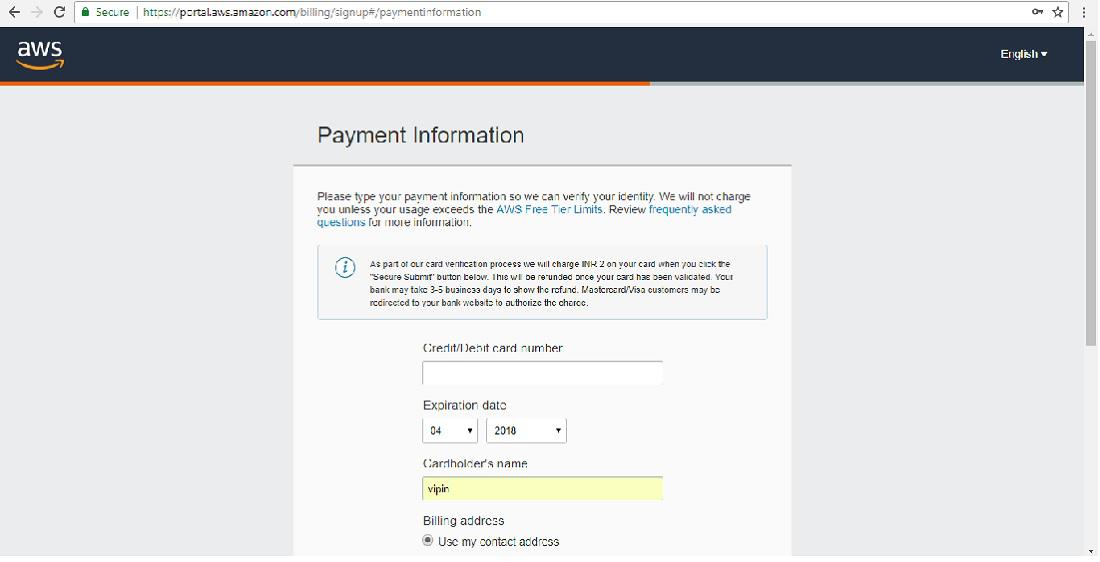
Step 4:
After that it will ask you for your ATM number for deduction of 2 Rs which will be refundable and it debit 2 Rs from your account to check whether the account you made is original or a fake account.
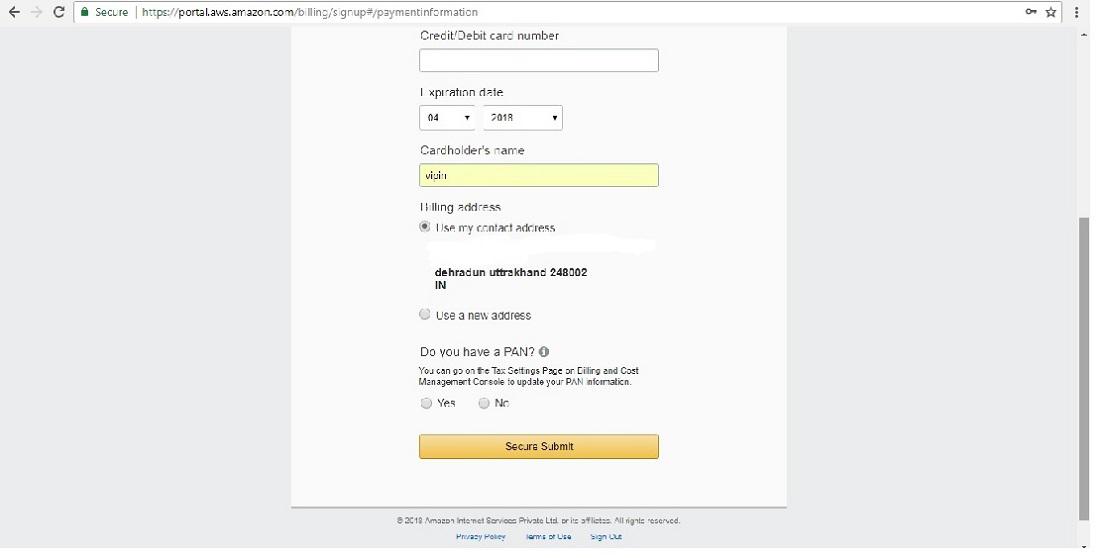
Step 5:
After fill, all details click on Secure Submit
Step 6: After done all above Procedure account is created but not activate to activate account we should go to E-mail and there is a mail from AWS to activate account. And now how to install Apache web server on cloud or we can simply say that how to make an instance or a virtual machine on the cloud. Now we should know what is the Web server?
Web Servers
are basically simple computer programs that dispense the web page when they are requested using the web client. The machines on which this program run are usually called as a server, with both the names web server and server almost used interchangeably. After that, we have a question that what is an Apache web server? The Apache HTTP Server, colloquially called Apache, is a free and open-source cross-platform web server over 60% of companies are using Apache web server for website hosting and maintaining.
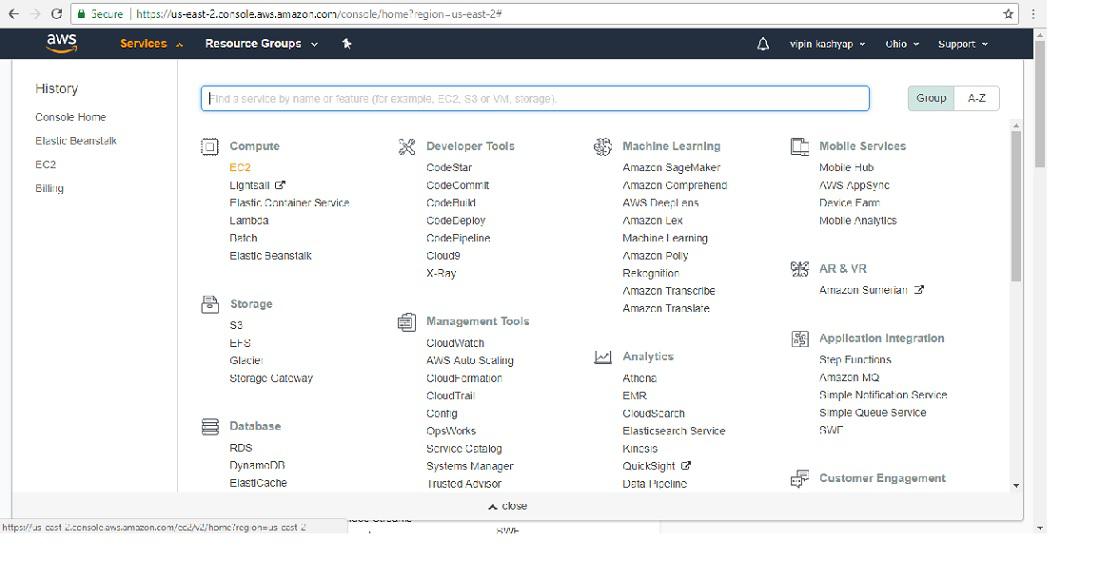
Step 1:
After created account on AWS then we have to go for services that are present at the top left corner, it display all the services on the amazon.
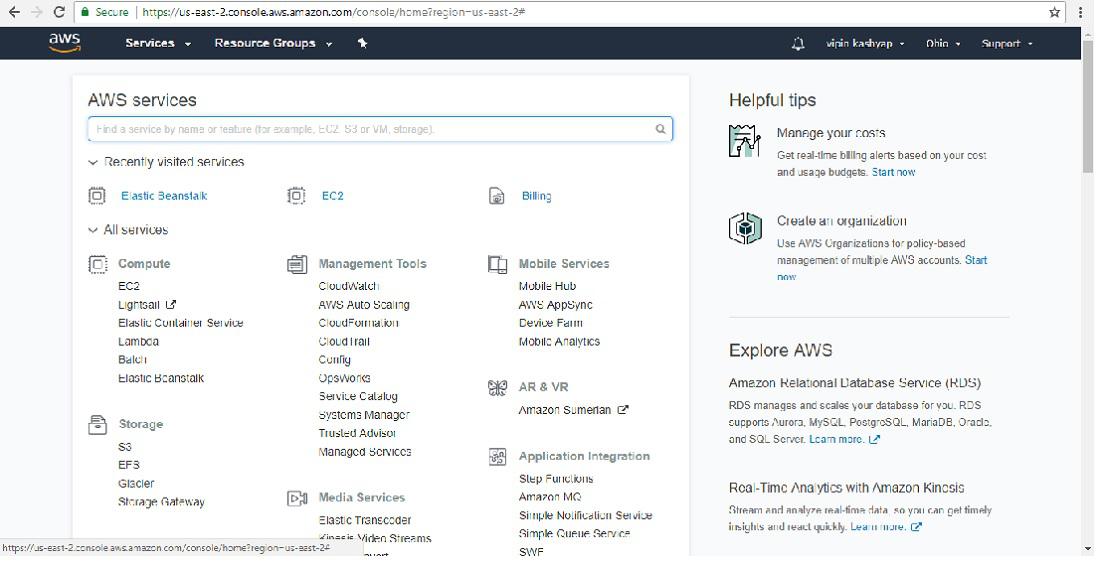
Step 2:
After that, we have to go EC2 (Elastic compute cloud ) which is a type of service on Amazon.
EC2:
Elastic computing is the ability of a cloud service provider to provide flexible computing power when and wherever required.
Step 3:
Then click on Launch Instance. Here we make instance means that we create a virtual machine in the cloud.
.png)
Step 4:
After that choose an Amazon Machine Image (AMI) here Red Hat selected by default you have to choose it only because all the others are pay services. Now here we have a term known as AMI i.e Amazon machine image is a special type of virtual appliance that is used to create a virtual machine within the Amazon Elastic Compute Cloud.
.png)
Step 5:
Choose your instance type. Make it as default because other instance type is not free you have to pay for it and an instance type depends upon the AMI you choose .
.png)
Step 6:
Now configure security group and there Adding some rules 1: Enter type:- HTTP and then Source = anywhere 2: Enter type:- HTTPS and then source = anywhere Here the Source is to excess anywhere it means can access web server from anywhere no need to need a specific IP(internet protocol) or a specific system, go to Reviews and Launch the instance.
.png)
Step 7:
After click on Launch
.png)
Step 8:
After click on Launch here is an option for the key pair. select “create a new key pair” and name the key pair.
.png)
Step 9:
Download the key pair to local system. And download it because when we have to connect our local system to the server then this key pair tell us that which server will connect to our local system.
-(1).png)
Step 10:
Then click on Launch button
-(1).png)
Step 11:
AS instance is created to view that instance click on view instance. It will display all the instances.
.png)
Step 12:
A instance is created.
.png)
Step 13:
For deleting instance, right click on the instance and the select terminate.
-(1).png)
Step 14:
It will ask to delete the instance click delete. Note:
Don’t forget to terminate or stop instance as it is pay service so they will charge according to hours using there services.
Share your thoughts in the comments
Please Login to comment...