How to Render a variable as HTML in EJS ?
Last Updated :
04 Mar, 2024
In the EJS, the rendering of a variable as HTML consists of a specific tage through which we can control how the content is displayed. This tag involves, <% code %> that allows the execution of code without rendering, <%= code %> escapes and prints the code as HTML, while <%- code %> renders the code as HTML without escaping special characters. In this article, we will see the practical implementation using these tags to Render a variable as HTML in EJS.
Approaches to Render a variable as HTML in EJS:
- Embed the variable directly within HTML tags using EJS delimiters:
<%= variable %>.
- Use conditional statements to render HTML based on the variable’s value conditionally.
- Utilize EJS filters to modify the variable before rendering it as HTML.
- Incorporate JavaScript functions to manipulate the variable and generate HTML dynamically.
- Apply EJS partials or include rendering reusable HTML components with the variable data embedded.
Steps to Render a Variable as HTML in EJS:
Step 1: Create a backend server using the following command in your project folder.
npm init -y
Step 2: Install the necessary package in your server using the following command.
npm i express ejs
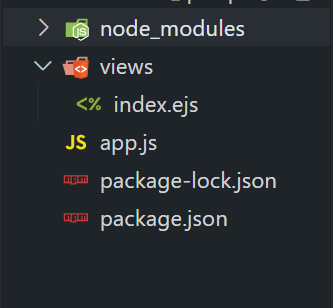
Project Structure:
The updated dependencies in package.json file will look like:
"dependencies": {
    "express": "^4.18.2",
    "ejs": "^3.1.9",
}
Example: Below is an example to render a variable as HTML in EJS.
HTML
<!DOCTYPE html>
<head>
<title>
<%= geeksData.title %>
</title>
</head>
<body>
<h1 style="color: green;">
<%- geeksData.title %>
</h1>
<p>
<%= geeksData.description %>
</p>
<form action="/" method="post">
<label for="inputTitle">New Title:</label>
<input type="text" id="inputTitle" name="inputTitle" required>
<label for="inputDescription">
New Description:
</label>
<input type="text"
id="inputDescription"
name="inputDescription"
required>
<label for="inputUrl">New URL:</label>
<input type="url" id="inputUrl" name="inputUrl" required>
<button type="submit">Update Data</button>
</form>
<hr>
<h2>Updated Data</h2>
<p>Title: <%= userGeeksData.title || "No data provided" %>
</p>
<p>Description: <%= userGeeksData.description || "No data provided" %>
</p>
<p>URL: <%= userGeeksData.url || "No data provided" %>
</p>
</body>
</html>
|
Javascript
const express = require('express');
const bodyParser = require('body-parser');
const app = express();
const port = 3000;
app.set('view engine', 'ejs');
app.use(bodyParser.urlencoded({
extended: true
}));
let data = {
title: 'GeeksforGeeks',
description: 'A computer science portal for geeks',
};
let gfgData = {};
app.get('/', (req, res) => {
res.render('index', {
geeksData: data,
userGeeksData: gfgData
});
});
app.post('/', (req, res) => {
gfgData = {
title: req.body.inputTitle,
description: req.body.inputDescription,
url: req.body.inputUrl,
};
res.redirect('/');
});
app.listen(port, () => {
console.log(`Server is running at
http:
});
|
To run the application, we need to start the server by using the below command.
node app.js
Output:
Share your thoughts in the comments
Please Login to comment...