Next.js on Vercel
Last Updated :
04 Jan, 2023
In this article, we are going to see the features and benefits of choosing vercel for our nextjs app and How we can export our NextJs app in vercel.
Benefits of Vercel: Vercel is specially made for NextJs apps by the creators of NextJs because of which it has many benefits and features including:-
- SSR Support: In vercel you can server-side render any page without any problem.
- Fast Response time: All the javascript, css, images, etc are served from the vercel Edge Network which makes it really fast.
- Easy Deployment: You can easily deploy your NextJs project in vercel within few minutes.
- Free Access: You can host your non-commercial projects completely free on vercel.
Deploying in Vercel: You can easily deploy your NextJs project in vercel using the below steps.
Step 1: Deploy your NextJs project in Github. You can read this article on how to deploy apps in Github.
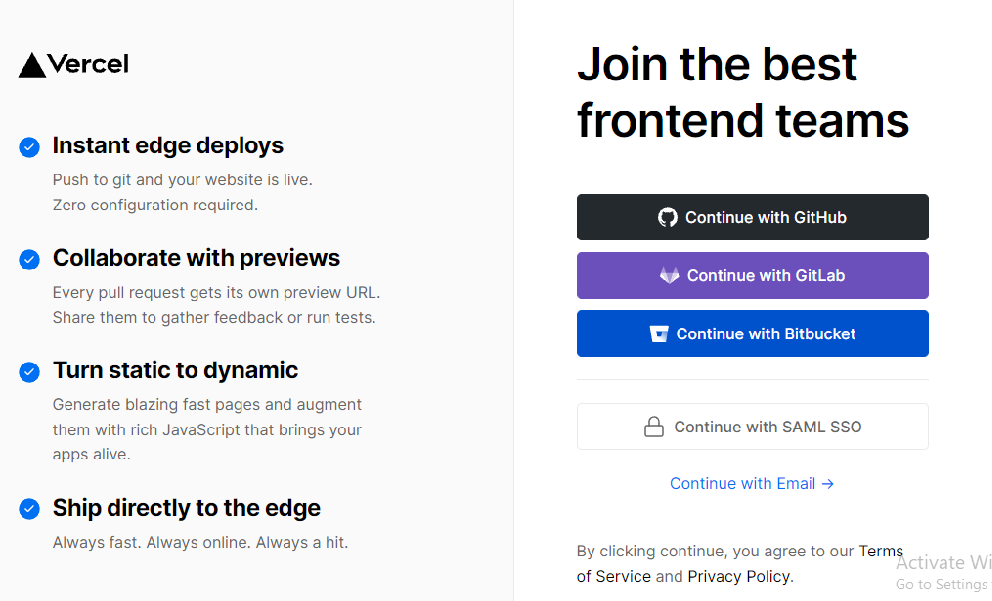
Step 2: Create a new account on Vercel. It’s completely free and doesn’t require credit card details.
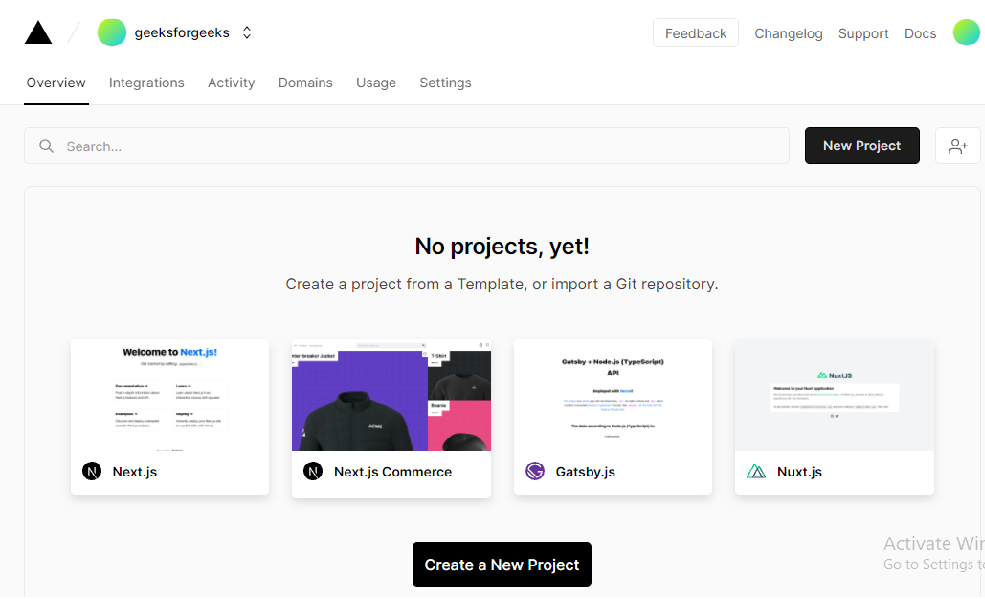
Step 3: After log in you can see a “Create a new Project” button. Click on it to create a new project,
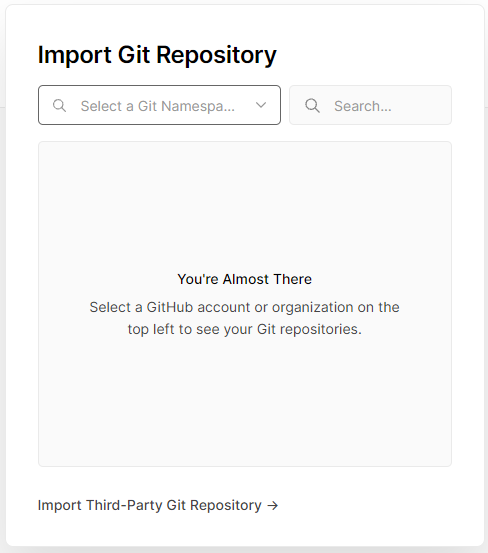
Step 4: After that, click on “import from GitHub” and you can see a list of your GitHub repository. Select your NextJs project and that’s it. Your App is deployed.
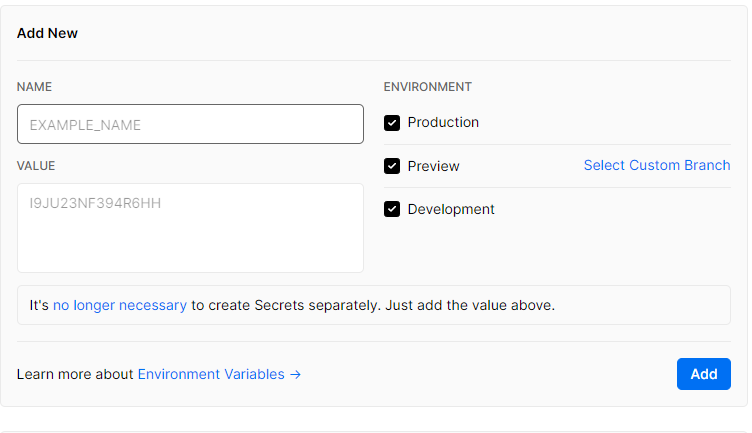
Adding Environment Variables: In vercel, you can easily add environment variables. Follow the below steps to add the environment variables.
Step 1: Go to the dashboard of your deployed project.
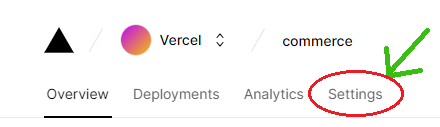
Step 2: Click on the settings button.
Step 3: Click on the environment variables on the left side.
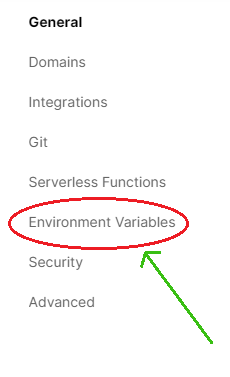
Step 4: Now you can add your environment variables here.
Share your thoughts in the comments
Please Login to comment...