Locating Strategies By XPath Using Java
Last Updated :
14 Mar, 2024
Web application testing must be rigorous and thorough. For this reason, many tests for web applications are automated. Selenium is an open-source framework that allows us to automate web browser testing. In the following article, we will explore how to use XPath to locate elements on our HTML code using Java and Selenium. We will further see an example of how we can manipulate these elements using the code itself.
What is XPath?
XPath (XML Path Language) is a query language and expression syntax used for navigating and selecting elements from XML (Extensible Markup Language) documents.
- It provides a way to locate and retrieve information from XML documents by specifying the path to the desired elements or nodes.
- XPath uses a compact and expressive syntax to describe the structure and relationships within an XML document.
- It operates on the logical structure of the XML document, treating it as a tree of nodes.
Syntax:
//tagname[@attribute = ‘value’]
Use cases of XPath include:
- Selecting Nodes: XPath expressions can be used to select specific nodes or sets of nodes within an XML document.
- Filtering Nodes: XPath allows you to filter nodes based on certain conditions, such as attributes or content.
- Navigation: XPath provides a way to navigate through the hierarchical structure of an XML document, moving from one node to another.
- Accessing Attributes: You can use XPath to access and retrieve values of attributes associated with elements.
- Searching for Patterns: XPath supports the use of wildcards and patterns to find nodes that match a specific structure or naming convention.
Steps for Locating Elements using XPath and Java
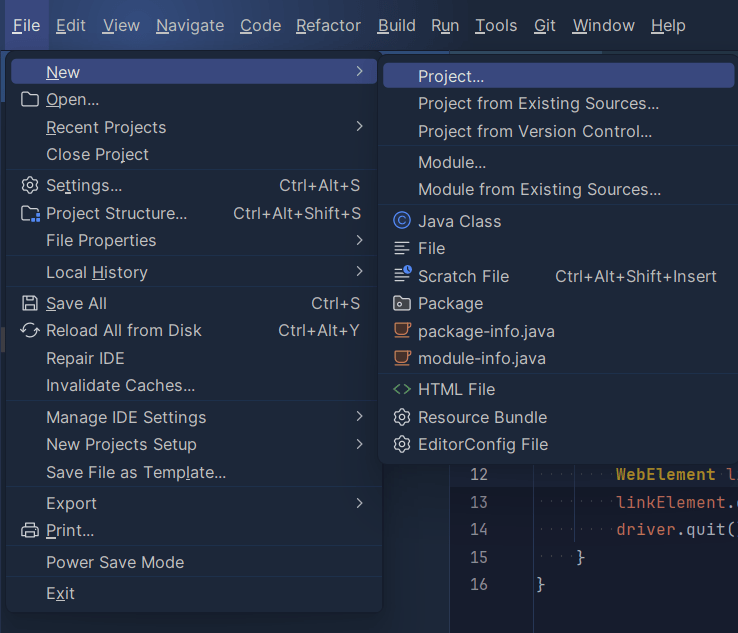
Step 1: Create a Project
Create a Maven project in your Java IDE, such as IntelliJ IDEA, selecting Java 17 as the language. Navigate to File > New > Project to initiate the project setup.
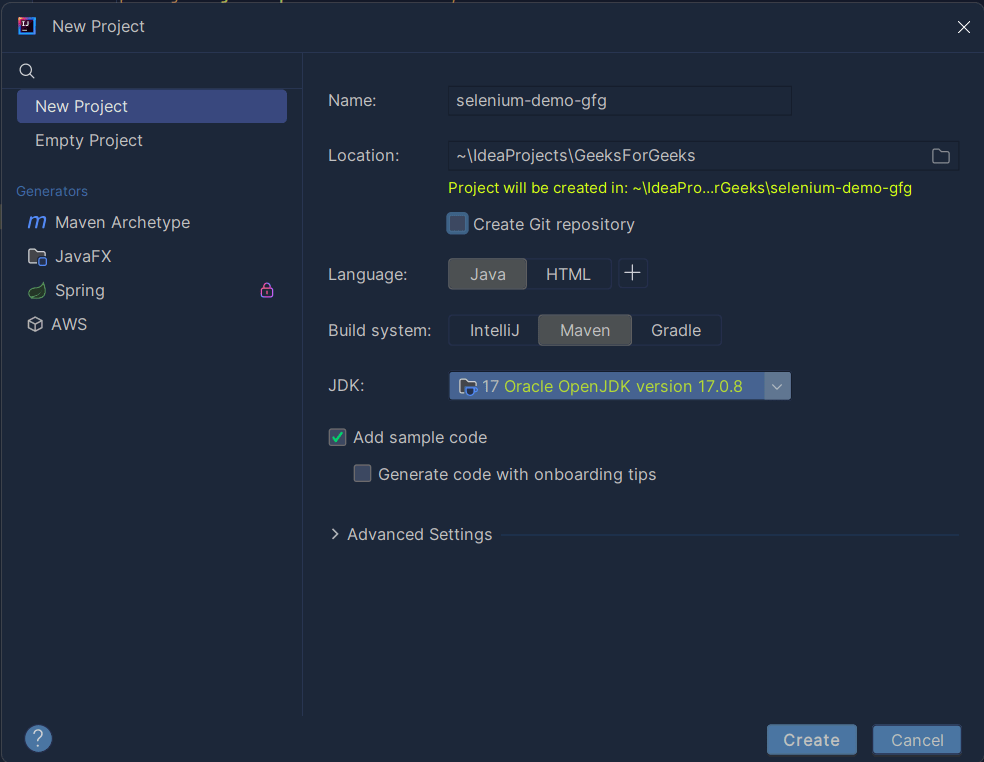
Step 2: Set Up the Project Configuration
Configure the project settings by providing a name and selecting Maven as the build type. Specify Java-17 as the language in the opened dialogue box after clicking the Project button in the previous step.
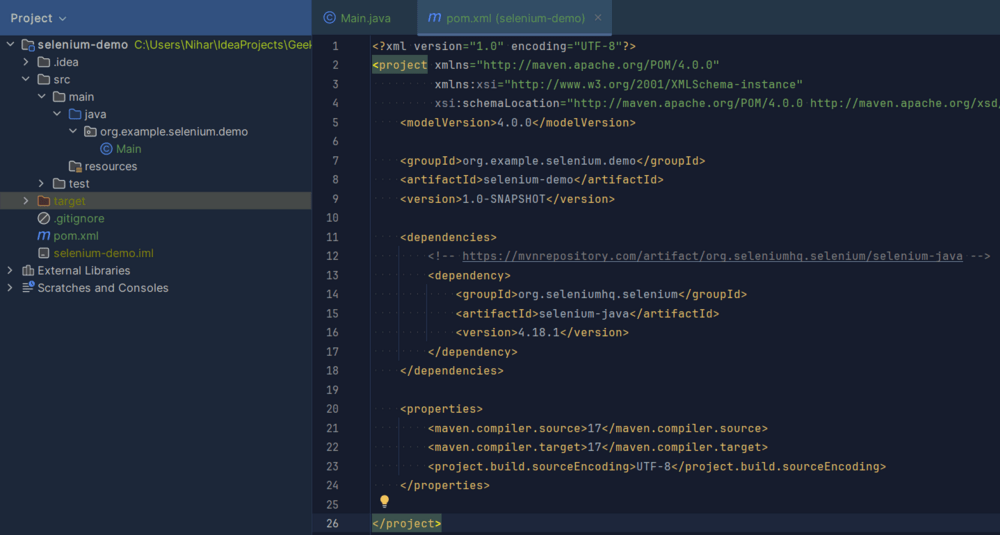
Step 3: Add the Selenium Dependency
Include the Selenium dependency in your project’s pom.xml file by adding the following code:
<dependency>
<groupId>org.seleniumhq.selenium</groupId>
<artifactId>selenium-java</artifactId>
<version>4.18.1</version>
</dependency>
Ensure that your pom.xml file reflects the updated dependencies as shown above:
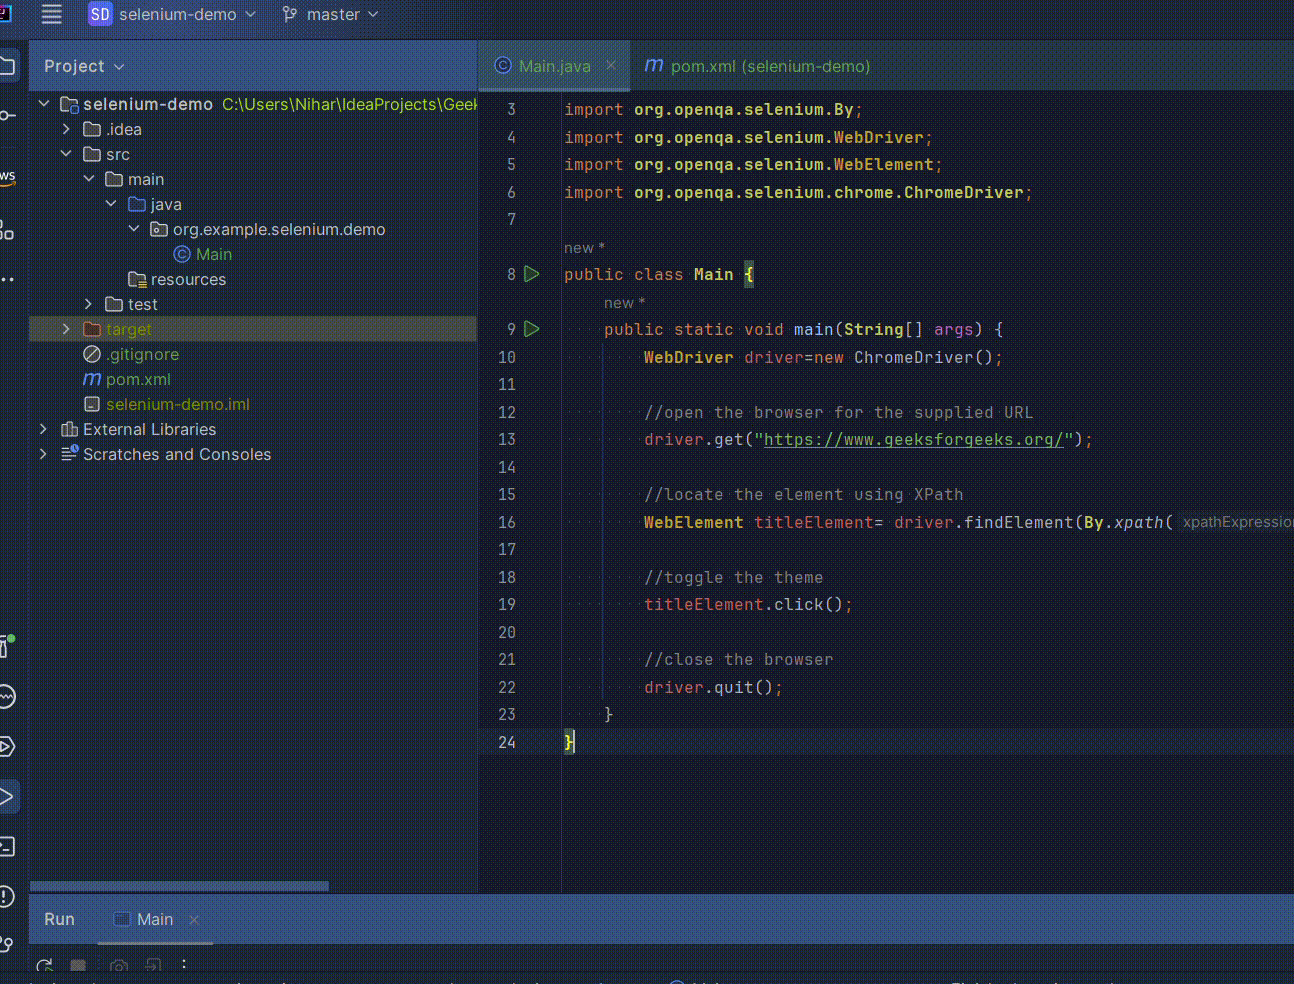
Step 4: Building the Main Class
Create the main class for your automation. Develop a script that performs the following tasks:
- Open the browser
- Toggle to Change the default theme
- Close the Browser
Ensure your main class includes the necessary Selenium and WebDriver code to accomplish these automation steps without human interactions.
Example:
The below Java program demonstrates locating a webpage element using XPath (double slash) for a theme toggle button. It opens a Chrome browser, navigates to a specified URL, and toggles the theme by identifying the button through XPath, showcasing a simple example of an XPath-based locating strategy.
Java
// Java Program for Locating Strategies
// By XPath Using Java

// Importing Selenium Libraries
import org.openqa.selenium.By;
import org.openqa.selenium.WebDriver;
import org.openqa.selenium.WebElement;
import org.openqa.selenium.chrome.ChromeDriver;

public class Main {
    public static void main(String[] args)
    {

        // Use the ChromeDriver for the pre-installed Chrome
        // browser
        WebDriver driver = new ChromeDriver();

        // Open the browser and navigate to the specified
        // URL
        driver.get("https://www.geeksforgeeks.org/");

        // Locate the element using XPath for the theme
        // toggle button
        WebElement themeToggleButton
            = driver.findElement(By.xpath(
                "//button[@aria-label='toggle theme']"));

        // Toggle the theme by clicking the identified
        // element
        themeToggleButton.click();

        // Close the browser
        driver.quit();
    }
}
Now when we run this code, we will see that your browser automatically opens, navigates to the specified URL toggles the theme, and closes on its own. It’s a pretty quick process so be very attentive (that’s why it’s automated).
Step 5: Testing the Automation
Validate the automation by executing the code. Verify that the output demonstrates the successful completion of the automation tasks, including opening the browser, toggling the theme, and closing the browser.
Output:
Conclusion
In conclusion, XPath proves invaluable for web application testing with Selenium in Java, providing a concise syntax for precise element location and manipulation. Using XPath’s navigation and filtering capabilities, the automated script efficiently opens, toggles the theme, and closes the browser, showcasing the simplicity and effectiveness of XPath-based locating strategies in Java for web automation.
Share your thoughts in the comments
Please Login to comment...