Install PostgreSQL on Windows
Last Updated :
01 Mar, 2023
This is a step-by-step guide to install PostgreSQL on a windows machine. Since PostgreSQL version 8.0, a window installer is available to make the installation process fairly easier.
We will be installing PostgreSQL version 11.3 on Windows 10 in this article.
There are three crucial steps for the installation of PostgreSQL as follows:
- Download PostgreSQL installer for Windows
- Install PostgreSQL
- Verify the installation
Downloading PostgreSQL Installer for Windows
You can download the latest stable PostgreSQL Installer specific to your Windows by clicking here
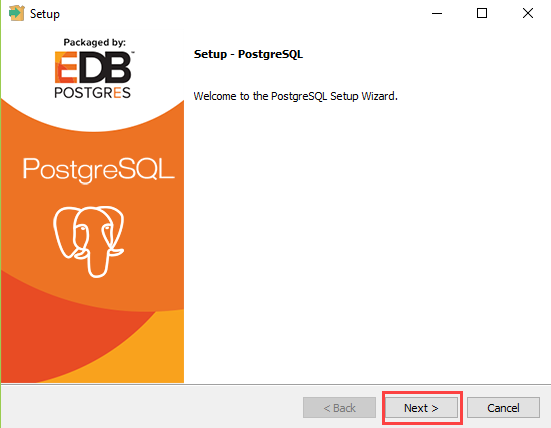
Installing the PostgreSQL installer
After downloading the installer double click on it and follow the below steps:
- Step 1: Click the Next button
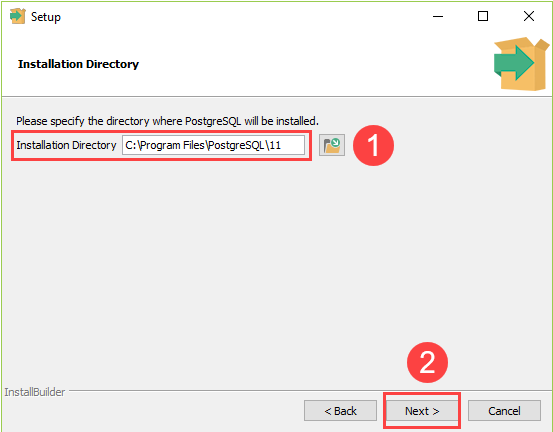
- Step 2: Choose the installation folder, where you want PostgreSQL to be installed, and click on Next.
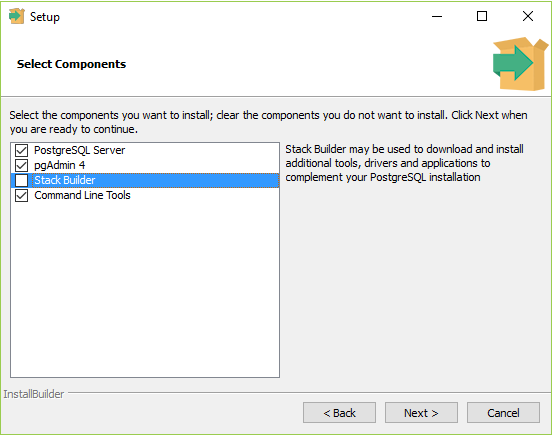
- Step 3: Select the components as per your requirement to install and click the Next button.
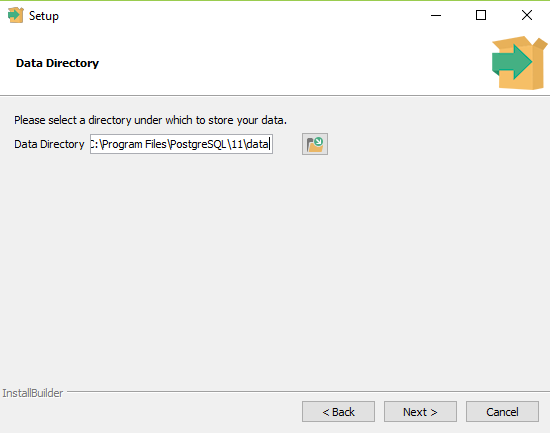
- Step 4: Select the database directory where you want to store the data and click on Next.
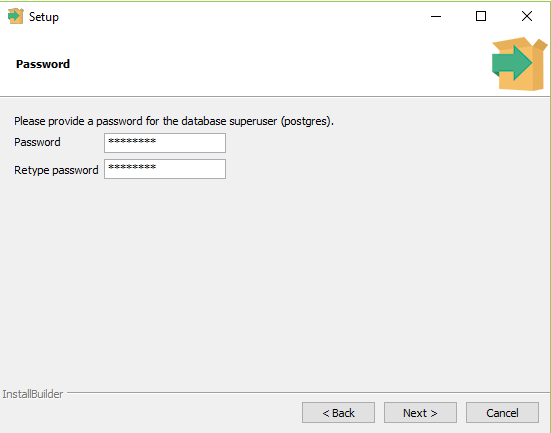
- Step 5: Set the password for the database superuser (Postgres)
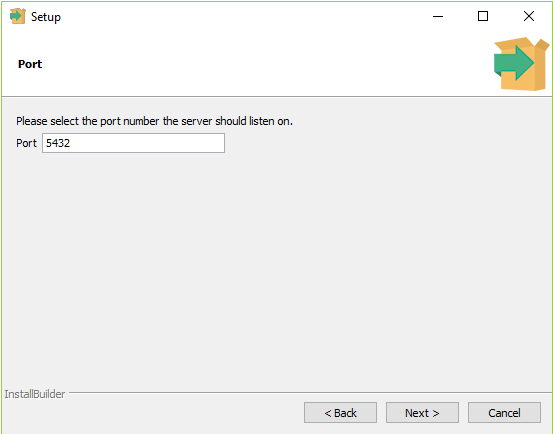
- Step 6: Set the port for PostgreSQL. Make sure that no other applications are using this port. If unsure leave it to its default (5432) and click on Next.
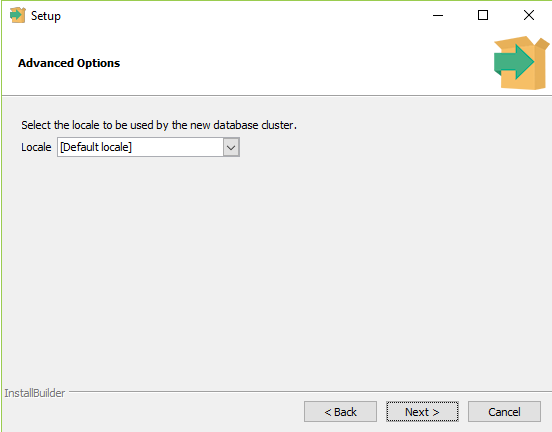
- Step 7: Choose the default locale used by the database and click the Next button.
- Step 8: Click the Next button to start the installation.
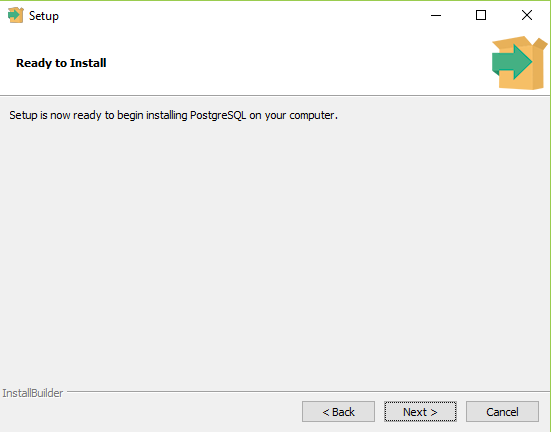
- Wait for the installation to complete, it might take a few minutes.
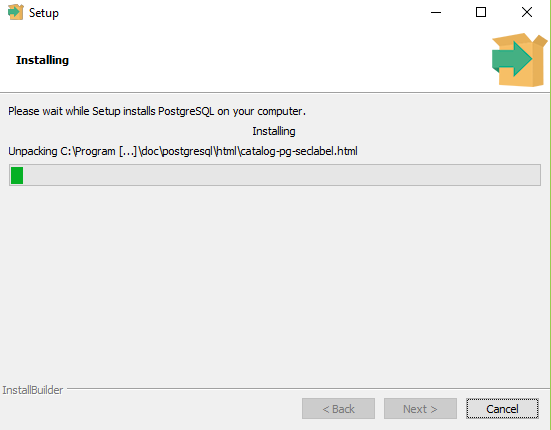
- Step 9: Click the Finish button to complete the PostgreSQL installation.

Verifying the Installation of PostgreSQL
There are couple of ways to verify the installation of PostgreSQL like connecting to the database server using some client applications like pgAdmin or psql.
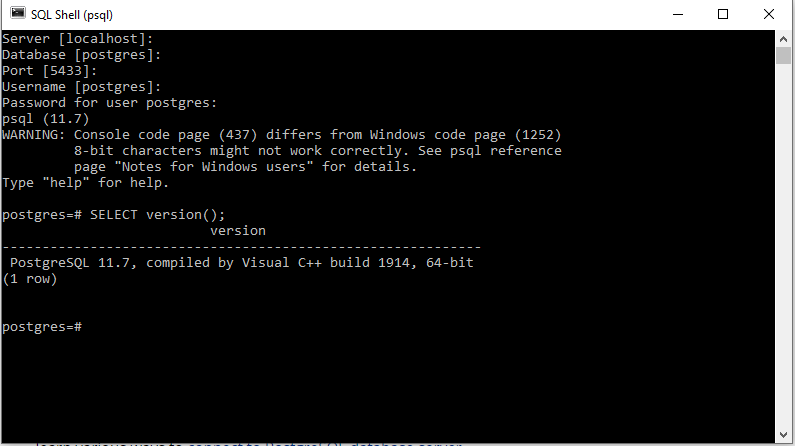
The quickest way though is to use the psql shell. For that follow the below steps:
- Step 1: Search for the psql shell in the windows search bar and open it.
- Step 2: Enter all the necessary information like the server, database, port, username, and
password and press Enter.
- Step 3: Use the command SELECT version(); you will see the following result:
Share your thoughts in the comments
Please Login to comment...