PostgreSQL – Create Database
Last Updated :
28 Aug, 2020
PostgreSQL has multiple ways to create a database. In this article we will discuss multiple ways to do so.
1. Using psql Shell:
To create a database through the psql shell we make the use of the CREATE DATABASE statement as below:
CREATE DATABASE db_name
 OWNER =  role_name
 TEMPLATE = template
 ENCODING = encoding
 LC_COLLATE = collate
 LC_CTYPE = ctype
 TABLESPACE = tablespace_name
 CONNECTION LIMIT = max_concurrent_connection
The various options provided by the CREATE DATABASE statement are explained below:
- db_name: It is the name of the new database that you want to create.It must always be a unique name.
- role_name: It is the role name of the user who will own the new database.
- template: It is the name of the database template from which the new database gets created.
- encoding: It specifies the character set encoding for the new database. By default, it is the encoding of the template database.
- collate: It specifies a collation for the new database.
- ctype: It specifies the character classification for the new database like digit, lower and upper.
- tablespace_name: It specifies the tablespace name for the new database.
- max_concurrent_connection: It specifies the maximum concurrent connections to the new database.
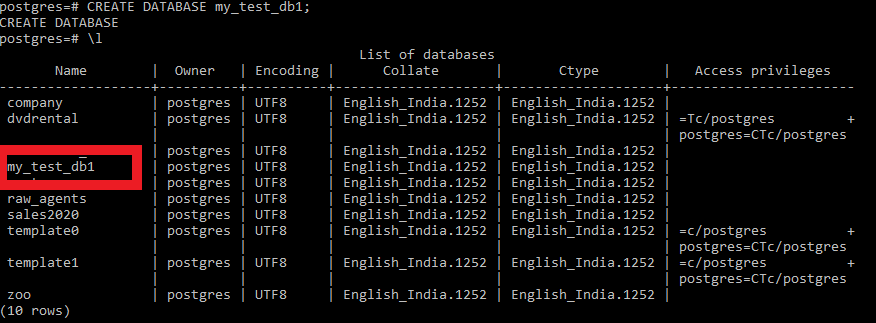
Example 1:
Here we will create a test database with all default settings.
CREATE DATABASE my_test_db1;
Output:
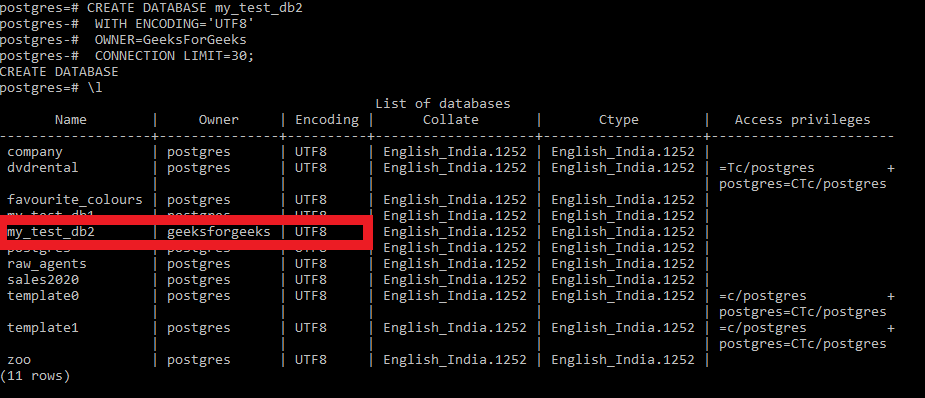
Example 2:
Here we will create a test database with the following parameters:
- Encoding: utf-8.
- Owner: GeeksForGeeks with postgres as the user.
- Maximum concurrent connections: 30.
CREATE DATABASE my_test_db2
 WITH ENCODING='UTF8'
 OWNER=GeeksForGeeks
 CONNECTION LIMIT=30;
Output:
2. Using pgAdmin:
Follow the below steps to create a new database using pgAdmin.
- Step 1: Log in to PostgreSQL via pgAdmin.
- Step 2: Right click on the Databases menu and then click on New Database… sub-menu item as depicted below:

- Step 3: Now enter the new database name, owner, and configure parameters and click the OK button as depicted below:


Share your thoughts in the comments
Please Login to comment...