Jenkins is known as open-source software that is popularly used for the automation of the server, it is widely used for building and deploying applications on an enterprise level, so if you are using the Jenkins software for production and its deployment, it is very important to make sure that the Jenkins software is updated to its latest version.
As the Jenkins software is widely known and used in the open-source community, it gets updated every once in a while, so you should make sure that you update the Jenkins software in your system to make sure it works properly with all the latest features. In this article we will understand how we can update Jenkins in Linux.
Get the Current Jenkins Version
Before trying to update Jenkins on the Linux operating system, you should try to get the latest version of Jenkins to understand if you already have the latest version or if you need to update it. For this, you will have to follow the below steps:
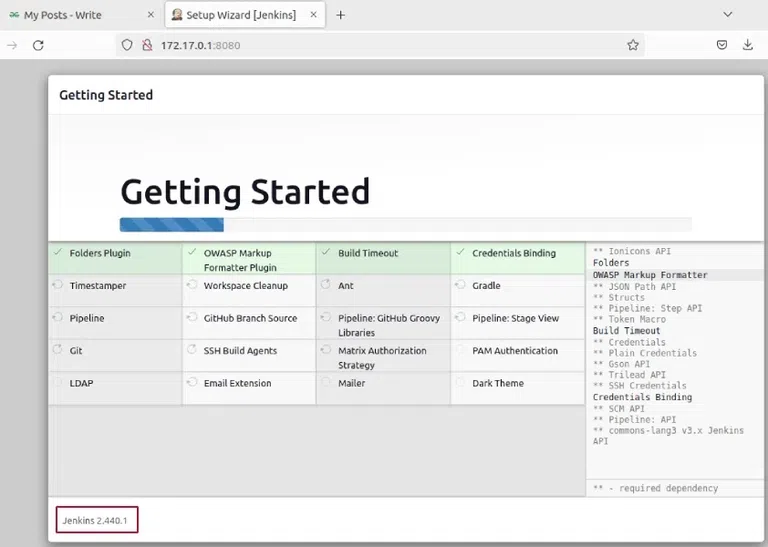
Jenkins version checking.
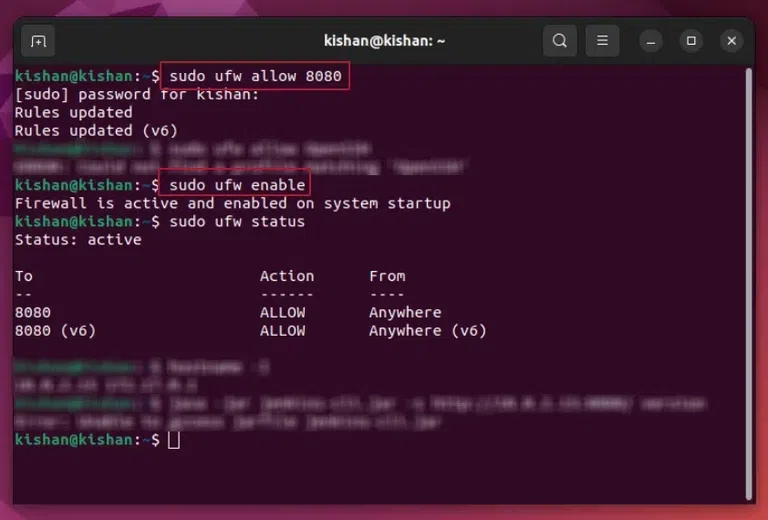
Configure the Jenkins
First, you will have to run the following commands to configure the Jenkins:
sudo ufw allow 8080
Configure the jenkins.
Download The New War File of Jenkins
Now you will have to download the new war file of jenkins, so now that you have checked that you have an older version of the jenkins, you can begin installing the new jenkins version for this, follow the steps:
Step 1: Download War File
For downloading the war file, you can visit the official website of jenkins and go to changelog, and look for the version you want to install.
Step 2: Paste the Link
Now you will have to paste the link of the war file that you had copied, for this you will have to follow the below command format:
cd /downloads
wget http://updates.jenkins-ci.org/download/war/2.9/jenkins.war // replace this command with the link you have copied.
This will give you the following output
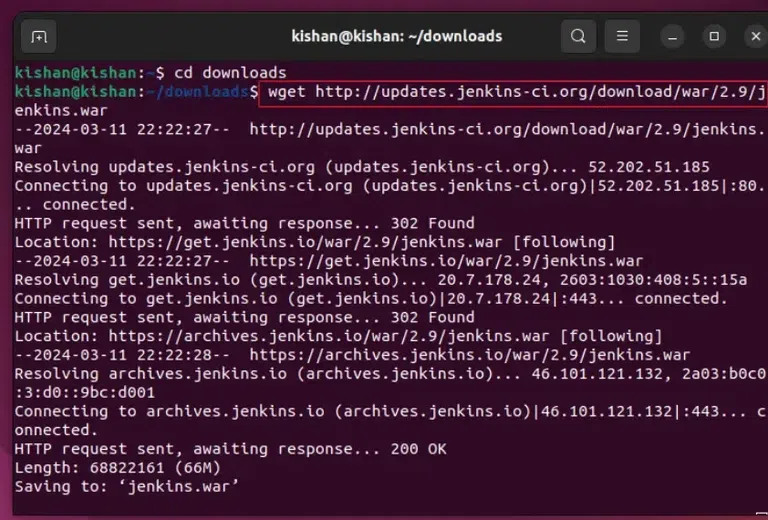
output terminal.
Note: First, we should keep a backup of the current file, for this we can use the following step
Step 3: Take a Backup of the Existing Version
First you will have to take a backup of the existing version of jenkins, for this you can run the following command first:
cp /usr/lib/jenkins/jenkins.war /downloads/jenkins.war.previous.version
Installing New Jenkins Through War File
Once the above steps are completed, you will have to install the jenkins using this war file, for this you will have to follow the below steps:
Step 1: Create Copy of Previous File
First we need to copy the previous version of the file for security purposes, for this you will have to use the command given below (you may need to change path according to your installation directory):
cp /downloads/jenkins.war /usr/lib/jenkins/
Now, you will have copy the newly downloaded war file into /usr/lib/jenkins directory, for this use the following command:
cp /downloads/jenkins.war /usr/lib/jenkins/
Step 2: Restart Jenkins Service
Now make sure that you do not have any important work going on in jenkins and go ahead and use the following command to stop the jenkins service and start it again:
systemctl stop jenkins
systemctl start jenkins
This will give stop and then start the new jenkins version automatically.
Troubleshooting Plugins & Config Issues
There can be some troubleshooting with the plugins or configuration, if you are having some troubleshooting with the plugins or configuration, then you can check it using the following steps:
Step 1: Open the Jenkins Logs
In this step, you will have to open the jenkins and go to the manage option, from this option you can choose the system logs option that will show you the logs including errors or issues that may have occurred:
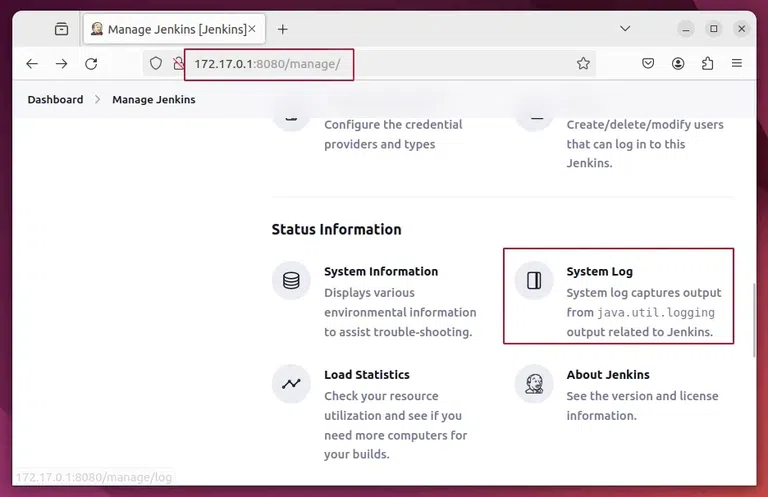
Open system log.
Step 2: Open All Jenkins Logs
Now you will see the below option that says “All jenkins logs” simply click on it and it will take you to the logs of the jenkins:

All jenkins logs.
Step 3: Troubleshooting the Issue
Now, by looking at the logs you can check if there is any issue with the system, if there is any issue then you can simply note down the time when the issue occurred and open the log for that specific timing, after that you can go to the documentation of the official jenkins site and troubleshoot the issue.
Post Upgradation & Post Upgrade Tasks
Now that you have upgraded the jenkins, you can go to the jenkins site by using your browser and in the bottom of the site you will be able to see the version of the jenkins, as you can see in the image below that I have successfully upgraded to version 2.9 from previous version of 2.4:
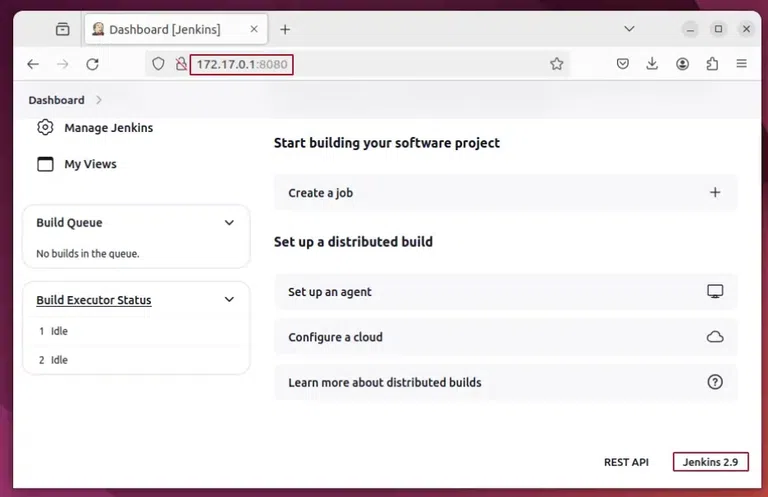
Jenkins new version.
After this you can perform some of the post upgrade tasks such as:
- Checking the plugins and re installing some new plugins.
- Checking and changing the default settings.
- Setting and configuring the agent and clouds.
Conclusion
In conclusion, we learned how we can first check the current version of the jenkins in ubuntu and then we understood how we can get the latest version of the jenkins and then install it using the terminal offered by ubuntu by default, we also learned how we can reset the services and start the new version of jenkins so follow the steps mentioned in the article and you will be able to update jenkins easily.
Update Jenkins In Linux – FAQ’s
How do I check the current version of Jenkins installed on my Linux system?
You can check the installed version of Jenkins by opening the Jenkins web interface or using the terminal. you can also check it via the terminal by using the following command:
sudo dpkg -l | grep jenkins
What is the recommended method to update Jenkins on Linux?
The recommended method to update Jenkins on Linux is by using the package manager of your distribution. for example, if you installed Jenkins using the Debian package (.deb), then you can simply update it by using the following commands:
sudo apt update
sudo apt upgrade jenkins
Can I update Jenkins manually on Linux?
Yes, you can also update the Jenkins manually by downloading the latest .war file from the official Jenkins website and replacing the existing .war file on your system.
Is it necessary to restart Jenkins after updating it on Linux?
Yes, it is necessary for you to restart Jenkins after updating it on linux so that you make sure to apply the changes, you can easily restart Jenkins by using the following command:
sudo systemctl restart jenkins
What steps should I take before updating Jenkins on Linux to ensure a smooth process?
Before updating the Jenkins on Linux, you must backup your Jenkins home directory in order to preserve the data and the configurations.
Share your thoughts in the comments
Please Login to comment...