How to Insert a Checkbox in Google Sheets – Quick Steps
- Open your document.
- Click the cell.
- Go to “Insert” > “Checkbox.”
In the ever-evolving landscape of data management and collaboration, Google Sheets continues to be a trusted ally for users worldwide. However, it’s not just about numbers and formulas – sometimes, it’s the little checkboxes that can make all the difference. From to-do lists to project trackers, checkboxes in Google Sheets are the unsung heroes of organization and productivity. In this guide, we’ll unravel the simple yet powerful process of adding checkboxes to your Google Sheets. Whether you’re striving for a more streamlined workflow or aiming to create interactive checklists, mastering the art of checkboxes can transform the way you manage and track your data. Let’s dive into the world of checkboxes in Google Sheets and unleash your productivity potential.
Checkboxes can be used to manage attendance, tick off items on a to-do list, or organize data. Checkboxes may even be used to make interactive games and tests. Checkboxes can also be used to increase the efficiency of data entry, mostly like the true/false options. Also, Google Sheets is a great tool for teamwork and collaborative jobs so this helps the team members to indicate the task completion.

How to Add a Checkbox in Google Sheets on Desktop
Checkboxes are practically handy and serve a lot of use cases as already discussed. Adding checkboxes in Google Sheets is also very easy and straightforward. Also, there are a lot of customizations and variations we can add to the checkboxes, although this won’t be discussed in this article. Checkboxes are added to Google Sheets using two approaches :
- Adding the Checkboxes from the Insert menu
- Adding Checkbox through Data Validation
How to Add the Checkbox Using the Insert Menu
This approach of adding the checkbox is simpler and basic. So in this approach just go to the Insert menu and insert a checkbox. To implement this approach:
Step 1: Select the cell
On the spreadsheet, click and select the cell where you want to add the checkbox.
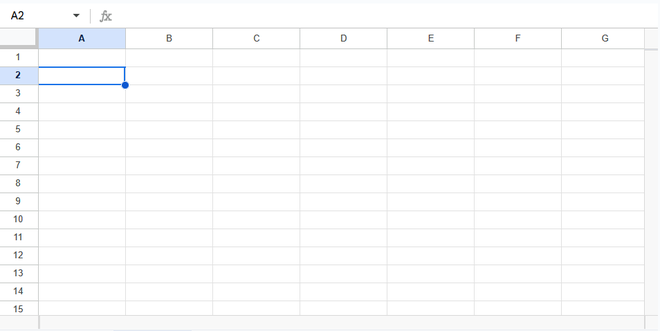
Step 1: Select the desired cell to add the checkbox
Step 2: Open Insert Menu
Now Navigate to the “Insert” menu on the top toolbar and click on it. This will open the dropdown menu below the Insert menu.
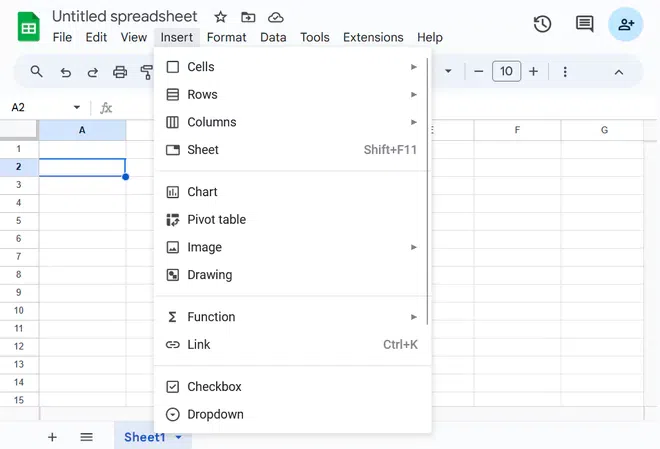
Step 2: Navigate to and click on the “Insert” menu on the top toolbar.
Step 3: Add the Checkbox
After the dropdown is opened under the Insert menu, click on the “Checkbox” option.
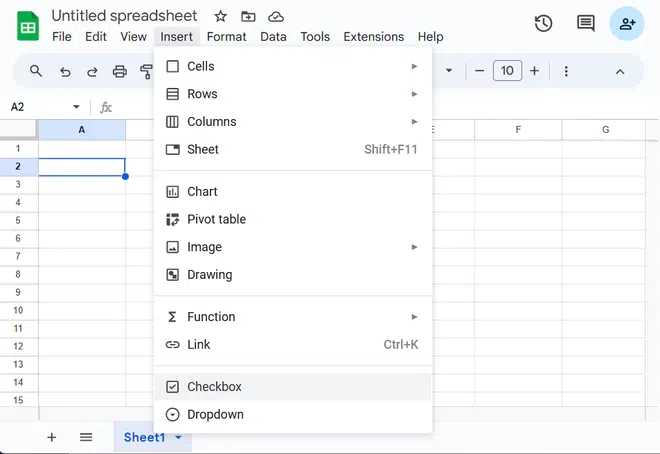
Step 3: Add the Checkbox
Step 4: Preview the Added Checkbox
Now after clicking on the “checkbox” option, a checkbox will be added to the cell you had selected.
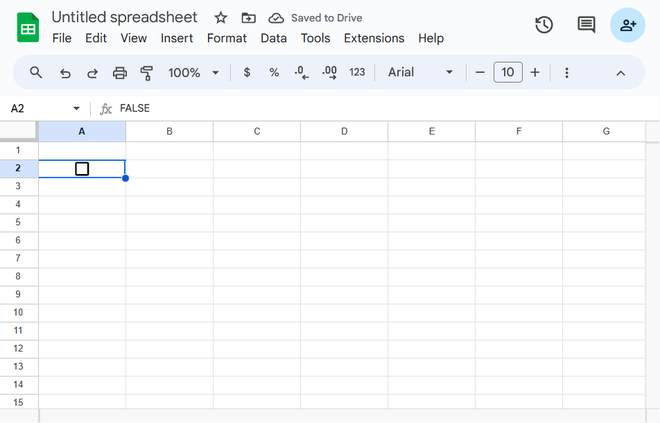
Result: A blank checkbox is added to the selected cell.
How to Add Multiple Checkboxes Using Data Validation
This approach of adding the checkbox is a little complex. So in this approach, you have to go to the Data menu and insert a checkbox from the criteria for validation. However, the advantage of this approach is that you can customize the checkbox’s values. To implement this approach:
Step 1: Select the cells
On the spreadsheet, click and select the cells where you want to add the checkbox.
.webp)
Select the Cells
Step 2: Go to the Data Menu and Select Data Validation
Now Navigate to the “Data” menu on the top toolbar and click on it. This will open the dropdown menu below the Data menu.
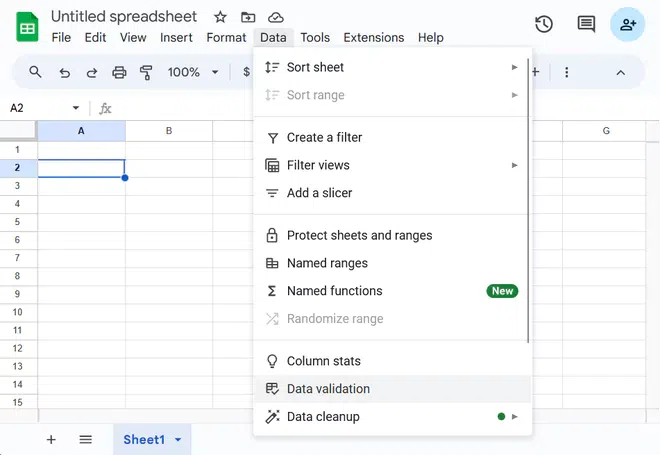
From the dropdown menu from the Data Menu click on the “Data Validation” option
Step 3: Click on Add Rule
On clicking on the “Data Validation” option, a dialogue sideways will open. Then click on the add rule button.

Click on the “Add Rule” button
Step 4: Choose the dropdown menu, Select the checkbox, and Click Done
After clicking on the “Add Rule”, click on the “Dropdown” button under criteria. Scroll the dropdown from the criteria and locate the “Checkbox” option.
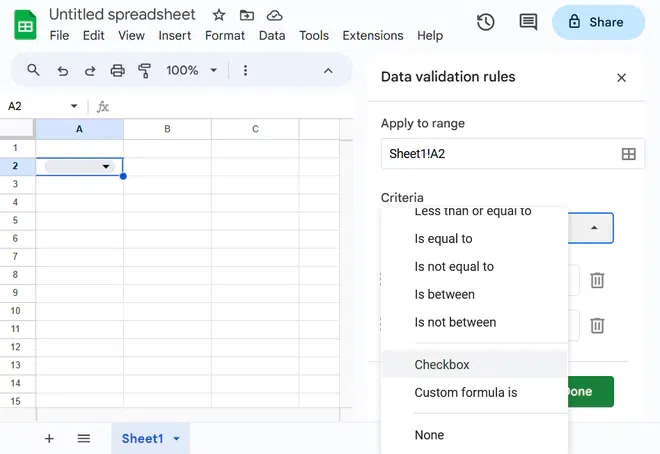
Scroll to the “Checkbox” option
Step 5: Preview the Added Checkboxes
.webp)
Preview the Result
How to Use Checkboxes in Google Sheets
Once you’ve added a checkbox, you can mark it as done by clicking on it or by pressing “Shift + F2.” To uncheck it, simply click again or use “Shift + F3.” Checkboxes are a great way to keep tabs on what’s done and what’s not, like completing tasks on a to-do list. Below are how you can use Checkboxes in Google Sheets.
Mark Checkbox as Checked
Mark the Checkbox as Unchecked
How to Mark Checkbox as Checked
Once you’ve added the checkbox, you can make it checked by clicking on it.
.webp)
Mark Checkbox as Checked
How to Mark Checkbox as Unchecked
To uncheck a checkbox, just click on it again.
.webp)
Mark the Checkbox as Unchecked
How to Add a Checkbox in Google Sheets on Android
Google Sheets is similarly useful and applicable on mobiles too, so we can all these utilities work quite well on Android. The process is almost the same as the Adding columns on a PC, and as simple as the previous one. Here the page is added using the Data Validation option. First, download the Google Sheets app on your Mobile and sign-in with your Google Account. After that follow the step-by-step guide that is listed below to add a new page.
Step 1: Open the Document
Open the document in the Google Sheets App where you want to add the
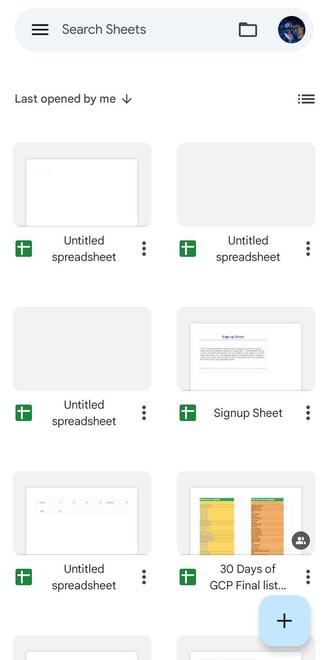
Step 1: Open the Document
Step 2: Select the cell
In the Document, select the cell where you want to insert the checkbox. Then click on the three dots that are provided in the top right corner to open the options.

Step 2: Select the cell
Step 3: Open Data Validation
Click on the “Data Validation” option from the options menu.
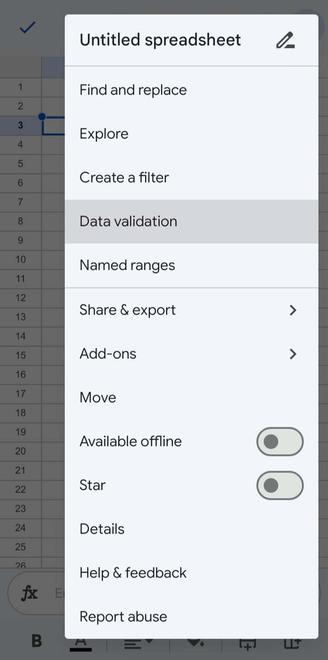
Step 3: Open Data Validation
Step 4: Select Checkbox Criteria
From the dropdown under the Criteria, select the checkbox option.

Step 4: Select Checkbox Criteria
Step 5: Preview the Added Checkbox
Now after clicking on the “checkbox” option, a checkbox will be added to the cell you had selected.
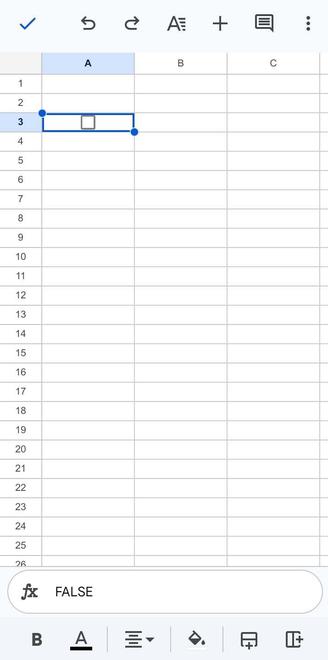
Result: A checkbox will be added to the cell you selected
How to Delete a Checkbox in Google Sheets
If a checkbox is added by mistake, removing it is very simple and this increases the reliability of using Checkbox in Google Sheets.
Step 1: Select the Checkbox
Select the cell, whose checkbox you want to delete.
Step 1: Select the Checkbox
Step 2: Delete the Checkbox
After the checkbox is selected just go ahead the press the delete button and it will delete the checkbox.
Step 2: Delete it
Conclusion
You know how to add checkboxes to your Google Sheets in two distinct ways, and it’s simple. You also know how to add checked and unchecked values using “Data validation” to modify the default TRUE/FALSE values for the checked and unchecked fields. Checkboxes provide a visual depiction of progress and accomplishment for everything from straightforward to-do lists to intricate project monitoring. Your spreadsheet’s capabilities are enhanced by its connection with other Google Sheets features like conditional formatting and data analysis tools.
Frequently Asked Questions
Can I add checkboxes to multiple cells in Google Sheets simultaneously?
Answer: Yes, you can do that simultaneously in Google Sheets. The procedure is same as it is illustrated above in the techniques, the only difference here is you have to select the whole range of cells that will have the checkboxes instead of only one.
Can I implement the Checkboxes in formula?
Answer: Yes, checkboxes can be used in formulae, yes. For instance, you may count the amount of ticked checkboxes in a range using the “COUNTIF” function.
Can the appearance of the checkboxes be customized by me?
Answer: Checkboxes in Google Sheets have a default look that cannot be changed. However, you may alter change the color of the cells or strikethrough text dependent on the checkbox state using conditional formatting.
Can I copy the checkboxes to the other cells?
Answer: You can copy and paste a checkbox from a Google Sheets spreadsheet just like any other cell since it is a component of the cell. A checkbox will be inserted in the pasted cells in the same state as the copied one when you copy and paste a cell (or range of cells) containing a checkbox. Therefore, it will paste a checked checkbox if you have a checked checkbox.
Can I delete a checkbox?
Answer: Yes, you can delete a checkbox in a simple and easy way. Simply pick the cells you want to remove the checkbox from and press the Delete key.
Can I make a checkbox read-only?
Answer: No, there is no direct setting or customization is Google Sheets as of now which allows you to make the checkboxes read-only. Although you can be conservative on editing rights and the collaborators with editing should only be able to edit.
Share your thoughts in the comments
Please Login to comment...