As you may be aware already, npm and node.js are very powerful web development tools that are used for full-stack development purposes. It is straightforward if you ever want to install npm or node.js in the Windows operating systemnpm or node.js. In this article, we will cover some effective methods that you can use to install npm as well as node.js in your required distribution.
Geeky Takeaways
Following are the methods we can use to install node.js and npm on Ubuntu:
- Using the Official Repository of Ubuntu
- Via Using NodeSource Repository
- By Using NVM or Node Version Manager
- By Using Snap Installer
What is Node.js?
A runtime environment separate from the browser is offered by Node.js. Additionally, it uses the JavaScript internal system engine from Chrome Version 8 which allows the users to use the JavaScript programming language efficiently, which they may already be familiar with, to create back-end applications at the beginner level. Both the front-end and the back-end programmers can use Node.js efficiently.
What is NPM?
In addition to being a package manager and software registry system, Node Package Manager or NPM allows all the developers to locate, create, and manage the essential code packages. Currently, npm has over 800,000 packages for a wide range of uses, including front-end development, robotics, and Android applications to process smooth interfaces. When npm system software was initially developed as a package manager application for Node.js, it was given the moniker npm.
How to Install Node.js and npm on Ubuntu?
Now, we’ll see all the effective methods by which users can Install Node.js and npm on Ubuntu.
Method 1: Using the Official Repository of the Ubuntu
The node.js and npm are available in the official repository of Ubuntu, so using the official repository becomes the easiest method to install both node.js and npm in Ubuntu, for this you will have to follow the below steps:
Step 1: Open Terminal Window
First, go to the start menu of the Ubuntu system and open the terminal, you can also use the shortcut key (CTRL+ALT+T) to open the terminal.
Step 2: Run the Command
Now you simply need to run the following command that will install npm and node.js using the apt in Ubuntu:
sudo apt install nodejs npm
This will give you the following output and install npm and node.js for you:
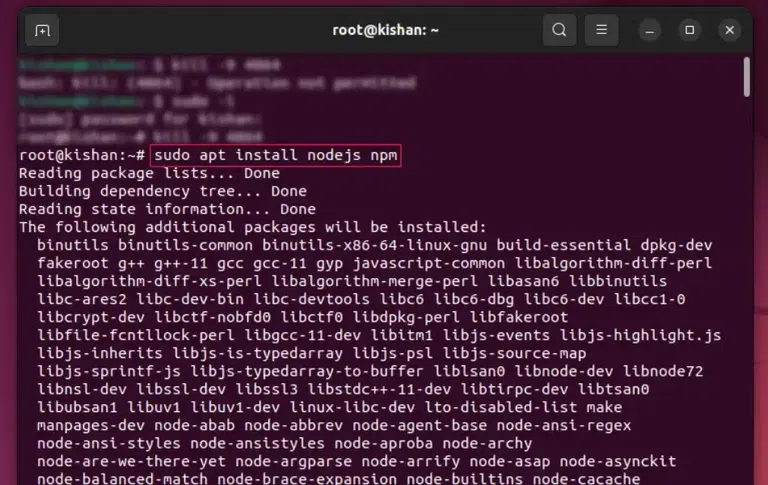
sudo apt install nodejs npm.
Step 3: Create a Symbolic Link
Now you will have to create a symbolic link, the reason for this is that node js uses binary path /usr/bin/node but our installed path is /usr/bin/nodejs so we will get an error as “No path or directory found” if we don’t create a symbolic link.
To create the symbolic link, run the following command:
ln -s /usr/bin/nodejs /usr/bin/node
This will give the following output if the link is already created by the repository, otherwise, it will create the link:
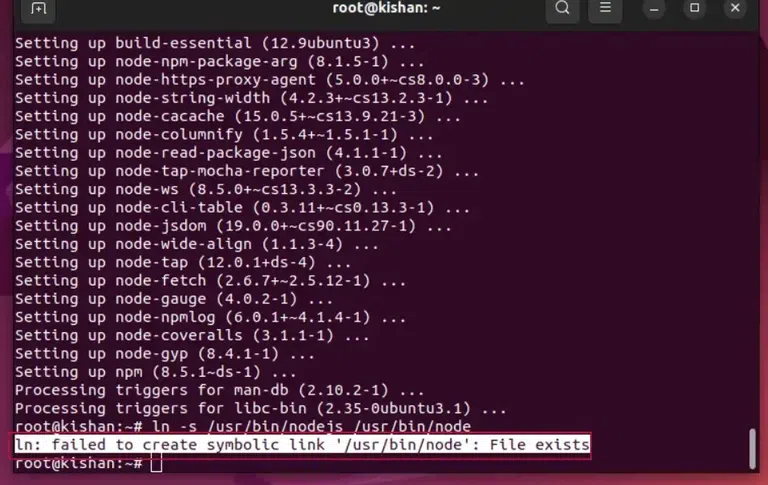
ln -s /usr/bin/nodejs /usr/bin/node.
Step 4: Check if node.js and npm is installed or not
This is the last step where we check whether the node.js and npm are installed or not, for this run the following command:
node --version
npm --version
If it shows output similar to the image below (version may differ) then npm and node.js are installed successfully:
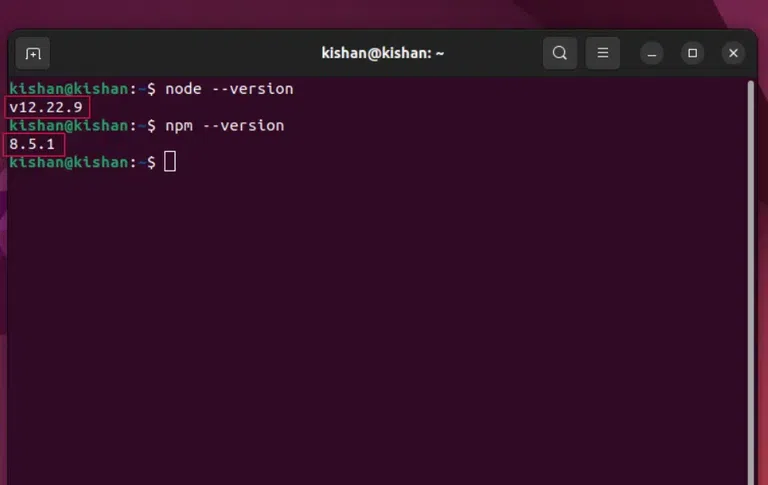
node –versionnpm –version
Method 2: Via Using NodeSource Repository
We can also directly install node.js and npm using the official node source repository, for this, we follow the steps mentioned:
Step 1: Install Curl
First, we will have to install curl so that we can download third-party repositories easily, for this we will run the following command:
sudo apt update
sudo apt install -y curl
This will install the curl into to Ubuntu system, it will show “already installed” if your system has curl already otherwise it will install it for you.
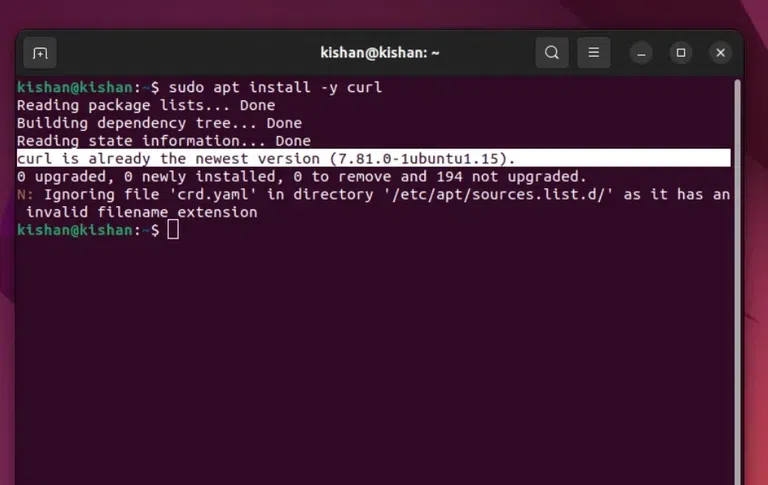
sudo apt install -y curl.
Step 2: Curl the Directory
Now we will have to curl the source directory to install the node.js and npm, for this we run the following command:
curl -fsSL https://deb.nodesource.com/setup_18.x | sudo -E bash - &&\
sudo apt-get install -y nodejs
Note: Here we are using setup_18.x because it’s the latest version available for ubuntu, you can check if newer version is available and change the command accordingly.

sudo apt-get install -y nodejs.
This will install the node.js and npm on your system successfully.
Method 3: By Using NVM or Node Version Manager
The NVM is also an easy to use and installer for the node and it offers the flexibility for us to easily switch between different versions of node, let’s understand step by step how to install node.js and npm using NVM:
Step 1: Install NVM
First, we will have to curl and install NVM, for this run the following command:
curl -o- https://raw.githubusercontent.com/nvm-sh/nvm/v0.39.3/install.sh | bash
This will give us the following output:
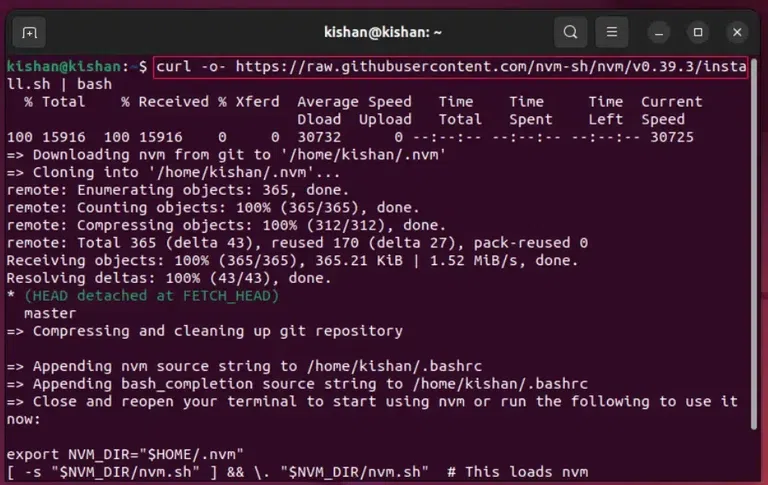
curl nvm directory.
Step 2: Check if NVM is Installed
To check whether the NVM is installed or not we will run the following command:
command -v nvm
This will give us the following output:
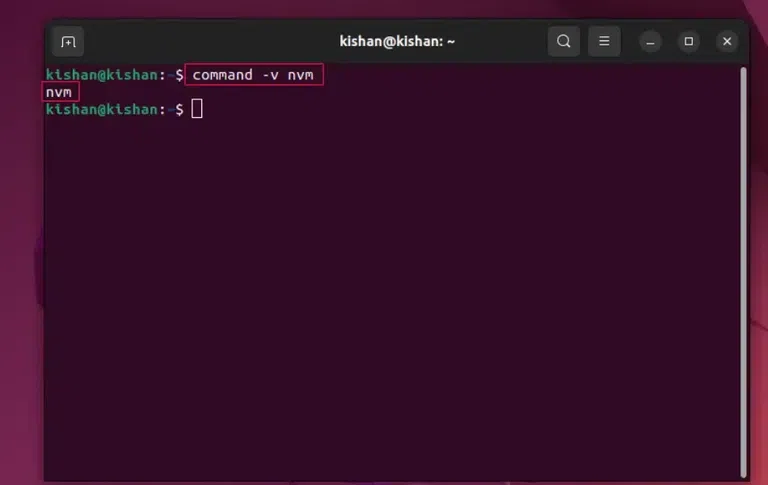
command -v nvm.
Step 3: List Versions and Select
Now you simply need to list all the versions available and choose the one of your requirement, for this run the following command:
nvm list-remote
This will give us the following output:
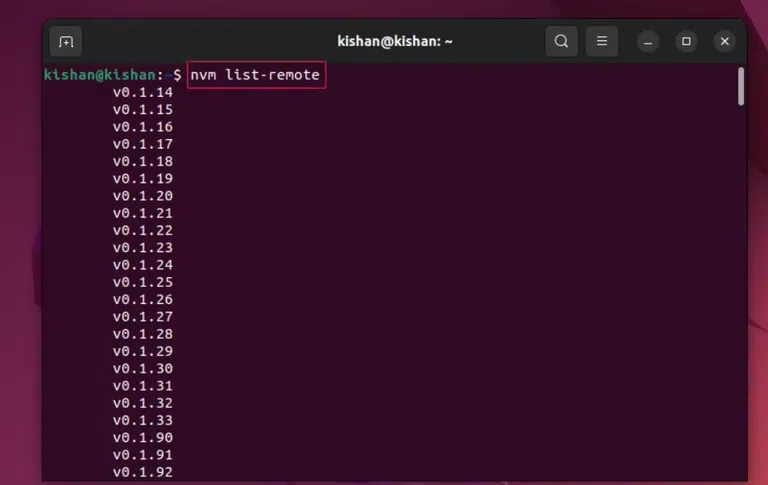
nvm list-remote.
After this, you will have to enter the following command to install the version of your choice:
nvm install <version-name>
This will give us the following output:
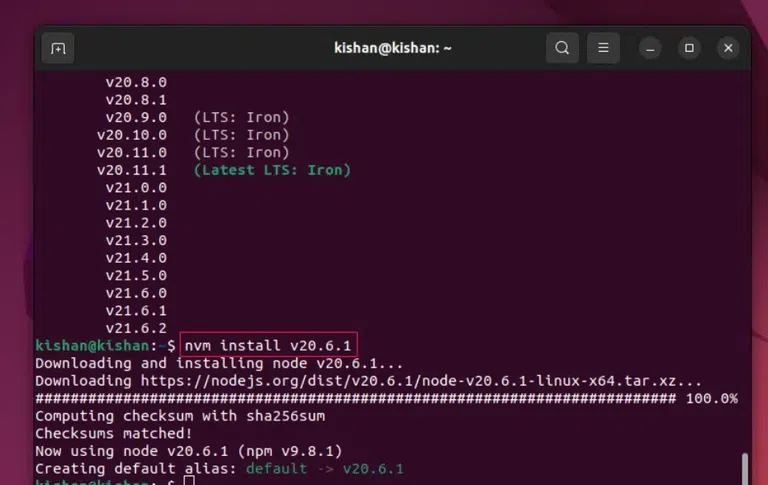
nvm install
Step 4: Switch to the Installed Version of Node.js
Now simply run the following command and mention the version that you want to switch to:
nvm use <your-installed-version-number>
This will give the following output:
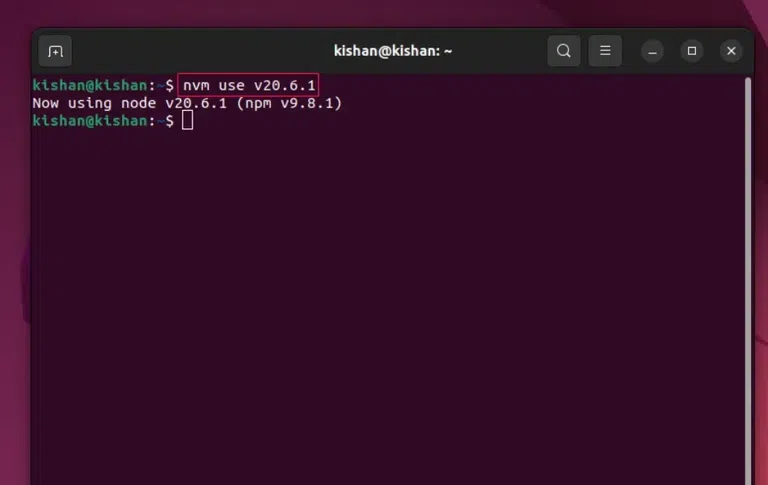
nvm use
Finally, you have successfully installed and switched to the version of your choice using NVM.
Method 4: By Using Snap Installer
This is also another simple method where we use snap (third-party software) that acts as a play store for Ubuntu to provide installation of Ubuntu software, here are the steps:
Step 1: Install Snap Using Terminal
For this, we need to run the following command in our terminal:
sudo snap install node --classic
This will give the following output:
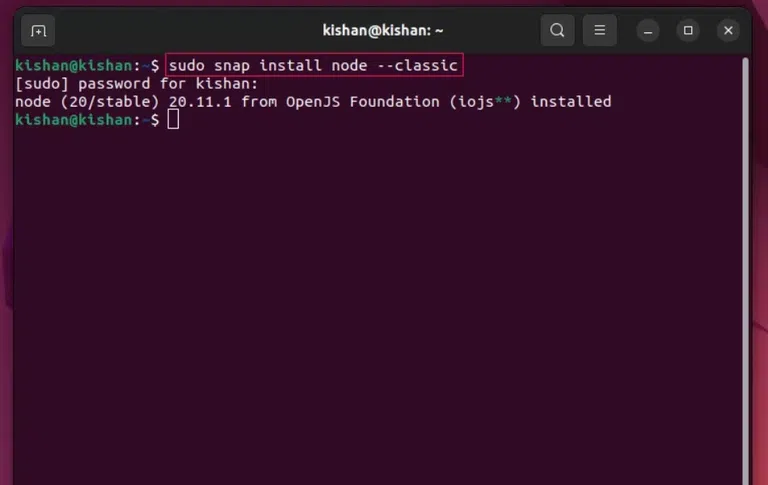
sudo snap install node –classic.
As you can see it installed the node 20.11.1 version for us.
Also Read
Conclusion
In conclusion, we learned how we can install the node.js and npm using four methods each method used in this article goes through its process to install the node.js and npm so if you are struggling to install node.js and npm then you can simply follow any of the method(s) to install the node.js and npm on your system in an easy way.
Share your thoughts in the comments
Please Login to comment...