How to Install and Use Alacritty Terminal Emulator in Linux?
Last Updated :
05 Oct, 2021
Alacritty is a cross-platform terminal emulator with GPU acceleration. It’s a terminal emulator for OpenGL written in the Rust programming language. Alacritty is the fastest and lightest Terminal emulator in nature, thanks to its OpenGL renderer and high throughput parser. Alacritty Terminal emulator does not have many fancy features like tabs and splits that you find in other Terminal emulators, such as Terminology since it was designed with simplicity and efficiency in mind. It runs on a variety of platforms, including Linux, BSD, macOS, and Windows.
Some Linux distributions have Alacritty binaries in the repository; if not, you can install it using the commands below on your specific distribution.
$ sudo add-apt-repository ppa:mmstick76/alacritty

Adding repository
Now update system sources:

Update system sources
Now install Alacritty using the below command:

Installing Alacritty
Installing Dependency Packages
To install Alacritty, you’ll need the most recent stable Rust compiler. So, first, use a rustup installer script to install the Rust programming language and then follow the on-screen instructions.
sudo curl https://sh.rustup.rs -sSf | sh
If you’d like to build a local version manually, you need a few extra libraries to build Alacritty. Here’s an apt command that should install all of them.

Installing Dependency
Building Alacritty from source
We’ll go through the steps below to create Alacritty from the ground up. Before we can compile, we must first clone the Alacritty source code and change it to the following directory:
Change directory to your preferred directory
cd Downloads

Now clone GitHub repository into your directory:
git clone https://github.com/jwilm/alacritty.git
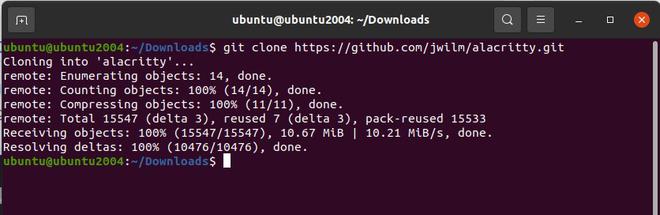
Now Alacritty folder should be created, change directory into Alacritty folder:
cd alacritty

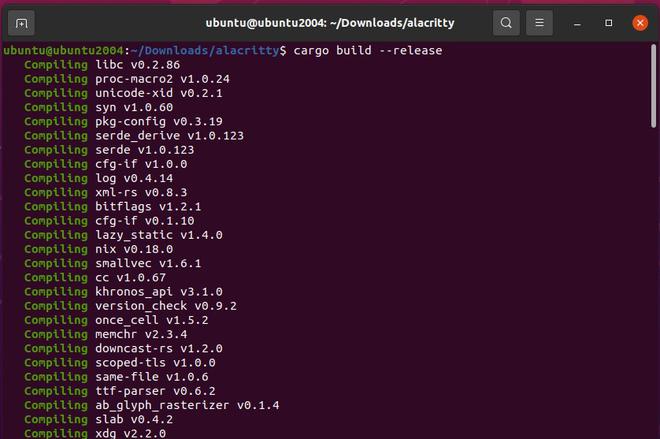
To build the Alacritty terminal emulator on Linux, run the command below while still in the Alacritty directory.
cargo build --release
Set desktop entry
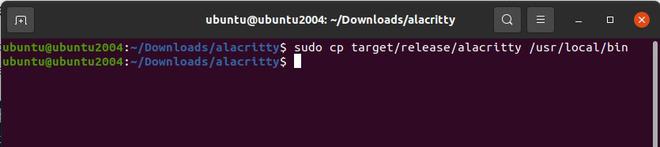
For adding applications to device menus, most Linux and BSD distributions support desktop entries. The commands below will install the Alacritty desktop entry:
sudo cp target/release/alacritty /usr/local/bin
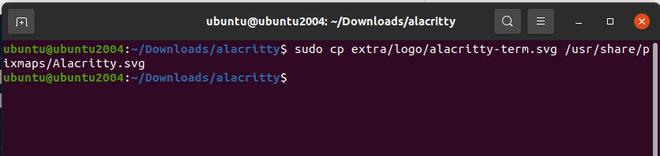
Adding a logo to the desktop icon:
sudo cp extra/logo/alacritty-term.svg /usr/share/pixmaps/Alacritty.svg
Adding desktop entry:
sudo desktop-file-install extra/linux/Alacritty.desktop

Updating desktop database:
sudo update-desktop-database

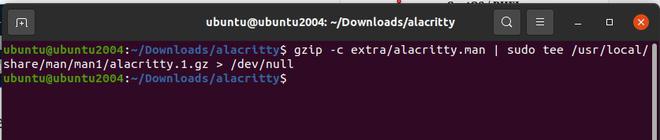
Now, we install manual pages:
sudo mkdir -p /usr/local/share/man/man1

gzip -c extra/alacritty.man | sudo tee /usr/local/share/man/man1/alacritty.1.gz > /dev/null
Configure Alacritty Shell Completions
To add shell completions for Bash, we run the below commands:
echo "source $(pwd)/extra/completions/alacritty.bash" >> ~/.bashrc

Now you should see the Alacritty desktop shortcut:
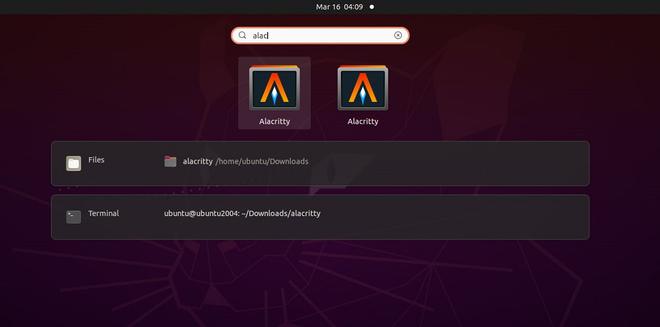
That’s what there is to it. You’ve completed the installation and setup of the Alacritty terminal emulator on Linux.
Share your thoughts in the comments
Please Login to comment...