How to Insert Equations in a MS Word Document?
Last Updated :
21 Jul, 2021
Microsoft Word is a software tool that allows us to create documents files like articles, office letters, projects files, and many more in a very simplest and easy manner. MS Word makes our document more attractive as compared to paper or file work by providing different features like it has different sizes of pages, fonts, colors, design, bullets, tables, charts, page borders/numbers, and many more.
It also provides various features like editing, texting, formatting, graphics designs, fonts color, and styles, inserting images, videos, printing documents, etc.
This MS Word software saves our articles/letters in a form of a document and saves it in the computer forever. Whenever it is required it can be shared or can access the document.
Features of MS PowerPoint:
- Slide Design
- Animations
- Insert Icons, and 3D models
- Video Recording
- Slide Layout
- Slide Transitions
- Visual effects etc.
Equations in MS Word
Microsoft Word has special features called equations which help you to insert or create equations in our document very easily. In MS Word you can insert different types of mathematical symbols or text by using the equations tools. Microsoft Word uses the Equation Editor to create multiple mathematical equations, which include fractions, integrations, matrices, mathematical symbols, etc.
Microsoft Word contains almost all equations including chemistry, physics, mathematics, etc. You should use this equation feature to create or inserted mathematical equations in your document.
Steps to Insert Equations in MS Word
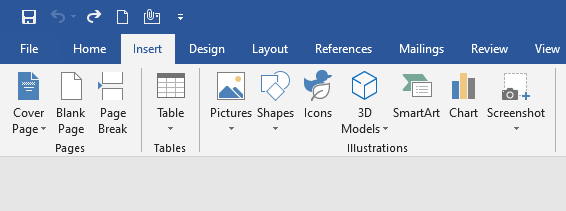
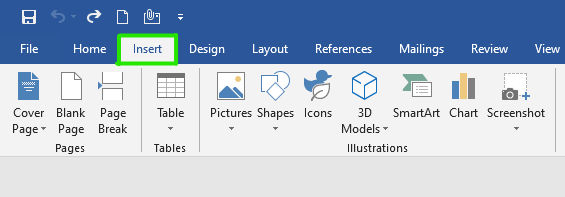
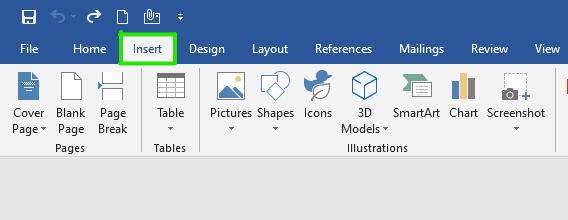
Step 1: On the navigation menu click on the insert option.
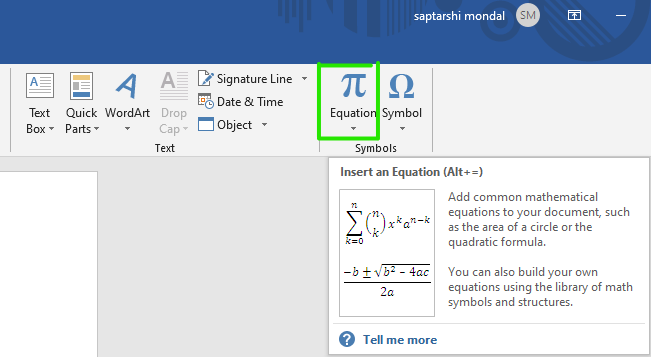
Step 2: Under Equation tools click on the drop-down arrow button as shown in the figure:
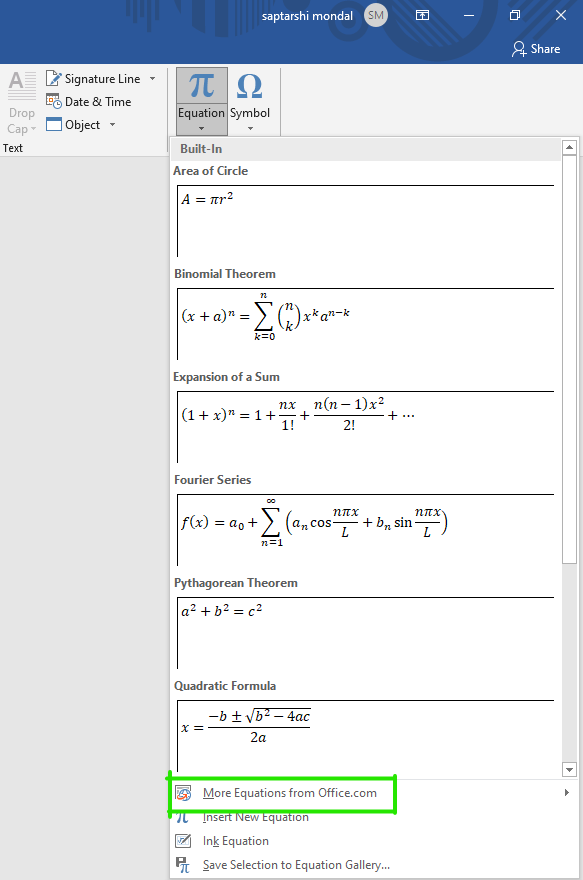
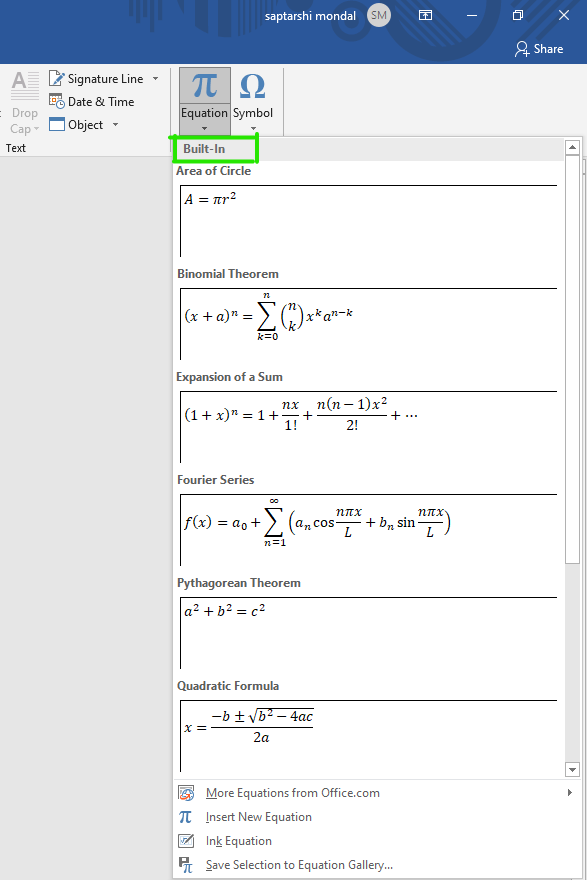
Step 3: A built-In dialog box will open where you can select the different types of equations.
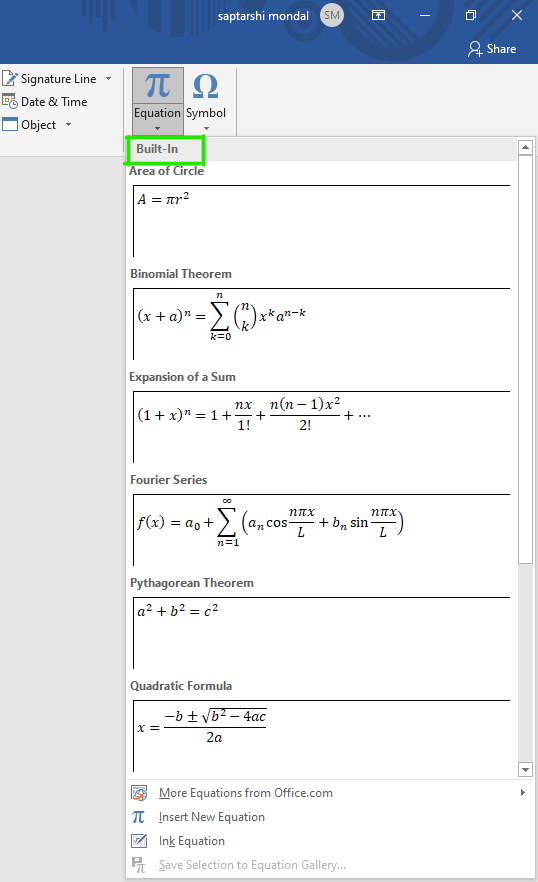
Step 4: There are multiple sets of equations in the list, Select the equation as per your requirement as shown in figure:
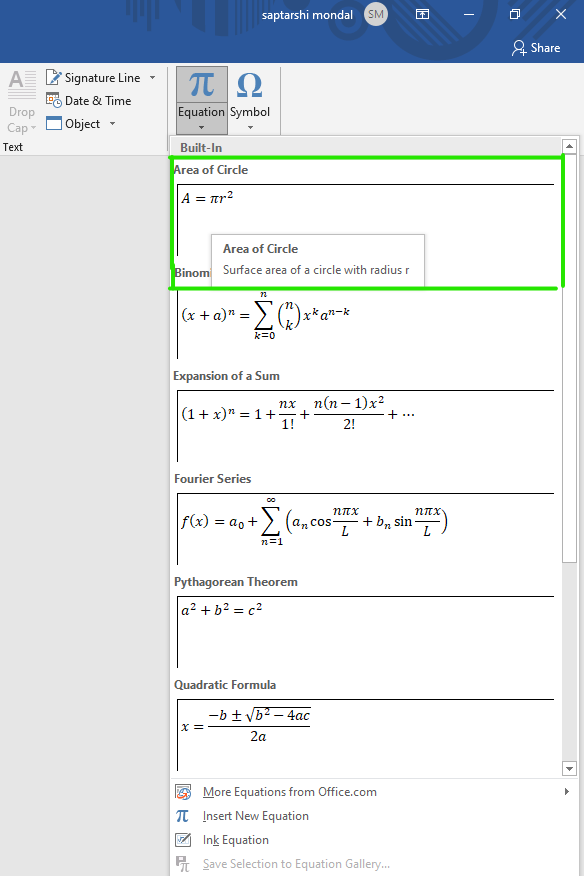
The below figures show that a preset equation is inserted in your Word document.

Step 5: Now click on the equation to edit or modify the Symbols or Structures of the equation.
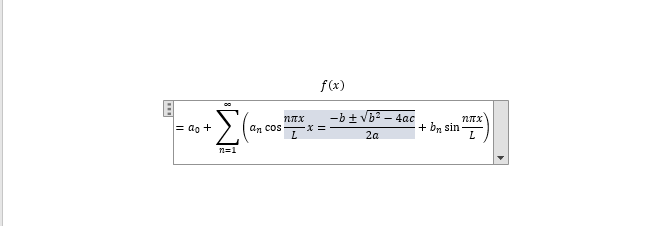
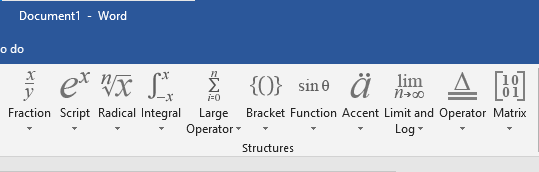
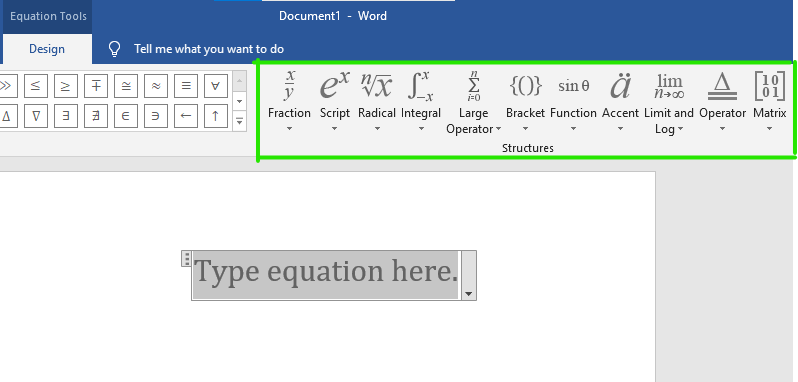
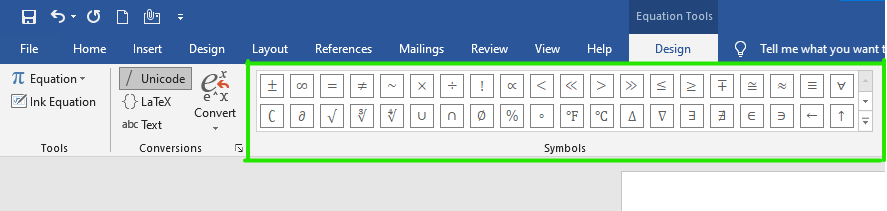
Step 6: A design menu bar will open which contains different types of symbols, equation structure, fractions, integration, and many more as shown in the below Figures.

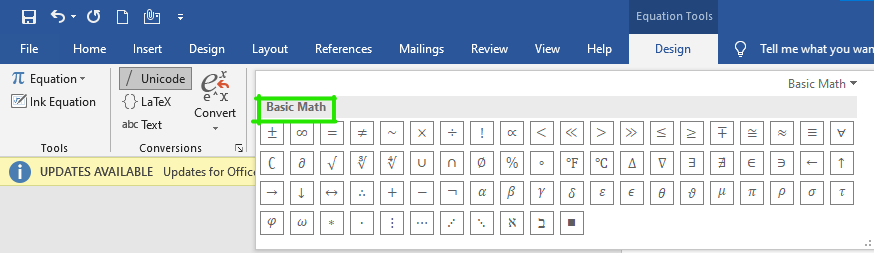
Step 7: Click on the drop-down arrow under the symbol section to extend the symbol.

Step 8: A basic math dialog box will open where you can choose different types of symbols for the equation.
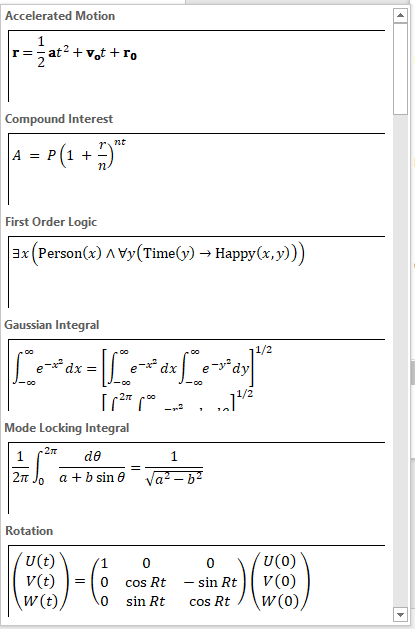
Note– You can also select different types of equations formats, formulas from office.com as shown in the figure:
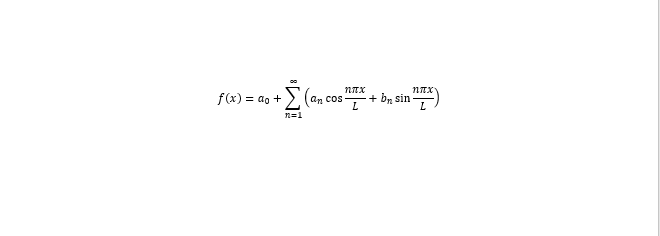
Finally, the equation is inserted in our document.
How to Create Equations Manually
Step 1: On the navigation menu click on the insert option.
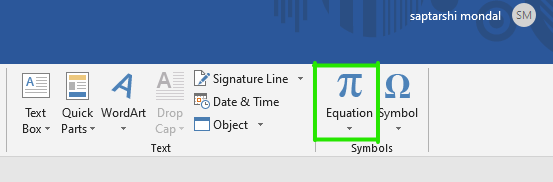
Step 2: Next click on the equation as shown in the figure:
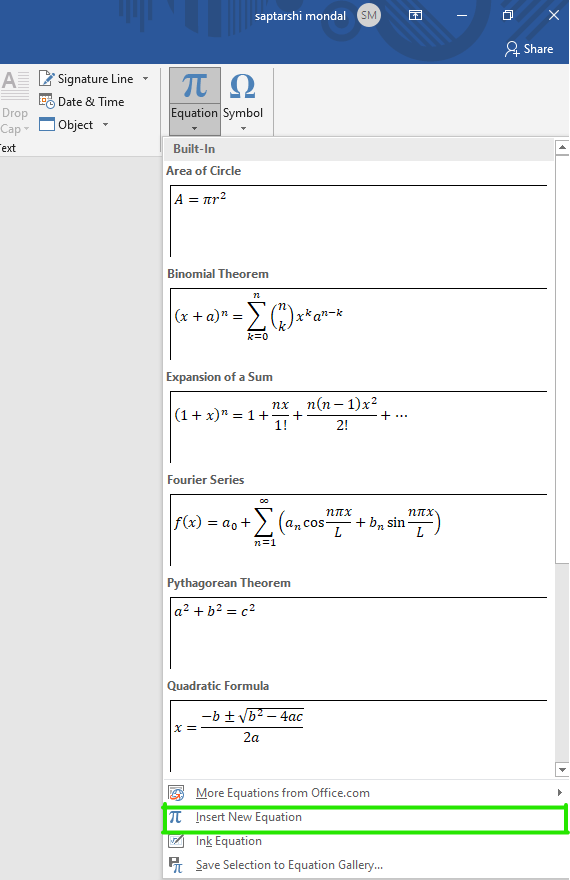
Step 3: A built-In dialog box will open where you can select different types of equations.
Step 4: A window will appear on the screen in which select the Insert New Equation option as shown in figure:
Step 5: On your current page Type equation here box will appear.
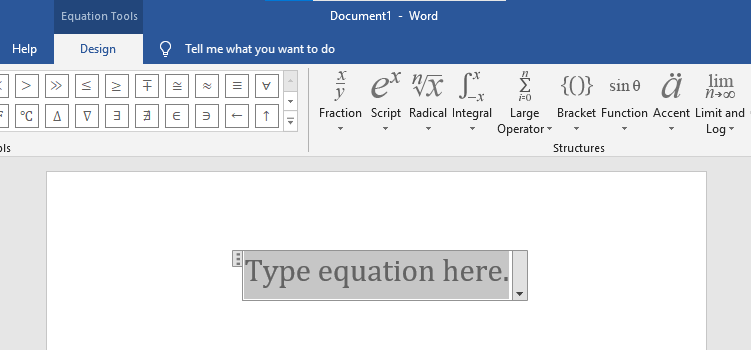
Step 6: On the design ribbon bar, various tools, symbols, equations format are there which helps you to create equations as shown in the Figures:
With the help of these tools finally, you can create your own equations.
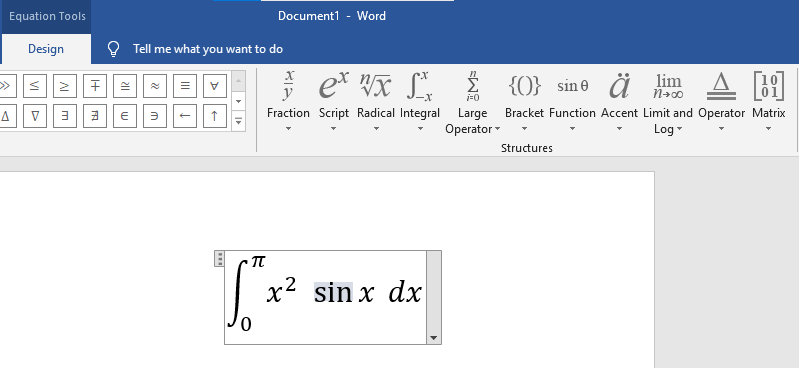
Example of manually created equation:
Share your thoughts in the comments
Please Login to comment...