How to Change the Color of an SVG Element in React Native ?
Last Updated :
12 Sep, 2023
In this article, we are going to learn about changing the color of an SVG by using React Native. SVG stands for Scalable Vector Graphics. It basically defines vector-based graphics in XML format. SVG graphics do NOT lose any quality if they are zoomed or resized. Changing the color of an SVG in React Native involves modifying the fill or stroke properties of the SVG elements to dynamically adjust their appearance based on user interactions or data.
The react-native-svg library enables the seamless integration of SVGs into React Native. With this library, developers can utilize SVG components just like native React Native components. Unlike conventional images, SVGs in React Native grant effortless manipulation and customization through props and styles.
Syntax
 <svg>
          <circle cx="30" cy="20" r="20" />
 </svg>
Prerequisites:
Steps to Create React Native Application:
Step 1: Create React Native Application With Expo CLI
Create a new React Native project for svgApp.
npx create-expo-app svgApp
Step 2: Change the directory to the project folder:
cd svgApp
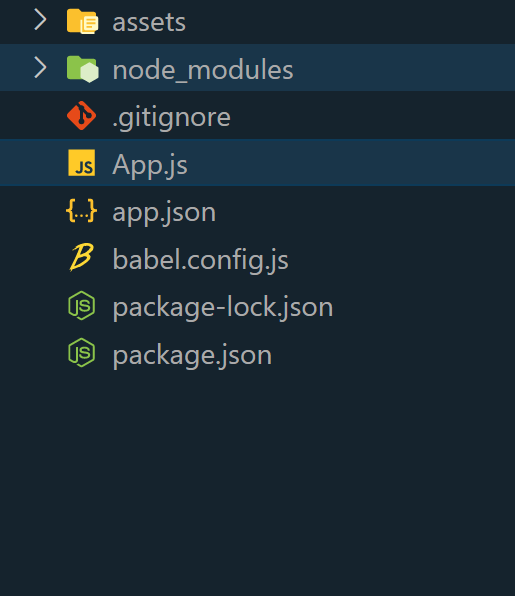
Project Structure:
Step 3: Install the react-native-svg package:
npm install react-native-svg
Approach 1: Using react-native-svg Library
In this approach, the react-native-svg library is employed to dynamically modify SVG colors in React Native. By adjusting the fill attribute within SVG components like <Path>, we control color changes. For example, setting fill=”blue” changes the SVG color.
Example: In this example,we creates a geometric shape (a blue square) turns red when the user taps it, simulating a hover effect. It uses the useState hook to track the hover state, and TouchableOpacity for handling touch events.
App.js
Javascript
import React, { useState } from 'react';
import { View, Text, StyleSheet, TouchableOpacity }
from 'react-native';
import Svg, { Path } from 'react-native-svg';
const App = () => {
const [isHovered, setIsHovered] = useState(false);
const handlePressIn = () => {
setIsHovered(true);
};
const handlePressOut = () => {
setIsHovered(false);
};
const svgColor = isHovered ? 'red' : 'blue';
return (
<View style={styles.container}>
<Text style={styles.heading}>
Geeksforgeeks
</Text>
<TouchableOpacity
onPressIn={handlePressIn}
onPressOut={handlePressOut}
activeOpacity={1}
>
<Svg width={100} height={100}>
<Path
d="M50 10 L90 90 H10 Z"
fill={svgColor}
/>
</Svg>
</TouchableOpacity>
</View>
);
};
export default App;
const styles = StyleSheet.create({
container: {
flex: 1,
justifyContent: 'center',
alignItems: 'center',
backgroundColor: '#f2f2f2',
padding: 20,
},
heading: {
fontSize: 25,
color: 'green',
marginBottom: 20,
textAlign: 'center',
},
});
|
Step 4: Navigate to the terminal or command prompt and type the required command there to run the React native application.
npx expo start
To run on Android:
npx react-native run-android
To run on Ios:
npx react-native run-ios
Output:

Approach 2: Dynamic Color Change
In this approach, the first technique is expanded upon by creating a collection of interactive SVG shapes that showcase their versatility. Through user interaction, such as clicks, the colors seamlessly toggle between blue and red.
Example: The provided React Native example illustrates an interactive application. It begins by importing the required components, including react-native-svg for seamless SVG integration. The application showcases a dynamic assortment of SVG shapes, such as circles, rectangles, and lines. Each shape undergoes color toggling between shades of blue and red upon interaction.
App.js
Javascript
import React, { useState } from 'react';
import { View, TouchableOpacity, Text, StyleSheet }
from 'react-native';
import Svg, { Circle, Rect, Line } from 'react-native-svg';
const App = () => {
const initialColors = ['blue', 'green', 'purple'];
const [svgColors, setSvgColors] = useState(initialColors);
const handleColorChange = (index) => {
setSvgColors((prevColors) => {
const newColors = [...prevColors];
if (prevColors[index] === 'blue') {
newColors[index] = 'red';
} else {
newColors[index] = 'blue';
}
return newColors;
});
};
return (
<View style={styles.container}>
<Text style={styles.heading}>Geeksforgeeks</Text>
{svgColors.map((color, index) => (
<TouchableOpacity
key={index}
onPress={() => handleColorChange(index)}
>
<Svg width={100} height={100}>
<Circle cx="50"
cy="50"
r="40"
fill={color} />
<Rect x="20"
y="20"
width="60"
height="60"
fill={color} />
<Line x1="10"
y1="90"
x2="90"
y2="10"
stroke={color} />
</Svg>
</TouchableOpacity>
))}
</View>
);
};
export default App;
const styles = StyleSheet.create({
container: {
flex: 1,
justifyContent: 'center',
alignItems: 'center',
backgroundColor: '#f2f2f2',
padding: 20,
},
heading: {
fontSize: 25,
color: 'green',
marginBottom: 20,
textAlign: 'center',
},
});
|
Output:

Step 4: Navigate to the terminal or command prompt and type the required command there to run the React native application.
npx expo start
To run on Android:
npx react-native run-android
To run on Ios:
npx react-native run-ios
Share your thoughts in the comments
Please Login to comment...