How to Add Checkbox in HTML Table ?
Last Updated :
07 Mar, 2024
Adding checkboxes to an HTML table can be useful for various purposes, such as selecting multiple rows for batch processing or toggling the state of individual items. In this article, we will explore two methods to add checkboxes to an HTML table i.e. using basic HTML and JavaScript for dynamic interaction.
Add Checkbox in HTML Table
In this method, we will add checkboxes to each row of the table using plain HTML.
HTML
<!DOCTYPE html>
<html>
<head>
<title>Table with Checkboxes</title>
<style>
table {
margin: auto;
}
</style>
</head>
<body>
<table border="1">
<tr>
<th>Select</th>
<th>Name</th>
<th>Email</th>
</tr>
<tr>
<td><input type="checkbox" name="select"></td>
<td>XYZ</td>
<td>xyz@geeksforgeeks.org</td>
</tr>
<tr>
<td><input type="checkbox" name="select"></td>
<td>ABC</td>
<td>abc@geeksforgeeks.org</td>
</tr>
</table>
</body>
</html>
|
Output:
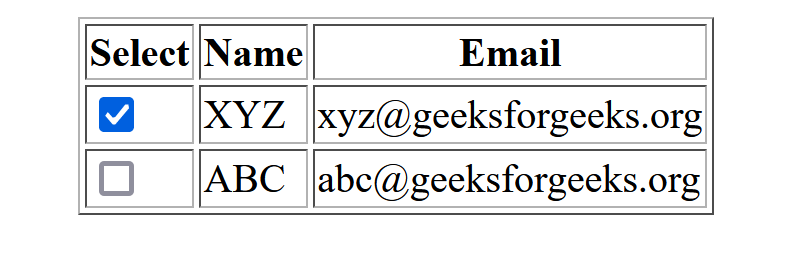
Explanation
- We add a new column with the heading “Select” to accommodate the checkboxes.
- Inside each row, under the “Select” column, we insert an
<input> element with the type attribute set to “checkbox”.
- The
name attribute is set to “select” for all checkboxes, but you can use different names if needed for form submission or JavaScript manipulation.
Add Checkbox in HTML Table using JavaScript for Dynamic Selection
In this method, we’ll add a “Select All” checkbox to select or deselect all checkboxes in the table dynamically using JavaScript.
HTML
<!DOCTYPE html>
<html>
<head>
<title>Dynamic Table with Checkboxes</title>
<style>
table {
margin: auto;
}
</style>
<script>
function toggle(source) {
let checkboxes = document
.querySelectorAll('input[type="checkbox"]');
for (let i = 0; i < checkboxes.length; i++) {
if (checkboxes[i] != source)
checkboxes[i].checked = source.checked;
}
}
</script>
</head>
<body>
<table border="1">
<tr>
<th><input type="checkbox" onclick="toggle(this);"></th>
<th>Name</th>
<th>Email</th>
</tr>
<tr>
<td><input type="checkbox" name="select"></td>
<td>XYZ</td>
<td>xyz@geeksforgeeks.org</td>
</tr>
<tr>
<td><input type="checkbox" name="select"></td>
<td>ABC</td>
<td>abc@geeksforgeeks.org</td>
</tr>
</table>
</body>
</html>
|
Output:
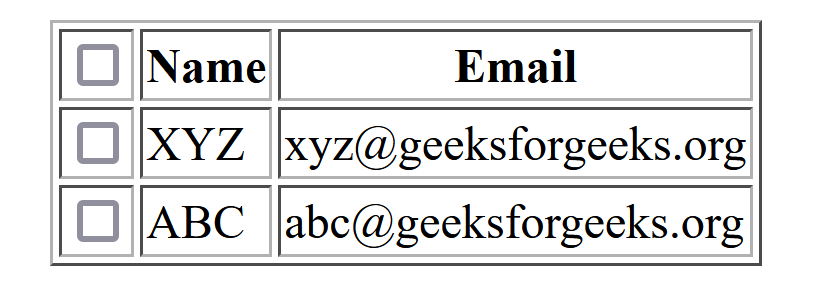
Explanation
- We add a “Select All” checkbox in the header row of the table by inserting an
<input> element with the type attribute set to “checkbox” in the first <th> element.
- We define a JavaScript function
toggle(source) that takes the “Select All” checkbox as the source parameter. This function iterates over all checkboxes in the table and sets their checked property to match the checked property of the source checkbox.
- The
onclick attribute of the “Select All” checkbox is set to call the toggle(this); function, passing the checkbox itself as the argument.
Share your thoughts in the comments
Please Login to comment...