A drop-down list is a very handy tool for someone who is collaborating with other people for data entry in Google Sheets. Why? Well, not only does a drop-down save time and make the data entry process faster, but it also reduces errors and helps in maintaining the uniformity of a Google sheet.
If you are also looking to use a drop-down in Google Sheets, then this post is for you. Here, we will cover the different methods that one can use to add a drop-down in Google Sheets, and will also look at how we can edit, delete and customise drop-down lists.
.webp)
What is a Drop-down List and Why use it
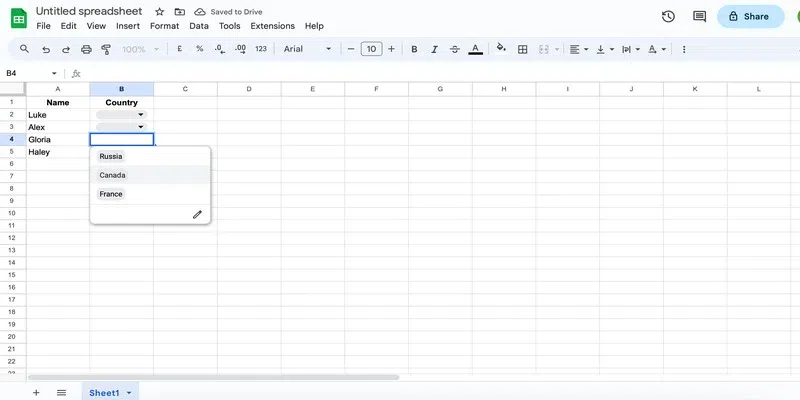
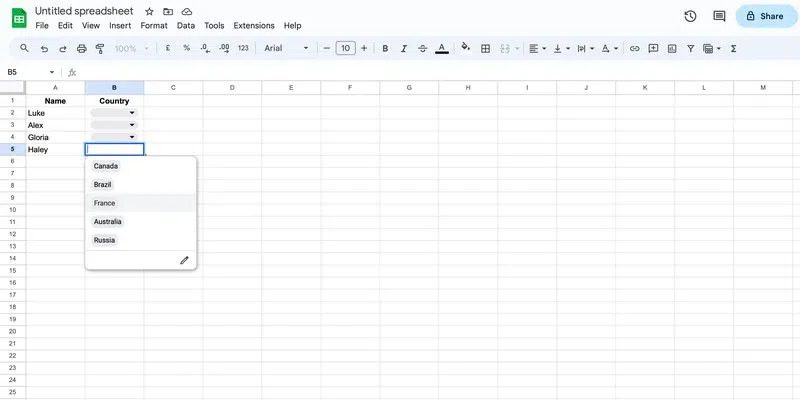
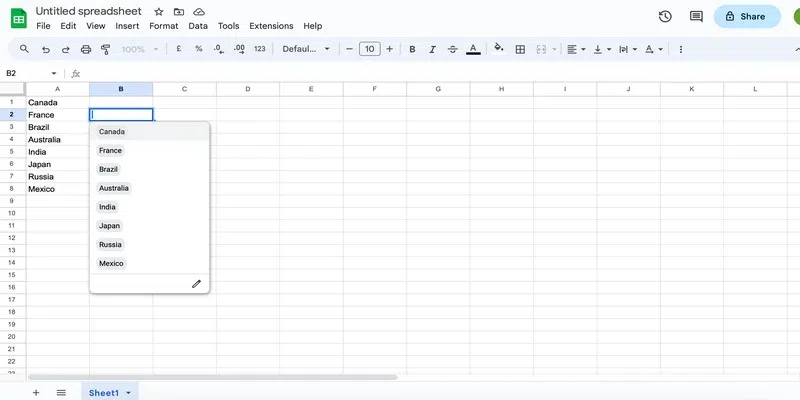
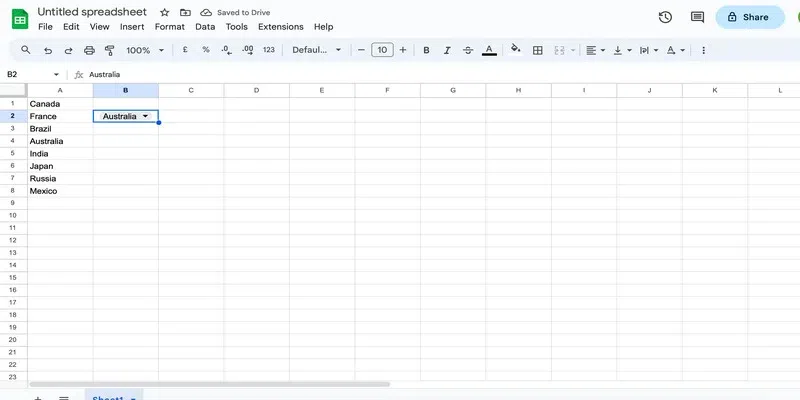
A drop-down list is a list of items from which a user can choose an option that gets populated in a cell in a Google Sheet. As an example, here is a drop-down list of several countries. To select a specific country and fill it in the cell, the user simply has to click on that option in the list.
drop-down list
Naturally, this is a great tool for the following reasons:
1. Improve efficiency
Since the user won’t have to type the data manually, using a drop-down saves a ton of time. Not only this, it also helps in minimising errors and thus, improves efficiency.
2. Maintain Uniformity
Using a drop-down restricts the options that a user can enter in the cells. This makes sure that the data is uniform. This becomes very important to avoid errors when the data is used with formulas or conditions later on.
3. User friendly
A drop-down is user-friendly and enables people to input data with ease. All you have to do is select an option from the given list and you are good to go. This also removes any confusion regarding the data that should be entered in a cell since all the allowed options are present before the user.
How to Create and Add a Drop-down List in Google Sheets with Preset Values
When you have to add a drop-down with a few options in it, then you can use this simplest and quickest method:
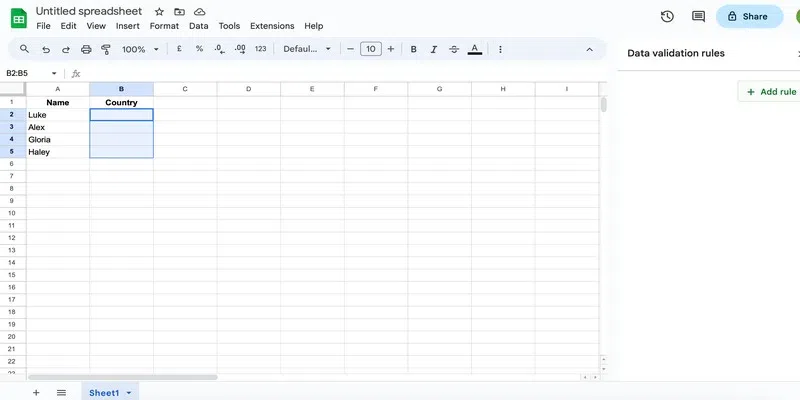
Step 1: Select Cells
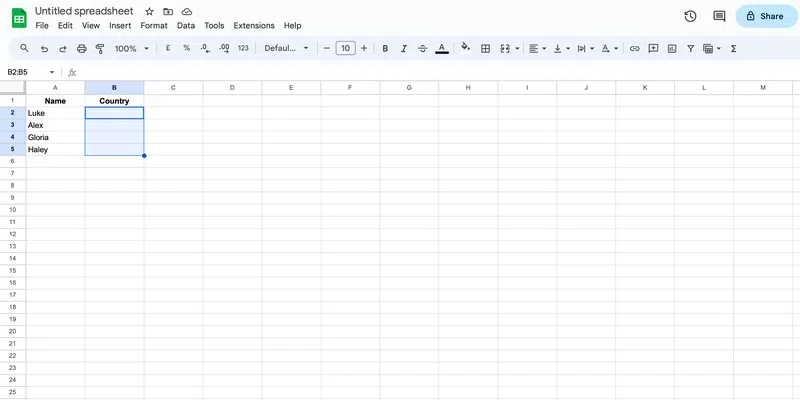
Select the cell or cells where you want to add the drop-down.
select the cells
Step 2: Go to the Data Tab and Select Data Validation
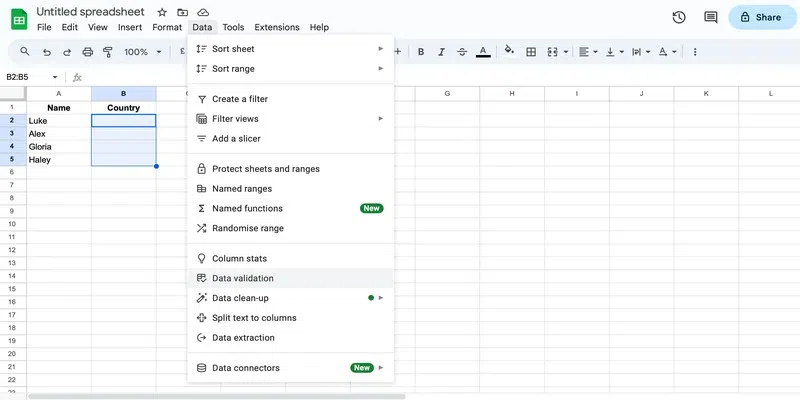
Go to the Data tab and Select the Data Validation option.
data validation
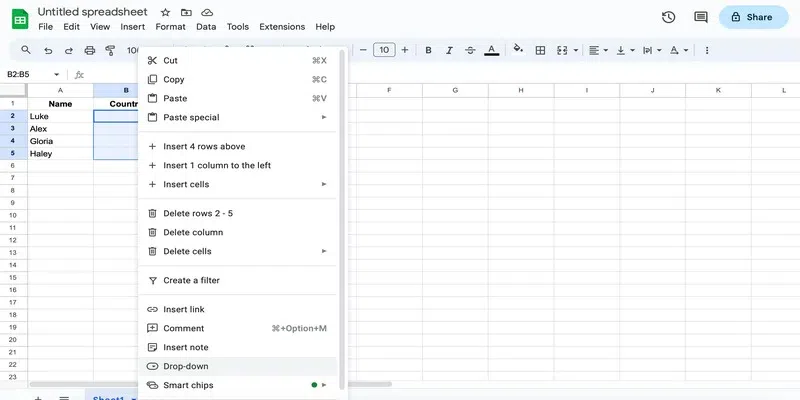
Alternatively, you can right-click and choose the drop-down option.
drop-down option
Step 3: Click on Add Rule
In the side pane that opens, click on the Add Rule option.
add rule
Step 4: Select Drop-Down
In the Criteria drop-down, select the drop-down option if not already selected.
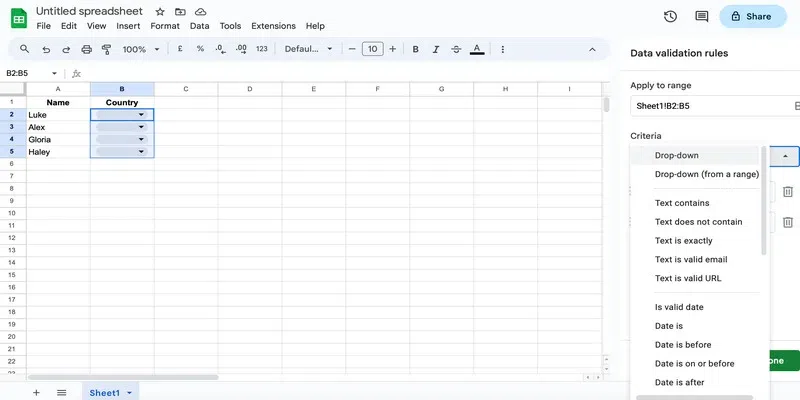
choose the drop-down option
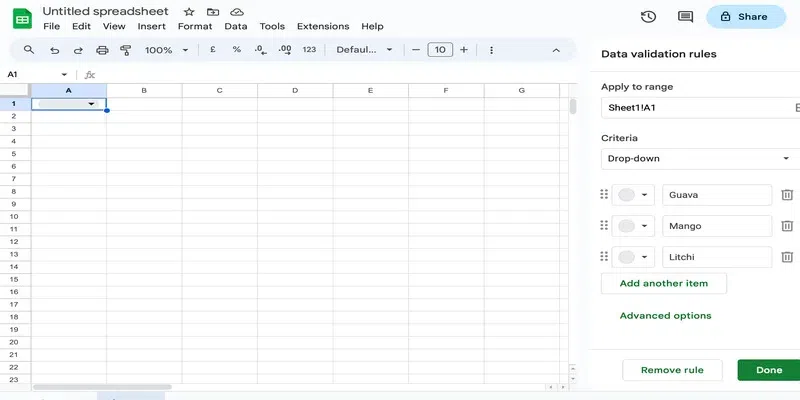
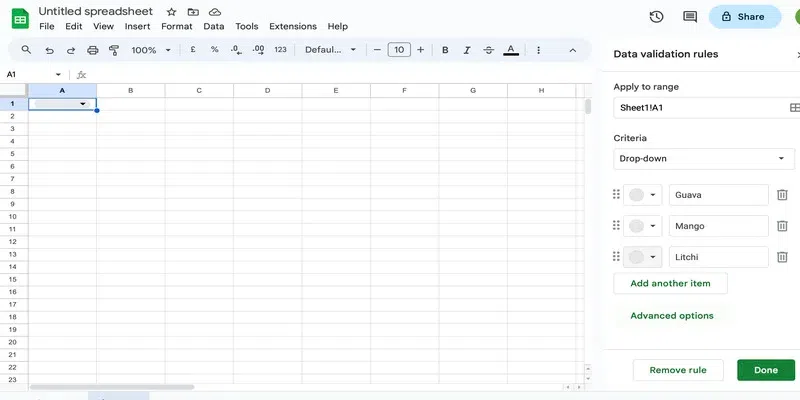
Step 5: Add options
Now type the desired options in the boxes titled option 1 and option 2 and click Done to save the changes.
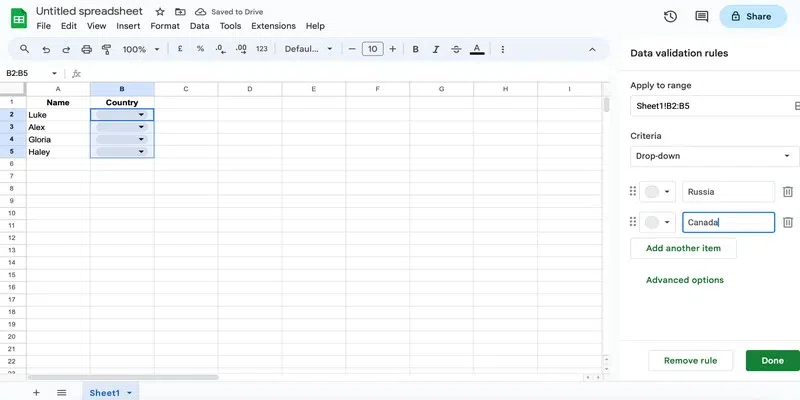
add items
To add more items to the list, create another option by clicking on Add another item option.
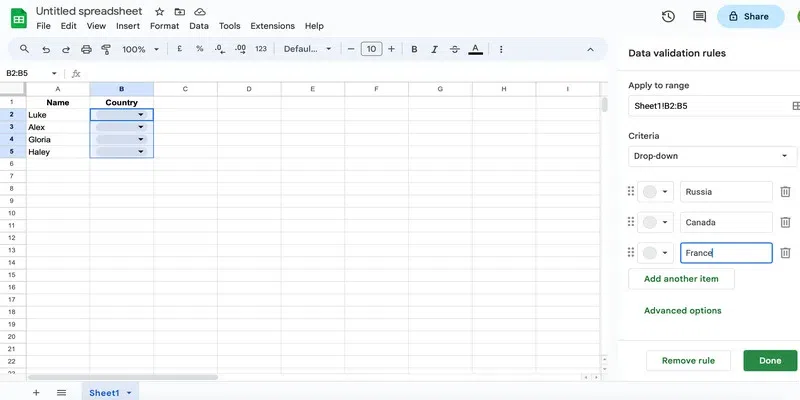
add more items
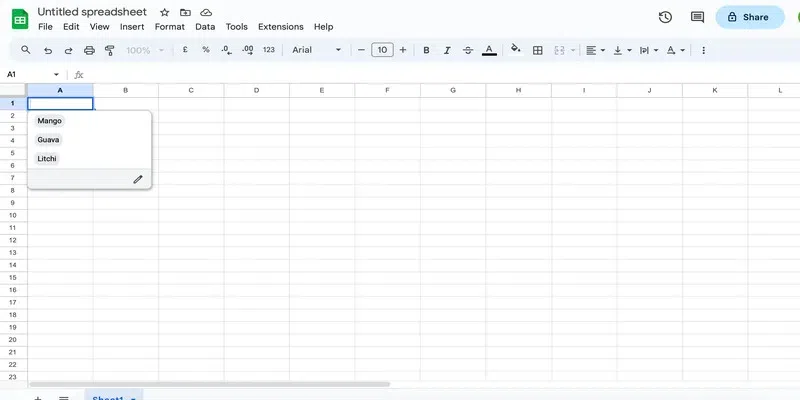
You can see that now the users can choose the country from this drop-down.
result
How to Create and Add a Drop-down List in Google Sheets with Existing Data
Note that in the previous section, we added a few items in the drop-down. Hence, it was feasible to manually type in the options while creating the drop-down. But if you have a long list of items that you would like to add to the drop-down list, then you must follow this method:
Step 1: Select the Cells
Select the cell or cells where you would like to add the drop-down.
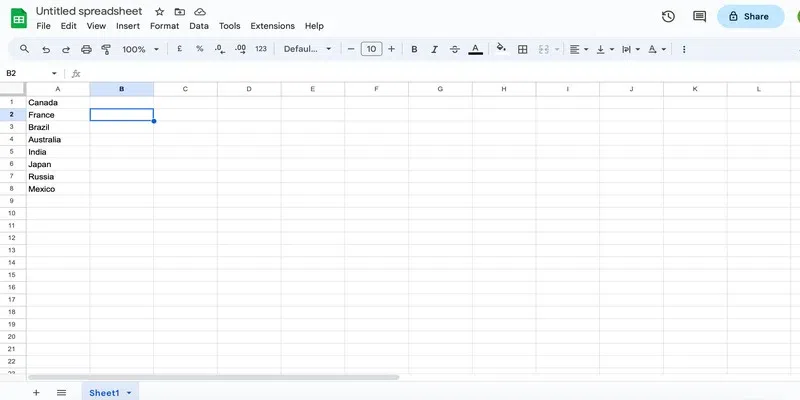
select cells
Step 2: Go to the Data Tab and Select Data Validation
Go to the Data tab and select the Data Validation option.
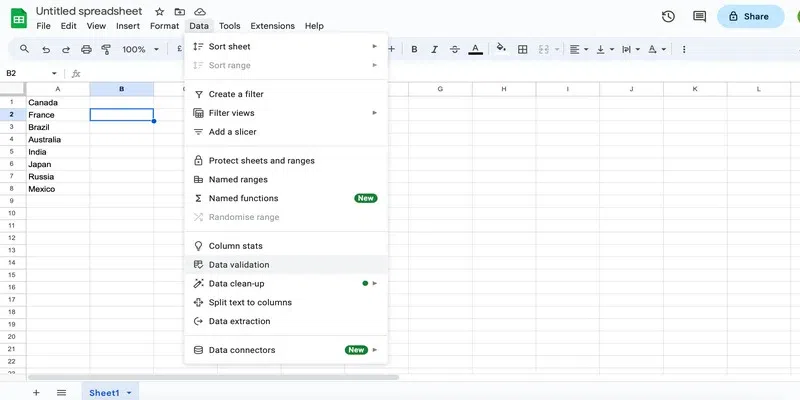
data validation
Step 3: Click on Add Rule
In the side pane that opens, click on the Add Rule option.
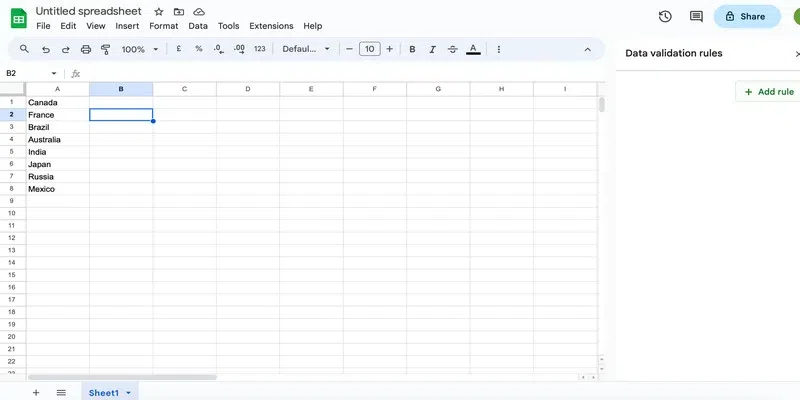
add rule
Step 4: Choose Criteria
Choose the Drop-down (from a range) option from the criteria drop-down.
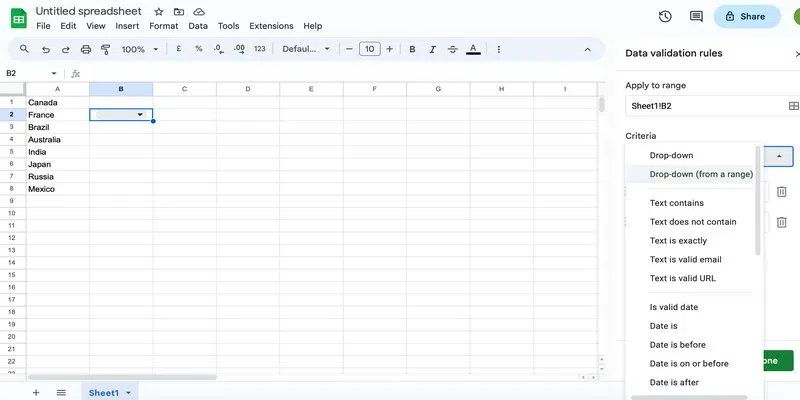
drop-down from range
Step 5: Select Data Range
Click the window icon present in the empty box below the Criteria drop-down.
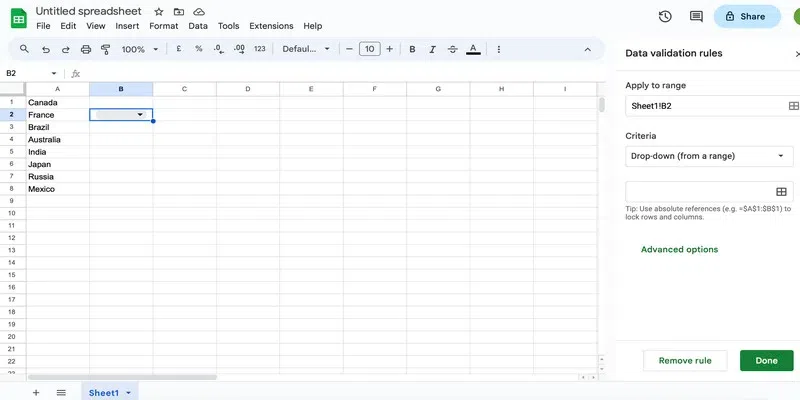
click on the window icon
Now, you can add the cell range (where the list of items/data is present) in the dialogue box and press ok.
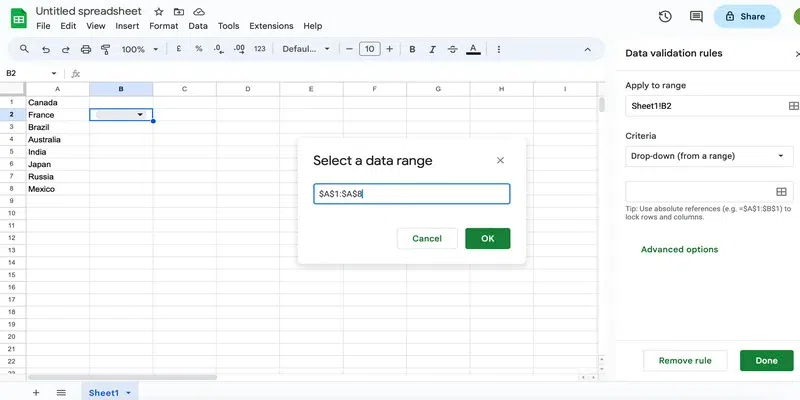
add cell range
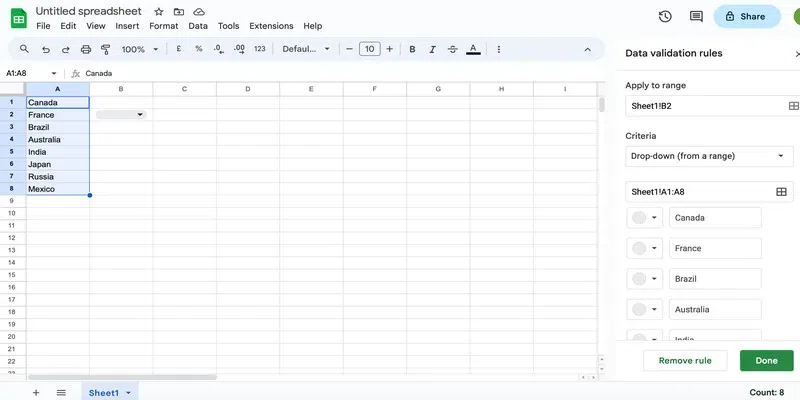
Alternatively, you can select the data directly from the cells and the range will be populated in the dialog box automatically:

directly select items from the sheet
Step 6: Save Changes
Click on the Done option in the side pane to save the changes.
press done
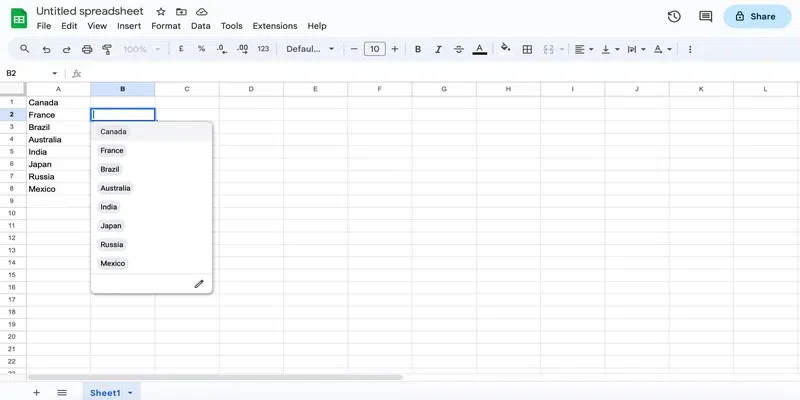
You can see that the values are added to the drop-down.
result
How to Edit or Remove a Drop-Down List in Google Sheets
If you want to edit a drop-down list in Google Sheets, simply follow these steps:
Step 1: Select the Drop-Down List
Select the drop-down list that you want to edit by simply clicking on it.
select the drop-down
Step 2: Click on the Pen Icon
Click on the pen icon present at the bottom of the list.
click on the pen icon
Step 3: Edit as Required
Now you can make changes in the Select the data range box. For the sake of this example, let’s change A8 to A5. This will remove the last three values from the list.
If you wish to remove the entire drop-down, then simply click on the Remove rule option. Once you are satisfied with the changes, press Done to save the changes.

edit
You can see that the drop-down now contains only 5 items.
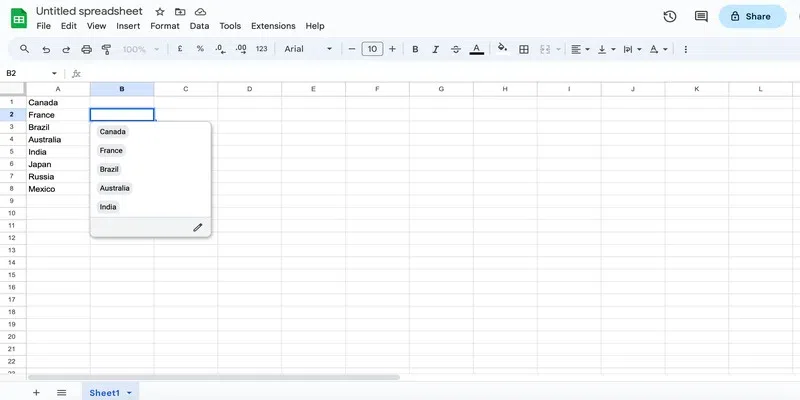
resultant drop-down
How to Use Your New Drop-Down List
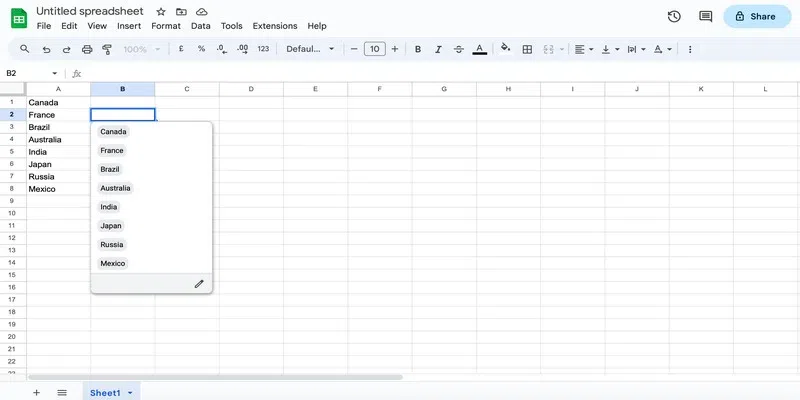
Using a drop-down list in Google Sheets is very simple. All you have to do is select an option from the drop-down and the data will be populated in the cell.
You can see in the image below that the chosen option is added to the cell:
choose an option
Further, you can also use a drop-down with an entire row or column without having to create one for each cell. Simply copy the cell with the drop-down and paste it into the cells where you want to add the drop-down.
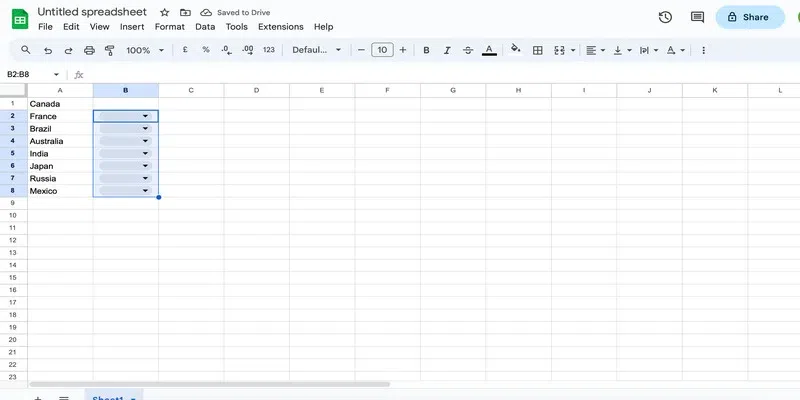
copy and paste
Additional Tips for Drop-down Lists in Google Sheets
Move Items in a Drop-Down List
If you want to shift items up and down in a drop-down list, then follow these steps:
Step 1: Click the Pen Icon
Select the drop-down by simply clicking on it and then select the pen icon present at the bottom.

pen icon
Step 2: Drag and Drop
Hover over the 6 dots in front of the option you wish to shift. When the cursor changes into a four-arrow icon, drag and shift the option up or down. Close the side pane once you are done.
drag and drop
Assign Colours to Items in the Drop-down List
You can assign different colours to the options in the drop-down as follows:
Step 1: Click the Pen Icon
Select the drop-down by simply clicking on it and then select the pen icon present at the bottom.
pen icon
Step 2: Click the Colour Drop-Down
Click on the drop-down present to the right of the grey-coloured circle. This will open a panel of colours.
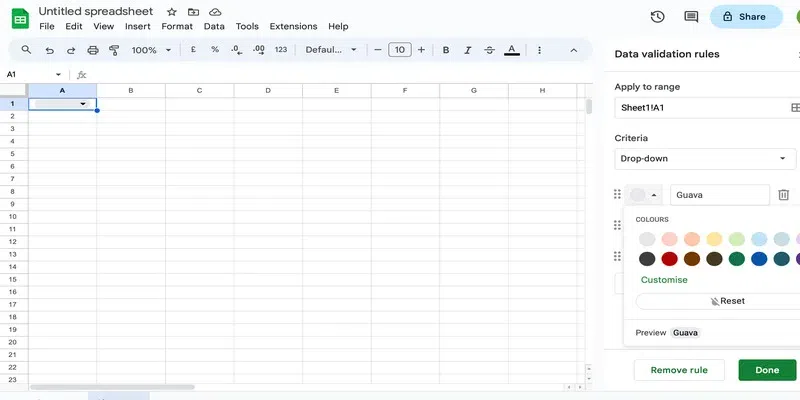
colour drop-down
Step 3: Select the Colour
Select the desired colour from the panel. You can preview how the drop-down will look from the bottom of the panel.
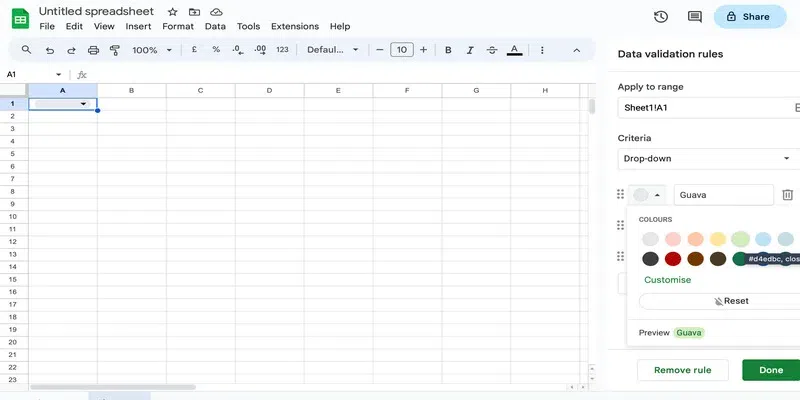
select the colour
Repeat the same for all options and close the side pane when you are done.
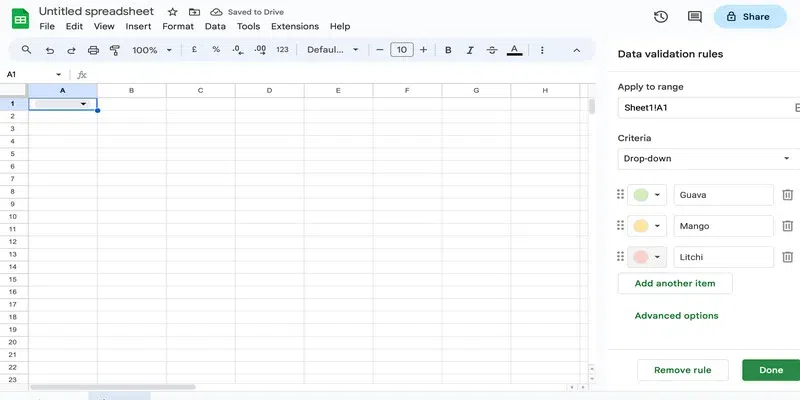
repeat for all options
Output:
result
How to Change the Drop-down Display Style
You can change how a drop-down appears in the sheet. This is how to do it:
Step 1: Click the Pen Icon
Select the drop-down by simply clicking on it and then select the pen icon present at the bottom.
pen icon
Step 2: Go to Advanced Options
Click on the advanced options menu from the side pane.
advanced options
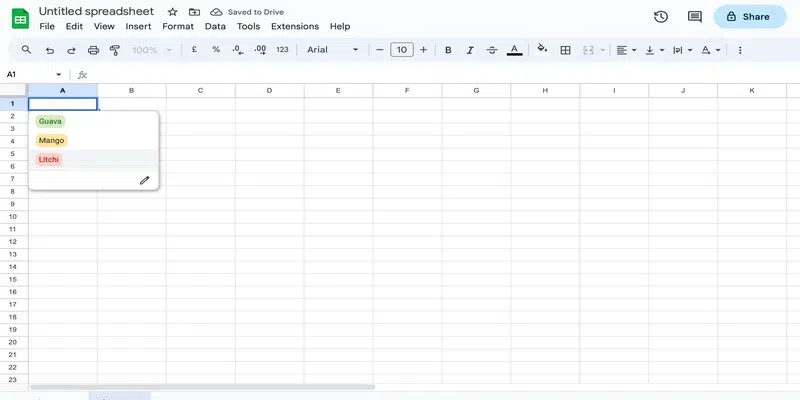
Step 3: Choose the Display Style
You can now choose the desired display style. For this example, let’s select the Arrow style.
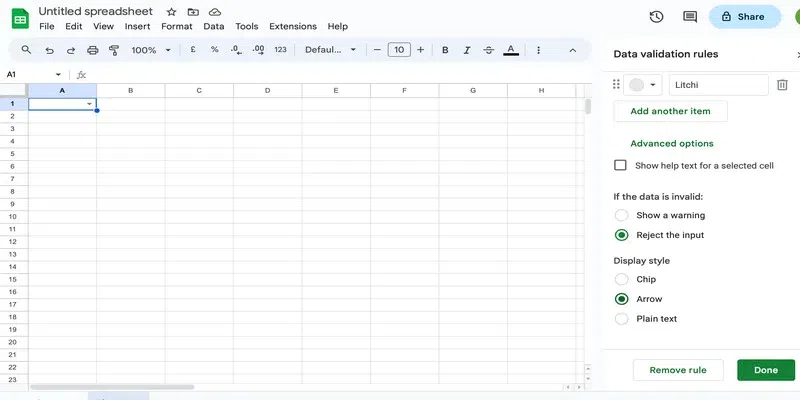
arrow display style
This is what the drop-down looks like now:
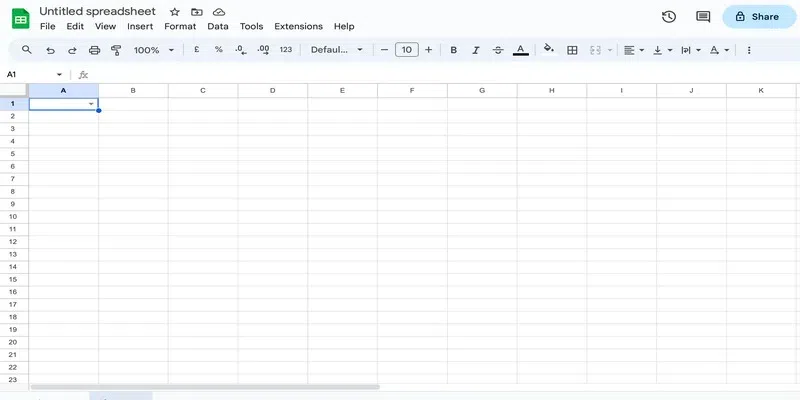
drop-down in arrow style
Conclusion
In this post, we saw how we can add a drop-down list in Google Sheets. Drop-downs are a great tool that one must use, especially while working with a team. It not only enhances the user experience but also makes the overall task much more efficient. Google Sheets comes packed with many such great tools and thus, is a great skill to add to your profile.
FAQs
How do I create a drop-down list in Google Sheets with multiple selections?
1. Select cell and click Data >Data Validation > Add rule
2. Set the Criteria to Drop-down > Select Categories
3.Format the Options
Can multiple items be selected in a drop-down list?
Open Data Validation dialog box, click on Settings tab. In the Allow drop-down list, select List In the “Source” box, enter the range of cells for your list and Click on Ok button.
How do I add a drop-down list to an entire column in Google Sheets?
For applying a drop down list to an entire column drag the bottom-right corner of the cell with your drop-down menu to the cells you want have the same list, or copy and paste the contents of the cell into other cells.
Share your thoughts in the comments
Please Login to comment...