How to Add a Link to an Image in Gmail
Last Updated :
16 Apr, 2024
Insert clickable Image Gmail – Quick Steps
- Insert the image into your email.
- Click and drag the cursor across the image until it’s highlighted.
- Click the link icon at the bottom of the Compose window.
- Enter the URL you want to link to.
- Click “OK” to confirm.
Hyperlinking an image in Gmail means making the image clickable. Hyperlink is a fancy term for a clickable link you see on web pages or in emails. When you click it, you get taken to another website or document. It enhances the visual appeal of your email and increases engagement.
Hyperlink an Image in Gmail
In this guide, we’ll walk through the step-by-step process of hyperlinking an image in Gmail emails. Check the given step-by-step data to add or Hyperlink your image in your Gmail.
Step 1: Login to your Gmail Account
Begin by opening your web browser and navigating to the Gmail website. Log in to your Gmail account using your credentials.
Log in>> Account
Step 2: After login, Compose a New Email
Once you’re logged in, click on the “Compose” button located in the top-left corner of the Gmail interface. This action will open a new email composition window.

Log In>> Compose a mail
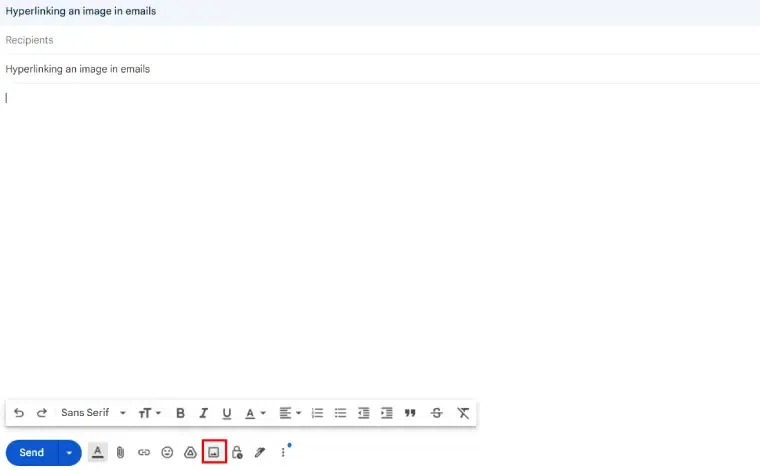
Step 3: Go to Insert Image Icon
To insert an image into your email, place your cursor in the body of the email where you want the image to appear. Then, click on the “Insert Photo” icon, which resembles a small camera, located at the bottom of the email composition window.
Log in>> Compose a mail>> Click on Inset Image Icon
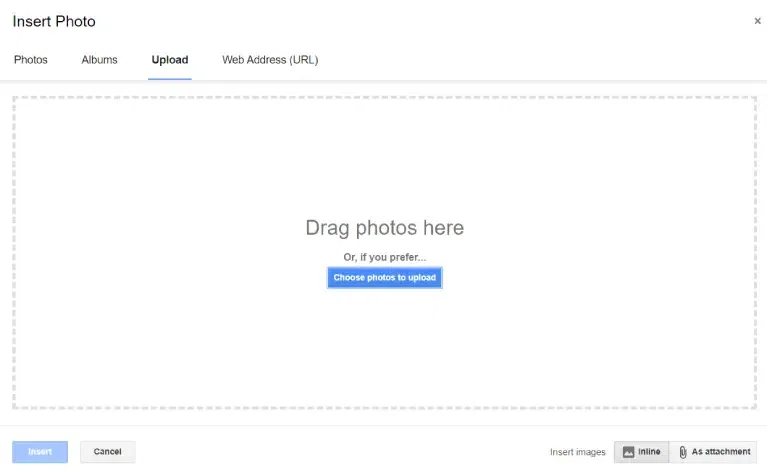
Step 4: Choose the Image Source
A dialog box will appear, prompting you to select the source of the image. You can choose to insert an image from your computer, Google Drive, or by providing a URL. Select the correct option and follow the on-screen instructions to insert the image you want into your email.
Insert image>>Choose Image Source
Step 5: Resize the Image as per your need (optional)
After inserting the image, you can resize it by clicking and dragging the corners of the image to adjust its dimensions. Ensure that the image is appropriately sized for your email layout.
Resize image (optional)
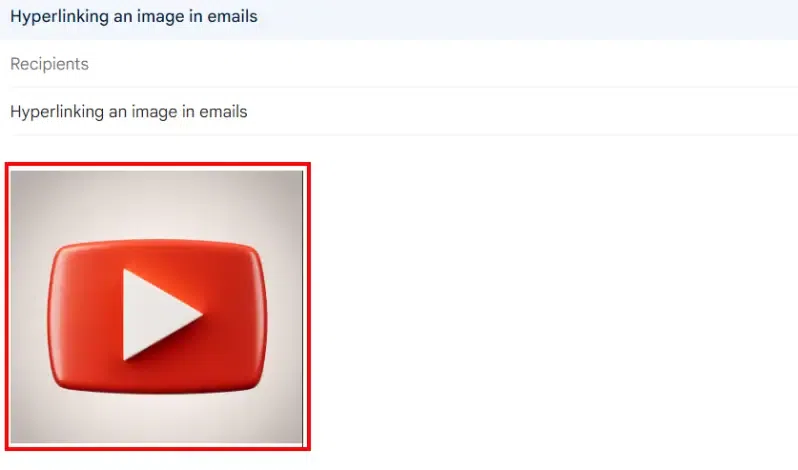
Step 6: Select Image and Click on Insert hyperlink Icon
After putting the image into your email, click on it. You’ll know it’s selected when it has a square box around it. After you’ve selected the image, look for a chain-like icon in the toolbar. Or, you can directly right-click on the image and choose the option ‘Link’ from the menu that pops up.
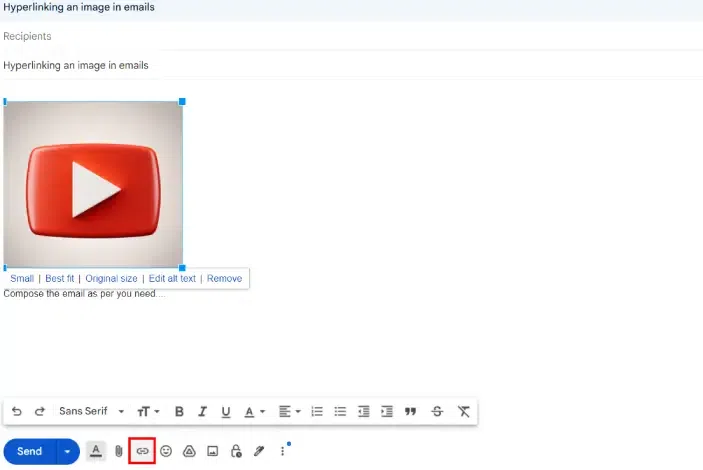
Select and hyperlink the image
Step 7: Enter the URL and Add Hyperlink
A dialog box will appear, prompting you to enter the URL you want to hyperlink the image to. Type or paste the URL into the provided field.
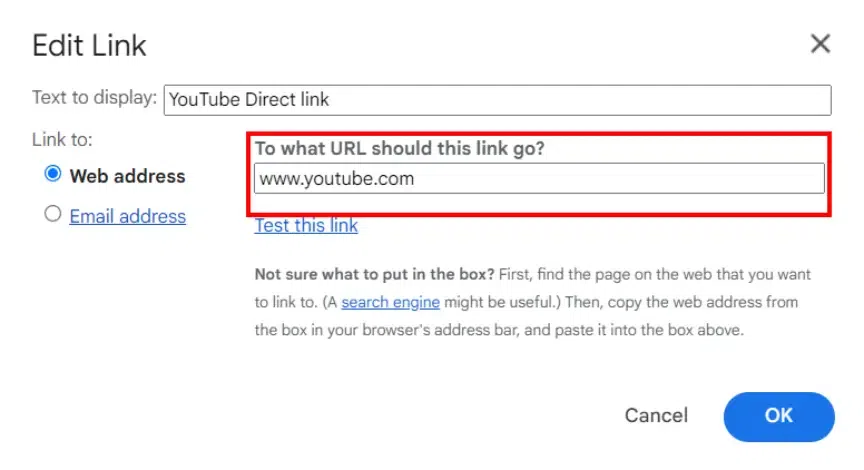
Enter the URL and apply the Hyperlink
Step 8: Verify the Hyperlink Using “Test this link” Click on OK
Once you’ve entered the web address you want to link to your image, click the ‘OK’ button to apply the hyperlink. To make sure the link works, click on the image in your email. If the link works right, it will open the web address you entered in a new window or tab.
.webp)
Click on “OK
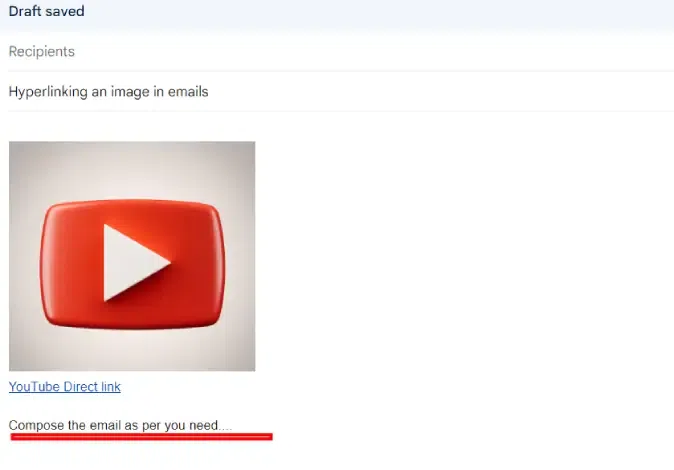
Step 9: Compose Email Content
With the image hyperlinked, continue composing your email content as desired. You can add text, additional images, or other elements to complement the hyperlinked image.
Compose Email Content>>
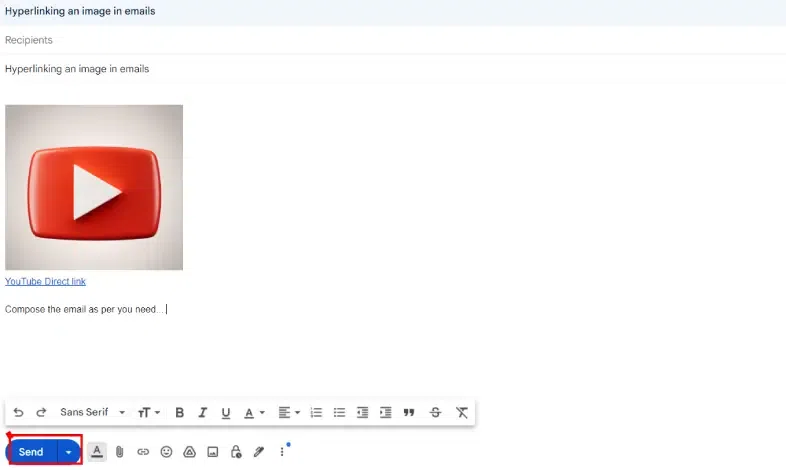
Step 10: Review and Send the Email
Double-check your email before sending it to anyone. This also includes hyperlinked images. This step will make your email look better. Try using different pictures and links to see what works best for the engagement. The goal is to get the attention of people on what you’re sharing online.
Review and Send the email
How to Add Multiple Hyperlinks to an Image in Gmail
Adding Multiple Hyperlinks to an image is not a tough job. Google Workspace provides different kind of features to work like a pro in this platform. Here’ the step-by-step procedure given below for your reference to add multiple hyperlinks to an image in Gmail,
Step 1: Insert the Image
- Open Gmail and click the “Compose” button.
- In the new message window, place your cursor where you want to insert the image.
- Click the “Insert Photo” icon at the bottom of the window.
- Select your image and choose the “Inline” option to insert it into the email body.
Step 2: Highlight the Image
Click and drag your cursor over the image to highlight it.
Step 3: Insert the Hyperlink
- Click the “Insert Link” icon (or press Ctrl+K).
- In the “Edit Link” window:
- Confirm that the image name appears in the “Text to display” box.
- Enter the URL you want to link to in the “Link to” section.
- Click “OK.”
Step 4: Verify the Link
- Select the image again.
- If the hyperlink was inserted correctly, you’ll see a “Go to link” message followed by the destination URL.
- Recipients can click the image to navigate to the specified URL.
How to Hyperlink in Gmail on a Desktop
Hyperlinking the image or text in Gmail is not a tough job. You need to go through this article to know more about image hyperlinking in emails. Here you can check the text hyperlinking easy steps given below:
Step 1: Start selecting the ‘Compose an Email’ option in your Gmail.
Step 2: write your message and choose the text to link
Step 3: After that Highlight the text
Step 4: Use the ‘Insert Link’ button
Step 5: Paste the URL and confirm
How to Hyperlink in the Gmail Mobile App
While the Gmail mobile app doesn’t offer a direct way to hyperlink text,
- One can copy the URL they want to hyperlink in an image.
- After that, start composing the email and paste the URL into the email body.
- Then save the email as a draft.
- In the end, open the draft and edit the link as per your need also, you can name the link if you want.
How to Add a Hyperlink to Your Gmail Signature
To add a hyperlink to your Gmail signature, you need to follow a few steps.
- First, Click the gear icon in the top right corner and select “See all settings.
- Secondly, Under the “General” tab, scroll down to the “Signature” section.
- And then, Click on the existing signature you want to edit or “Create new” if you don’t have one.
- Then Highlight the text or image you want to link, this could be your name, website address, social media handle, or anything you want to make clickable.
- After that, Click the ‘Insert Button’ and paste the URL there and confirm.
- It will save the hyperlink you have added.
That’s it! Your highlighted text or any image in your signature is clickable now. Remember to scroll down and click “Save Changes” at the bottom. Now, your signature is updated.
FAQs- To Hyperlink an Image in Gmail Emails
Can I hyperlink an image in Gmail?
Yes, you can hyperlink an image in Gmail by following a few steps given above.
How do I add a hyperlink to an image in an email?
To add a hyperlink to an image in an email, you can first, insert the image into your email by clicking on the “Insert Photo” icon. Then select the image and click on the ‘insert link’ icon in the toolbar. A window will pop up where you can add the URL you want to link to. After putting the URL, click ‘OK’ to hyperlink the image.
Can you embed an image in a Gmail email?
Yes, you can embed an image in a Gmail email by simply inserting the image directly into the body of the email using the “Insert Photo” icon.
Share your thoughts in the comments
Please Login to comment...