Verifying your website with Google Search Console is an essential step for site owners looking to mark their online presence. Google Search Console offers a suite of tools and insights that enable you to understand how your site performs in Google search results. Whether you’re a seasoned web developer or a beginner in the digital realm, the verification process is a crucial initial step. By confirming ownership of your site, you gain access to valuable data, such as search analytics, indexing issues, rankings, traffic, etc. This article will guide you through the step-by-step process of verifying your site with Google Search Console, empowering you to unlock the full potential of this powerful tool for enhancing your website’s visibility and performance on the world’s most popular search engine.
5 Manual Methods for Google Site Verification
1. HTML Tag
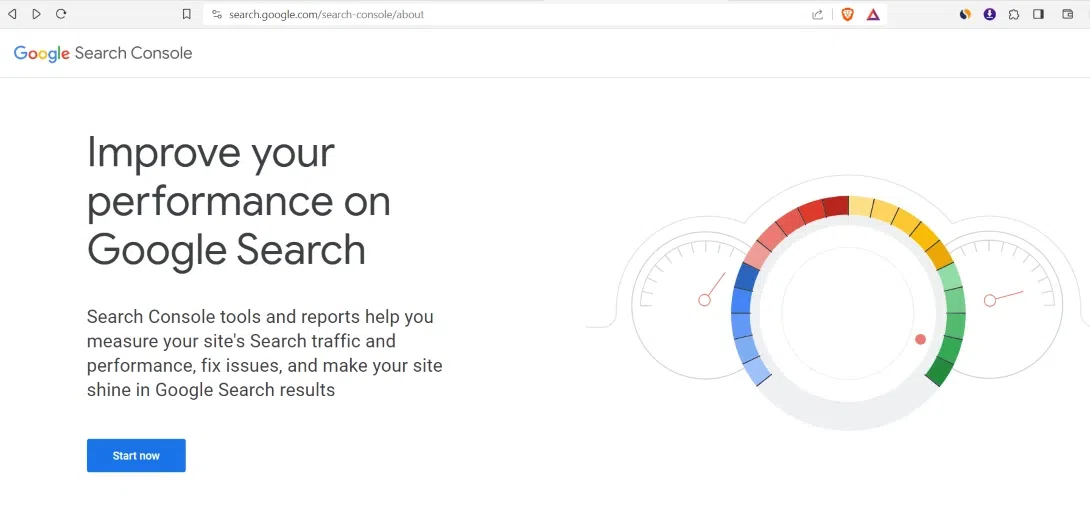
1. Go to the google search console website and click “start now”.
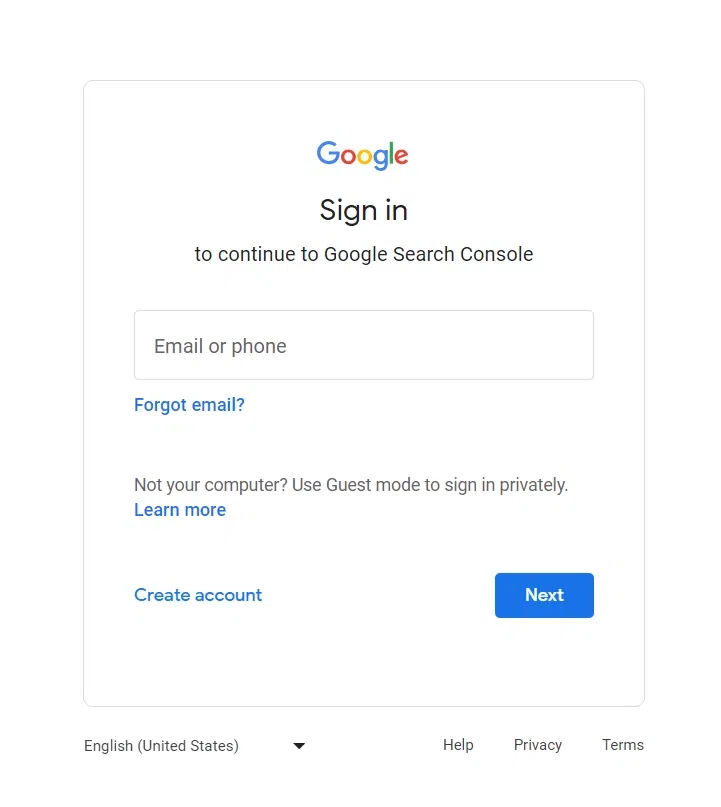
2. Sign in with only that Gmail account in which you want to track your website’s data.
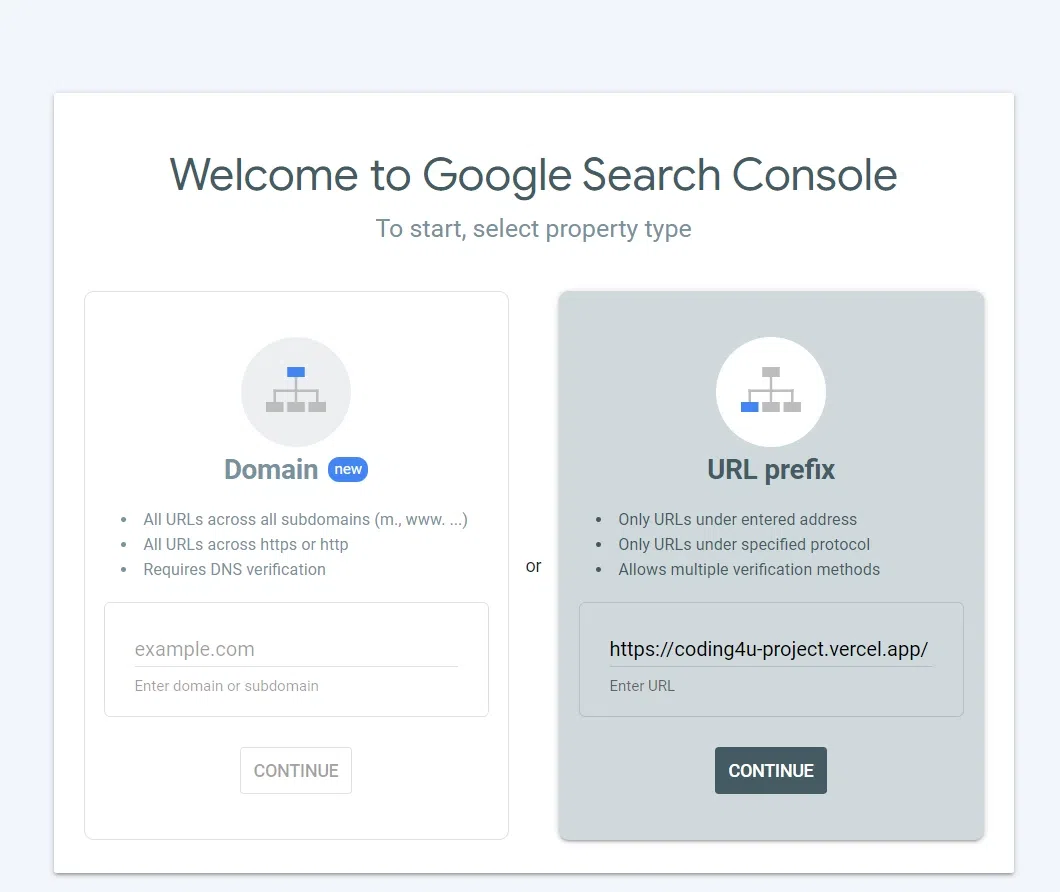
3. After signing in, this box will appear. Enter your domain name to which your website is connect. In “Domain” you should only enter your domain part excluding http protocol ie. “abcd.com” and in “URL Prefix” you should enter your domain with protocol ie. https://abcd.com. In our case our domain is https://coding4u-project.vercel.app.
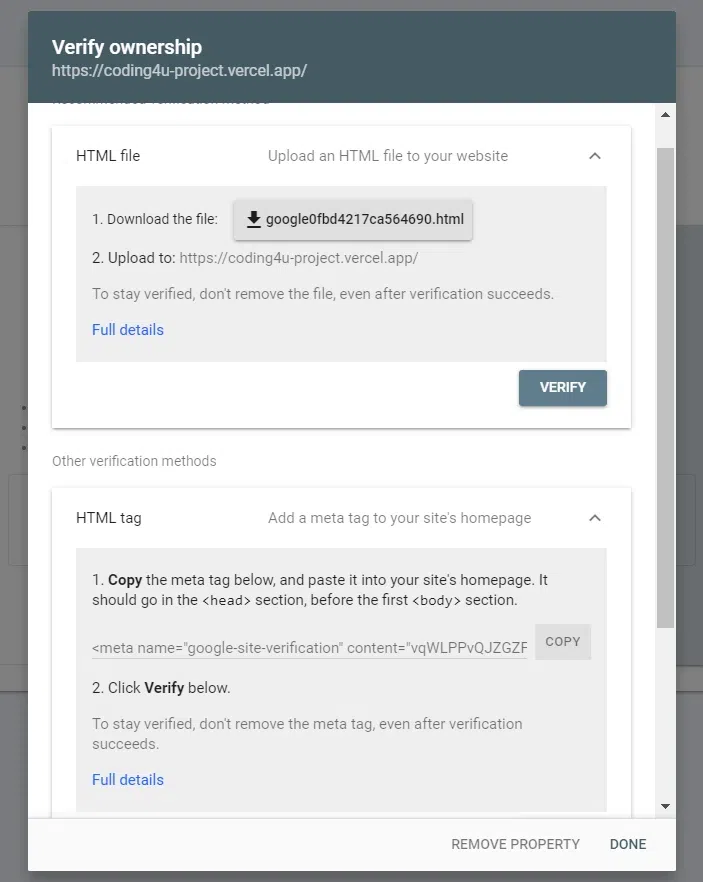
4. After that a box will appear for verification process. There are various options from which you can verify your website. The purpose of this verification is to know that you are the owner of this domain or any other third person.
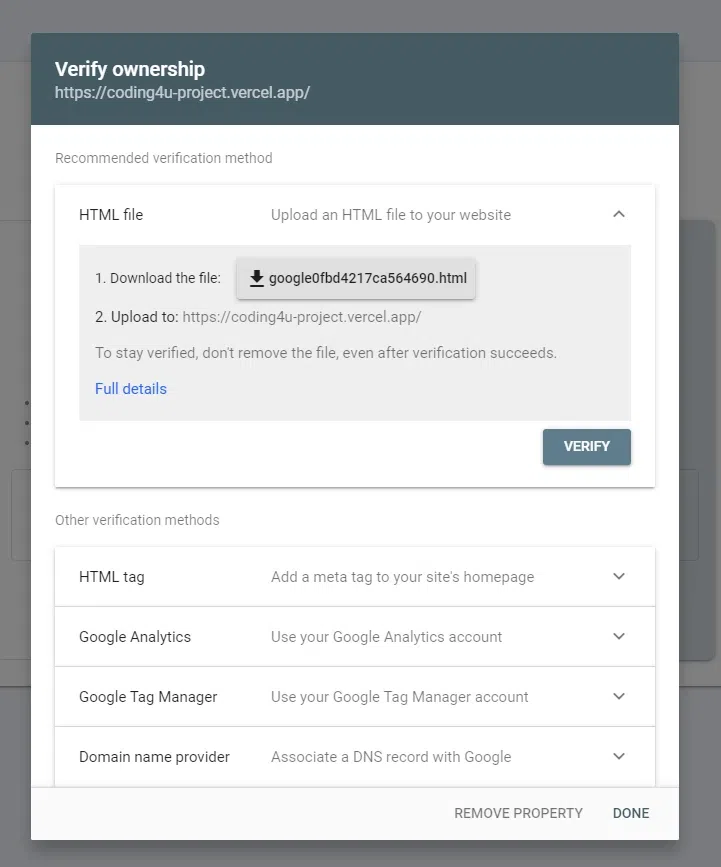
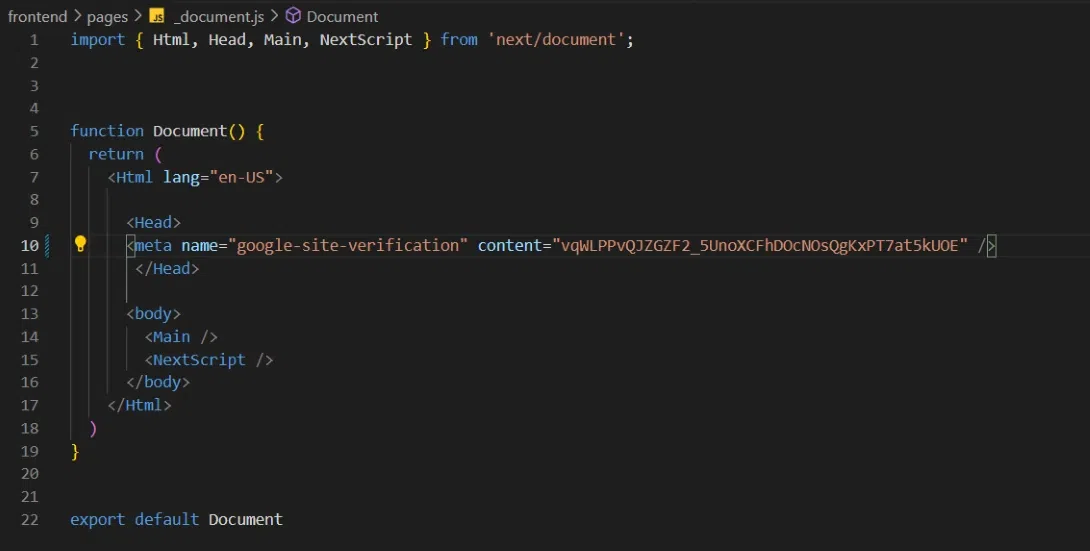
5. In our case we have selected verification through html tag. We will be given an html tag which we need to copy and paste in our website’s head tag.
The image below shows the meta tag provided by google added into the head tag of a Next.js website.
6. After making changes and adding that meta tag to your website’s head tag click on verify button. You will be redirected to your website’s property in google search console.
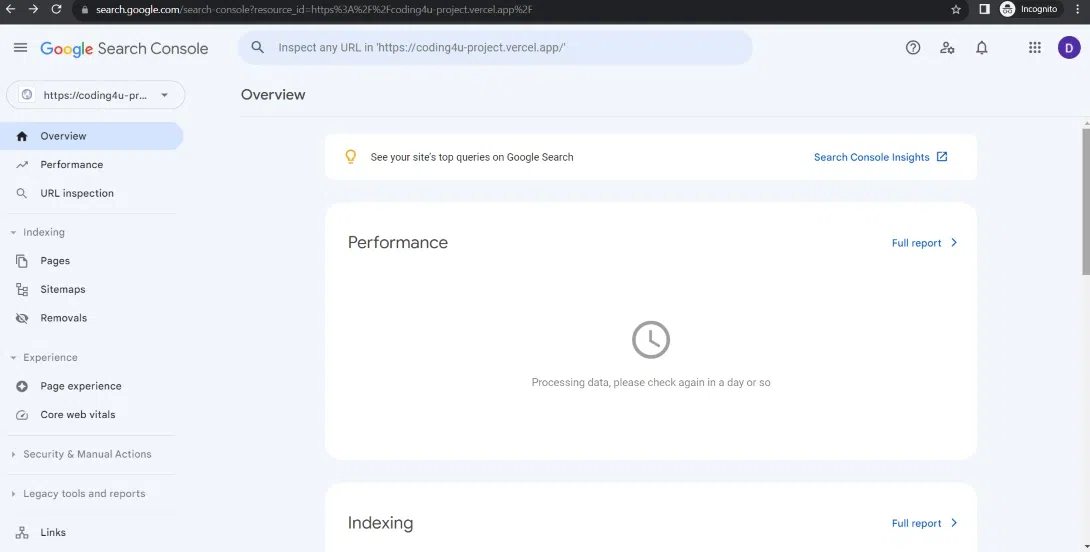
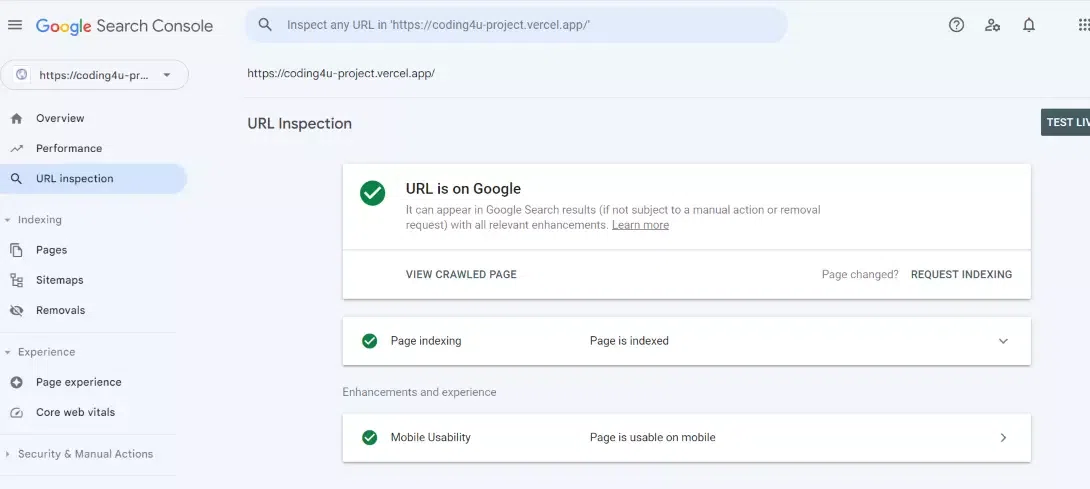
7. Now enter your root domain or url ie. “abc.com” in the search bar on the top and press enter. In our case our domain is https://coding4u-project.vercel.app.

8. Information regarding that url will appear there. It will tell you that “URL is not on Google” and page is not indexed. Click on the “Request Indexing” button in the right side.

9. After that a pop up will appear telling that “Testing if live URL can be indexed”.
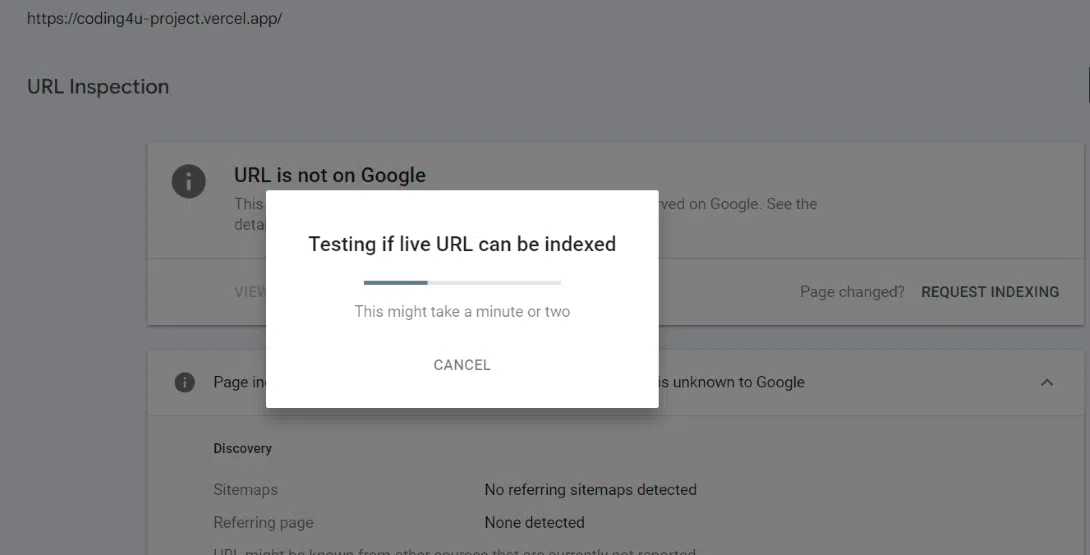
10. Be patient, Indexing can take a lot of time, some hours or even some days for new websites. In our case it took some time to index our homepage url. You can now see that “URL is on Google” which means that google has successfully crawled and indexed our url.
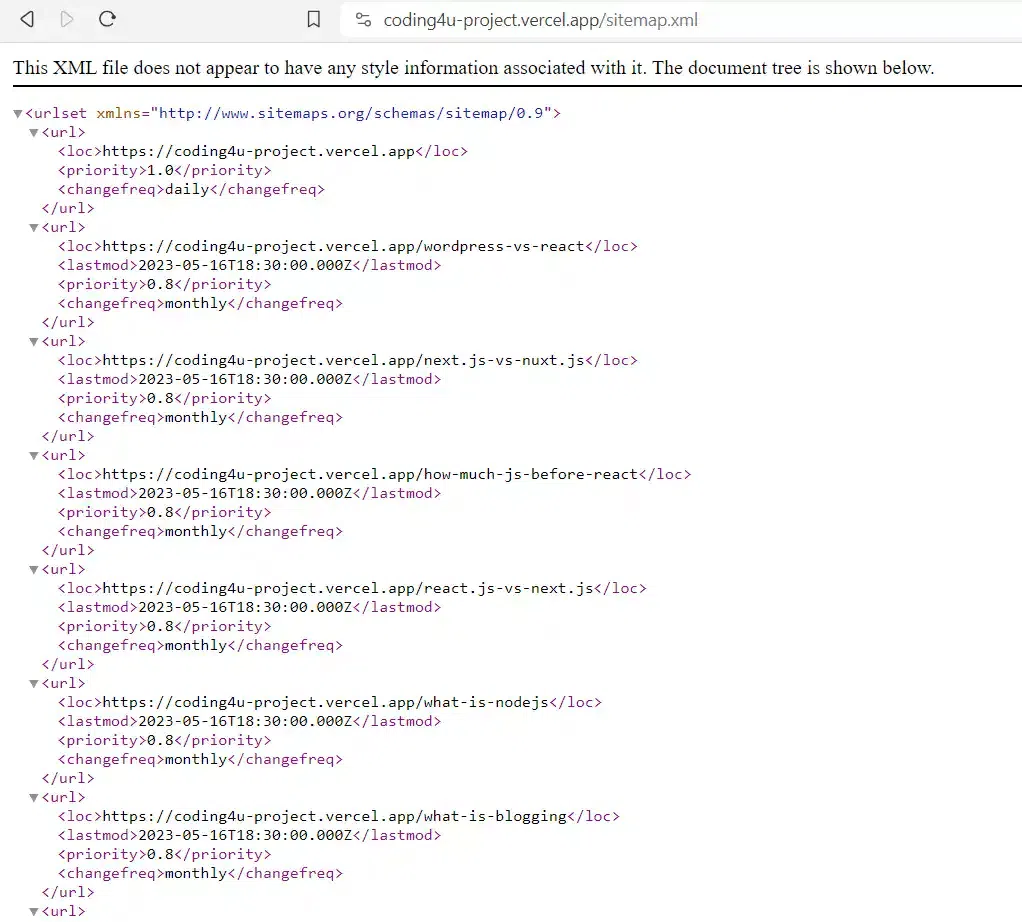
11. You should make a sitemap and sitemap that too in search console. A sitemap is an xml file containing all the urls of your website including your homepage url. Although google only recommends websites with a large number of pages to make and submit sitemap but it is a good practice to do, so we are submitting a sitemap. Our sitemap looks like this –
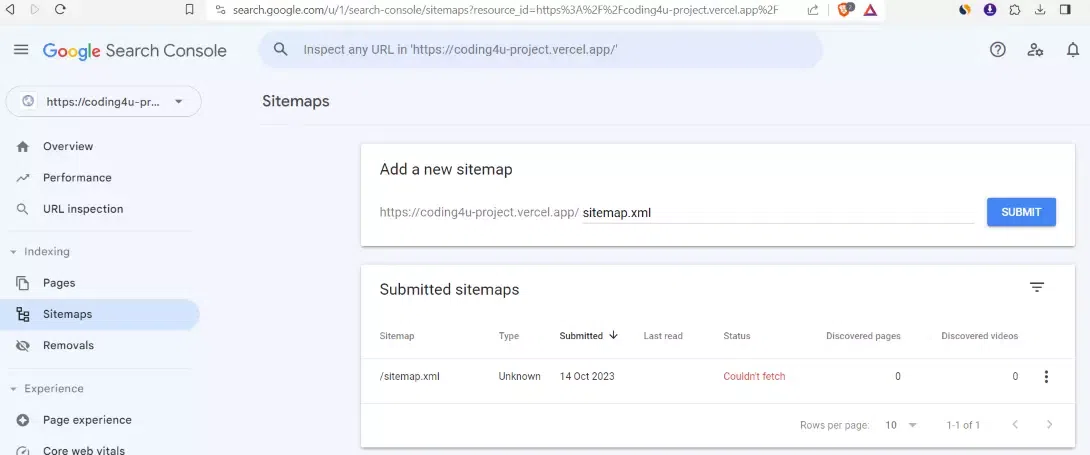
You have to submit the url of your sitemap in the sitemaps option available in the left sidebar of google search console. Under the heading “Add a new sitemap” you should enter your sitemap’s url and submit it. Now, google can take some time to fetch your sitemap, but generally it take some minutes to do so. If your sitemap is not fetched then you can see under the “status” as “Couldn’t Fetch”.
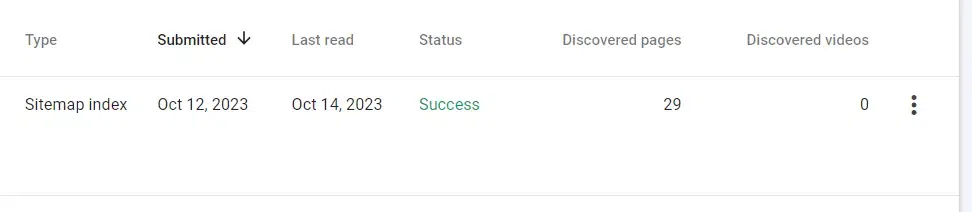
If your sitemap is successfully fetched then you would see the following changes telling that sitemap is successfully fetched with over 29 pages discovered in it.
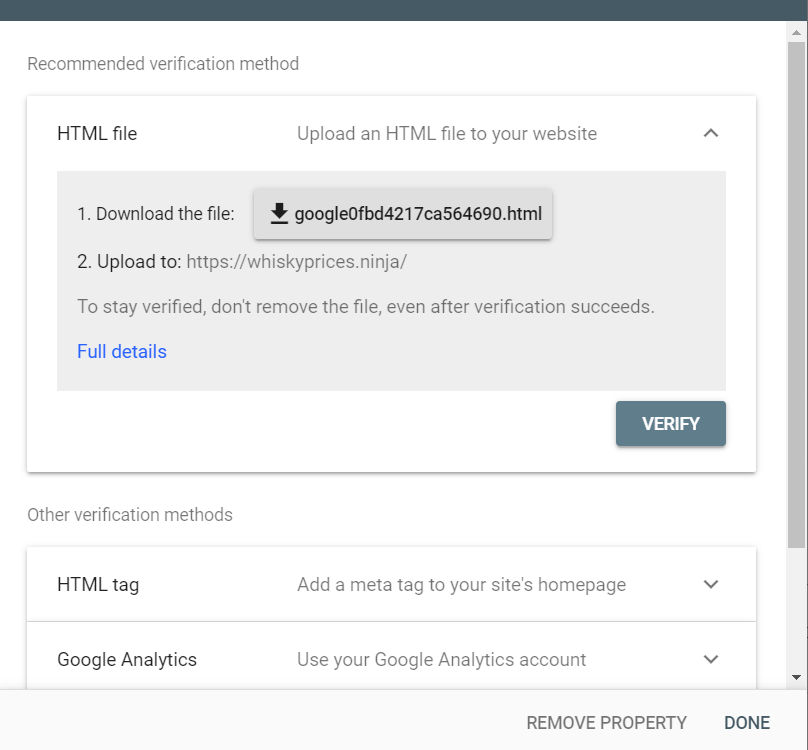
2. HTML File Verification
Instead of adding a meta tag in <head> of a website you can just add an HTML file in your website to verify your domain.
We are using next.js, so we have added that html file in public directory of our website from which it can be accessed.
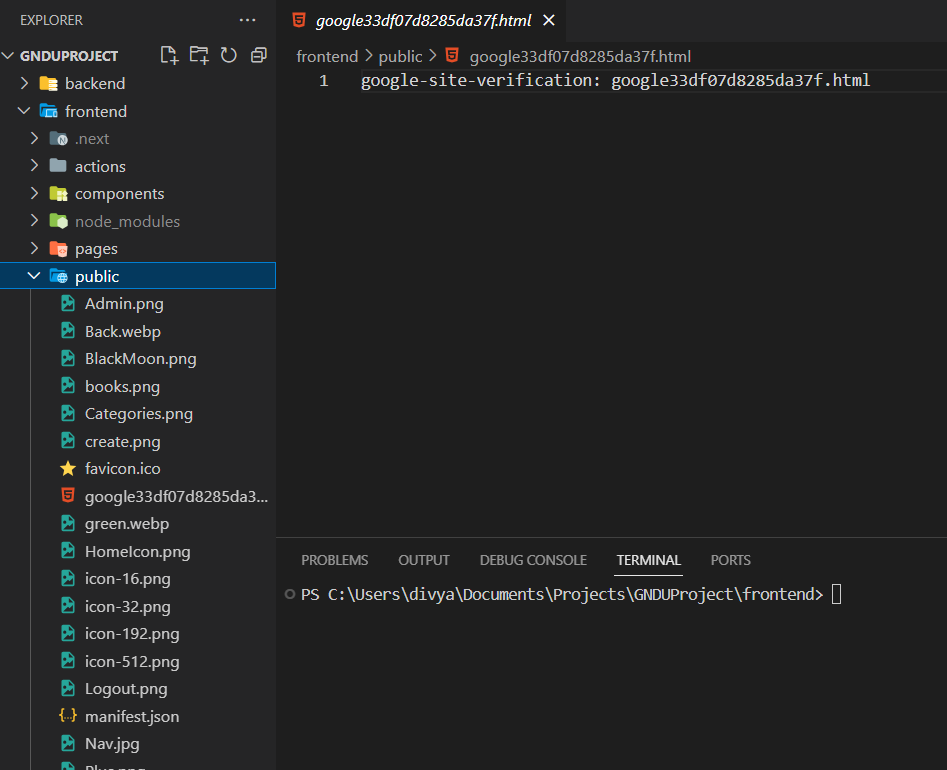
This HTML file can be viewed on our domain. Similarly, no matter which frame work you are using, your HTML file should be accessed in this way. https://yourdomain/google-html-file.html.

After adding this file and updating the live website you can verify your domain on Google search console.
If you are using a content management system like wordpress then you can install file manager plugin and upload your HTML file in the directory where .htaccess file is located.

3. Google Analytics
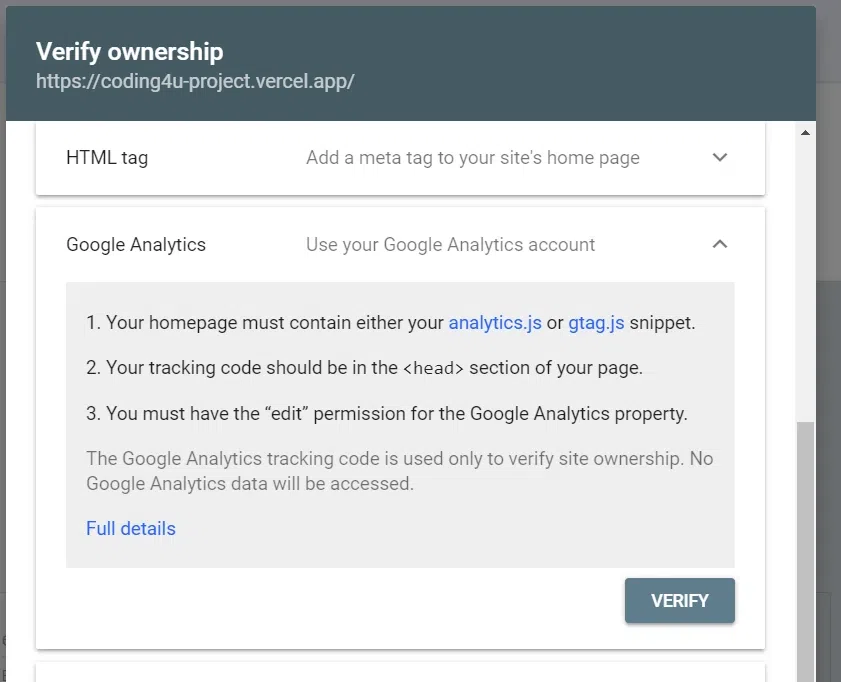
For google analytics verification you first have to add your domain or website to google analytics. For this you can view our article How to Add Your Website to Google Analytics ? on GeeksForGeeks.
Then you have to go to admin section and select your website’s stream.
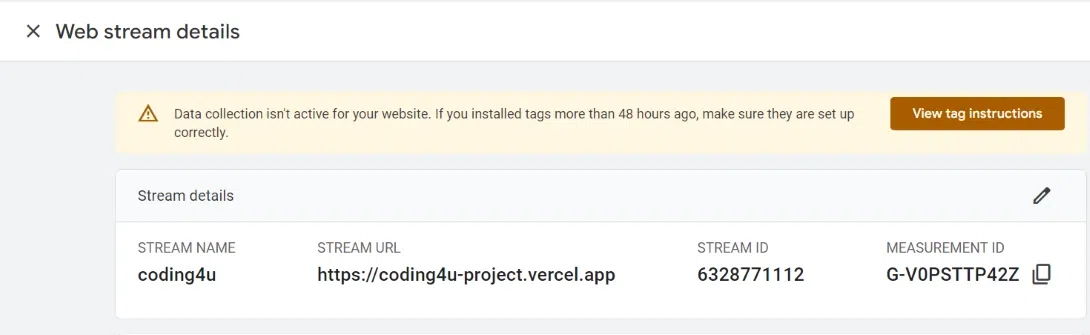
After that you will get a code as mentioned below. Add this code to your website’s <head> tag.
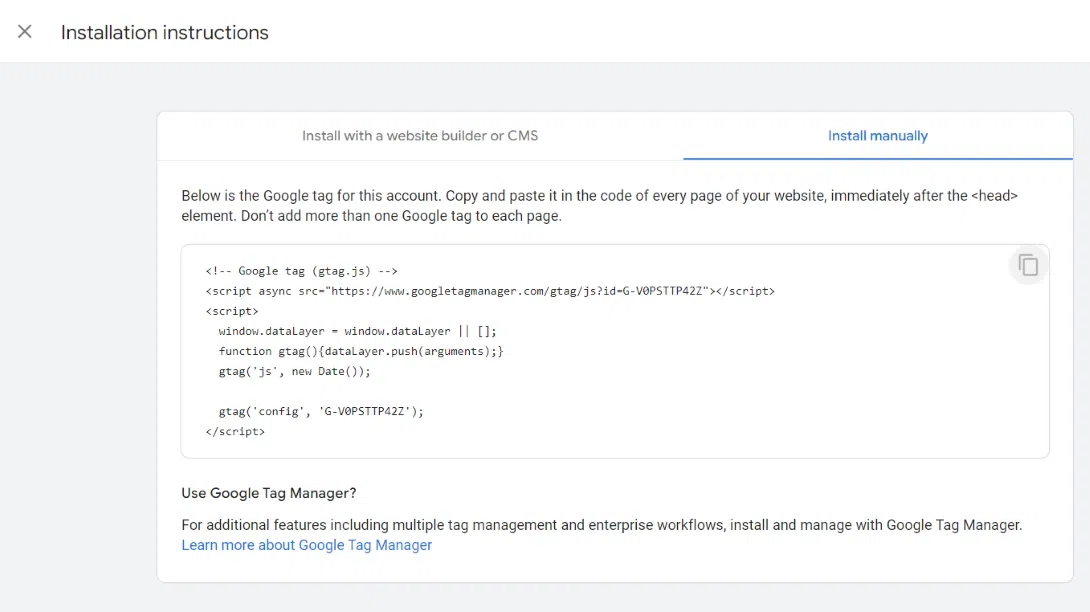
But in our case we are using Next.js and our code will be modified, so we would add this code below in our head section.
<script async src="https://www.googletagmanager.com/gtag/js?id=G-D18GTPG2SJ" />

<script dangerouslySetInnerHTML={{
            __html: `

window.dataLayer = window.dataLayer || [];
function gtag(){dataLayer.push(arguments)}
gtag('js', new Date());
gtag('config', 'G-D18GTPXXXX');
`
          }} />
After adding this code in head section, update the website and verify it.
Remember that you should have to use the same gmail id for google analytics as well as for search console in order to verify domain or website through this method.
4. Google Tag Manager
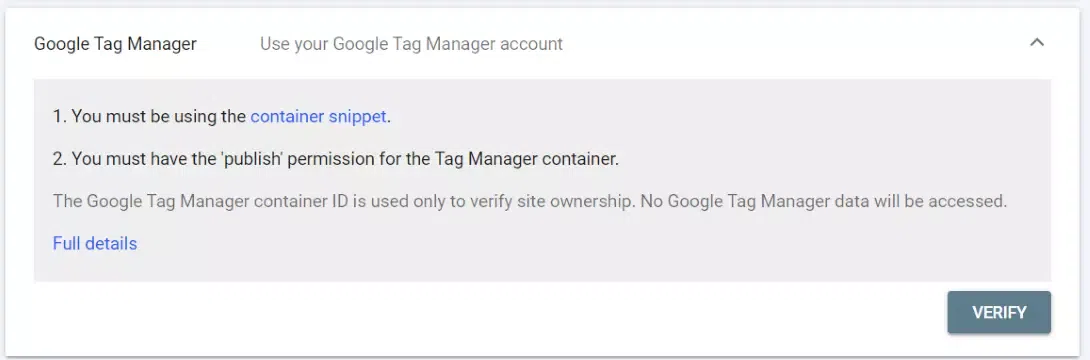
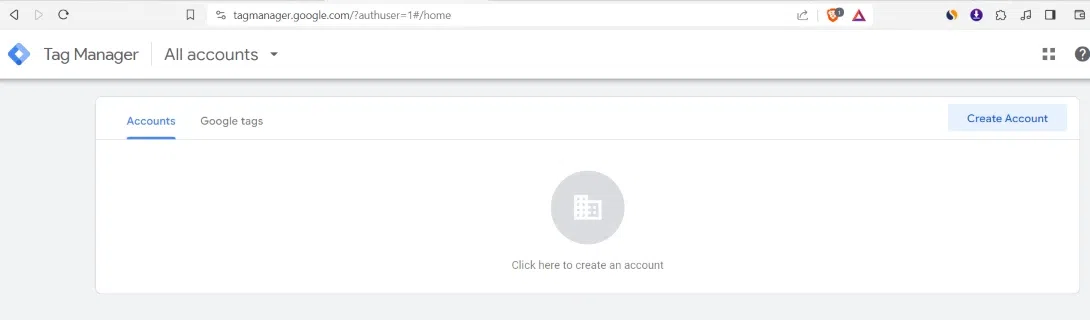
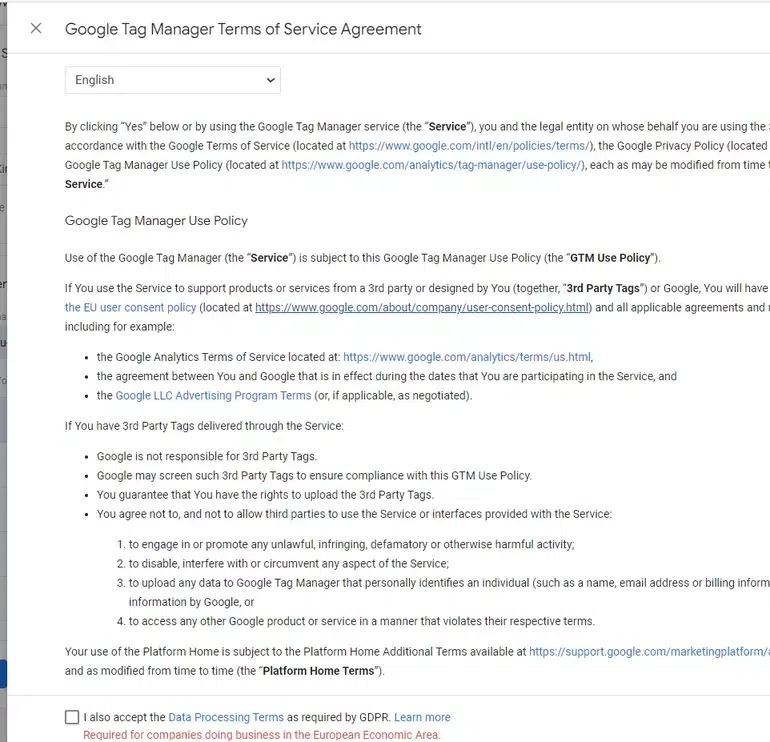
To verify with Google Tag Manager first go to https://tagmanager.google.com/ and then create an account by filling following details.
After filling necessary information you will be seeing some code on screen which you need to paste in head tag and body tag of your website.
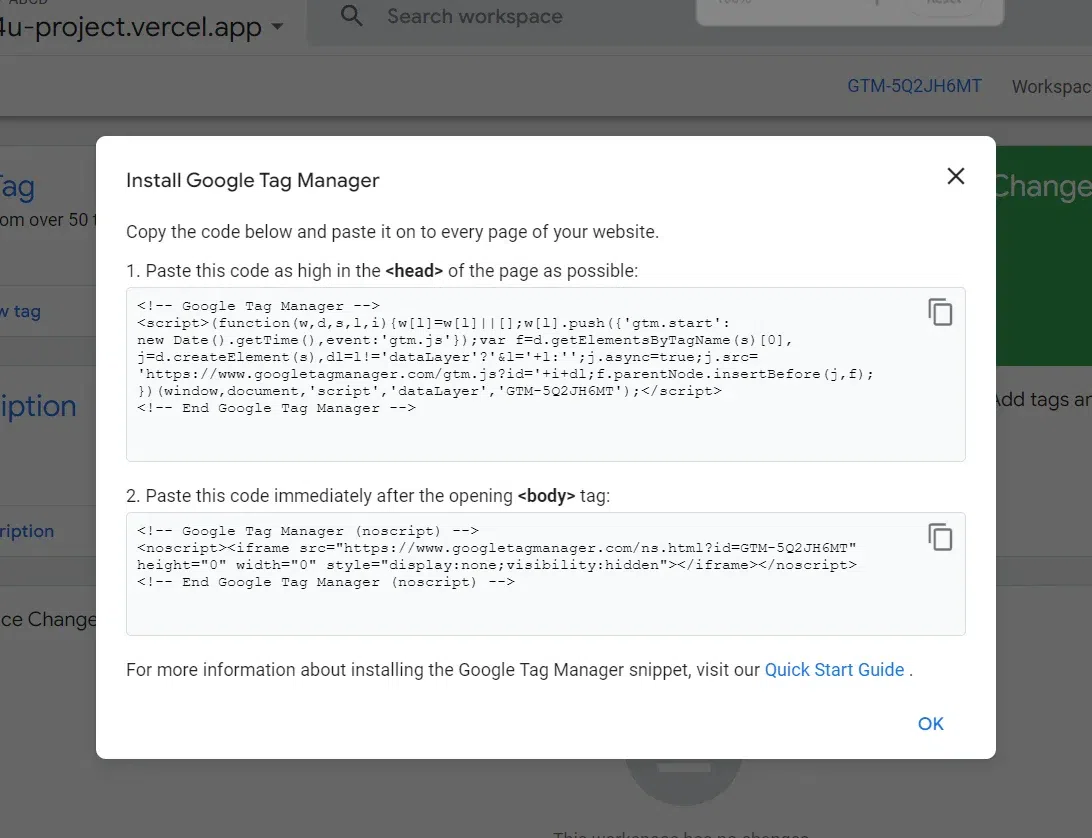
In case you close this pop up you can find the code in Admin section.
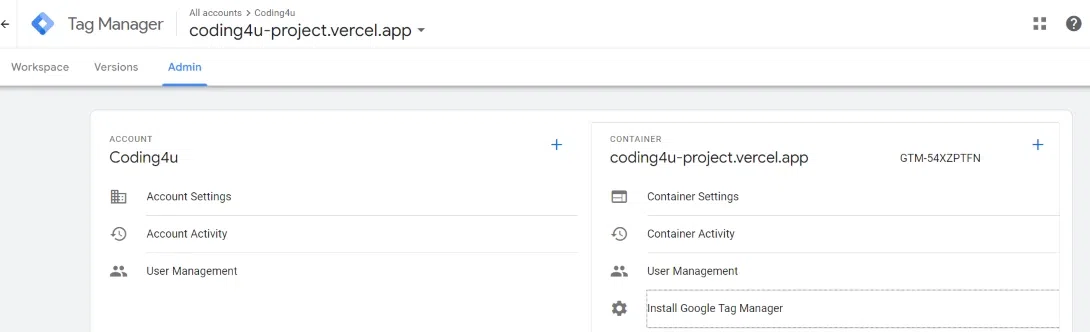
Then click Install Google Tag Manager and you can see the same code there which you have to copy and paste in head and body tag as specified.

But we are using Next.js and our code will be modified as –
For <head>
<script dangerouslySetInnerHTML={{
            __html: `


            (function(w,d,s,l,i){w[l]=w[l]||[];w[l].push({'gtm.start':
            new Date().getTime(),event:'gtm.js'});var f=d.getElementsByTagName(s)[0],
            j=d.createElement(s),dl=l!='dataLayer'?'&l='+l:'';j.async=true;j.src=
            'https://www.googletagmanager.com/gtm.js?id='+i+dl;f.parentNode.insertBefore(j,f);
            })(window,document,'script','dataLayer','GTM-54XZXXXX');


`
          }} />
For <body>
<noscript dangerouslySetInnerHTML={{
            __html: `
            <iframe src="https://www.googletagmanager.com/ns.html?id=GTM-54XXXXXX"
             height="0" width="0" style="display:none;visibility:hidden"></iframe>
`
          }} />
Now update your website after adding this code and verify in search console.
5. DNS Verification
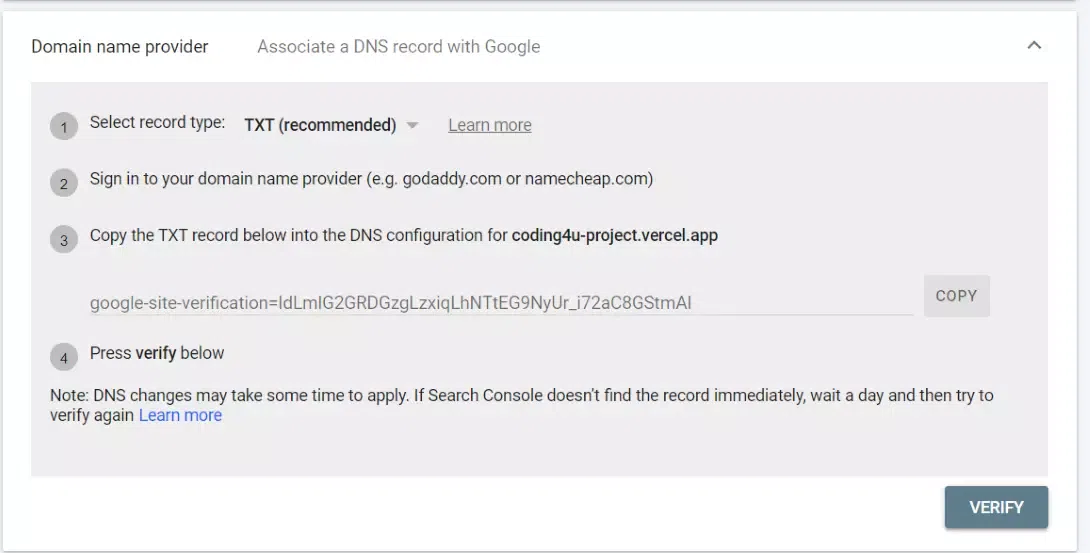
Now you have to add a txt record in DNS configuration of your domain as specified. Your domain registrar can be anyone like Namecheap, Godaddy, Namesilo, Name.com, dynadot etc. in which DNS section would be the place to add the txt record.
But we have a free vercel domain and it is not possible for us to manage its DNS.
So here we will be giving example of a domain added to cloudfare, and there in the DNS section will be adding the txt record.
So here is our DNS section in cloudfare.
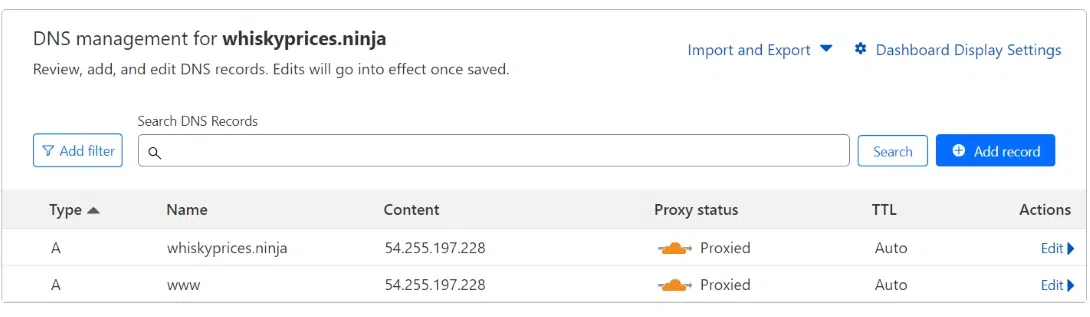
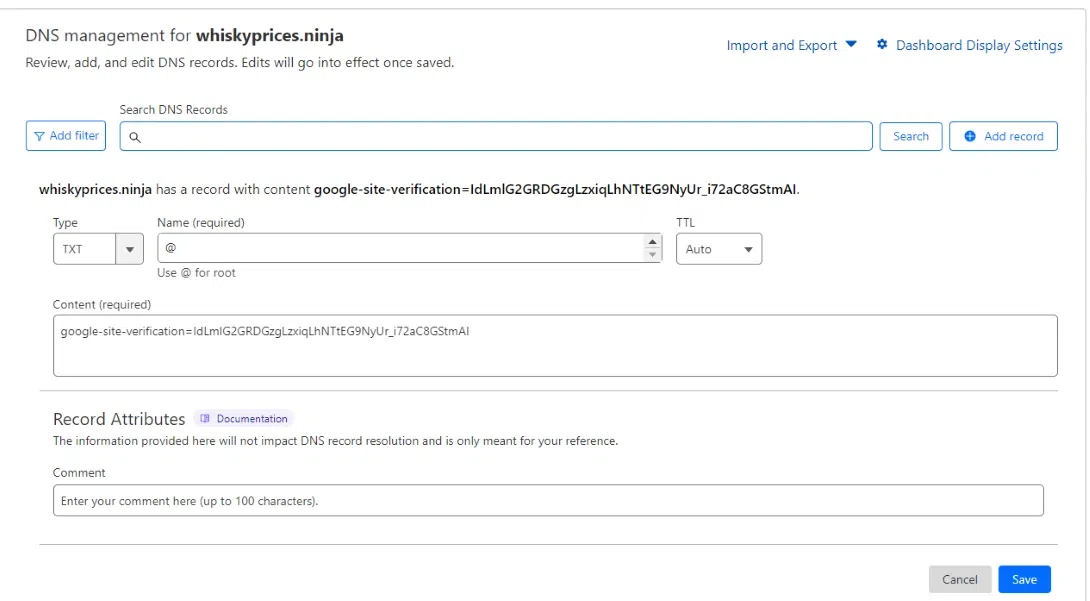
Now click on “Add record” and select TXT in “Type” dropdown, in Name field type your domain name or simple “@” and in content or value field paste the google code there and click on save button.
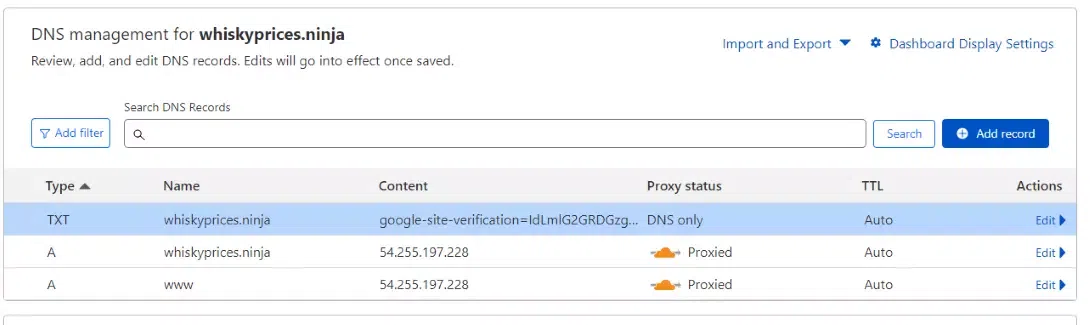
You can now see the TXT record added in our DNS configuration.
Now wait for atleast 5 minutes to 20 minutes as this verification process can take time. Generally it only takes a minute to verify but sometimes it can take longer duration. After that you can click on verify button in search console.
4 WordPress Methods for Google Site Verification
1. Rank Math SEO
If you are using wordpress CMS for your website then you can just add the HTML meta tag provided by google in Rank math plugin’s General settings under “Webmaster Tools”.

After adding the HTML tag click on the save button. You can now click on verify button in google search console and your domain or website will be verified.
2. Yoast SEO Verification
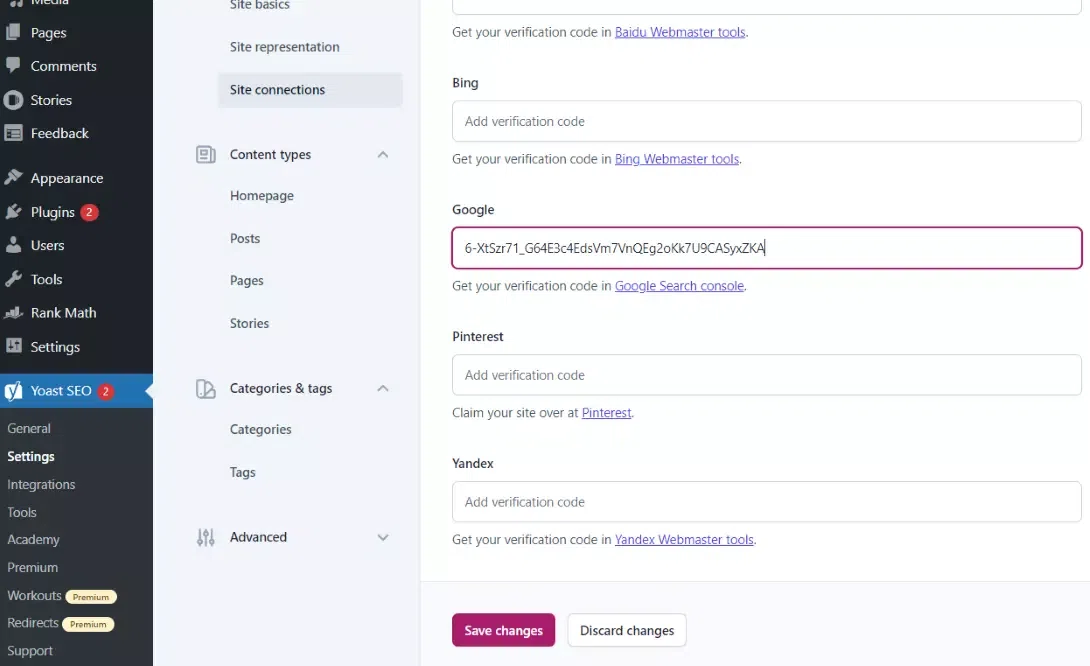
If you are using wordpress CMS for your website then you can just add the HTML meta tag provided by google in Yoast SEO’s settings under “Site connections” section. Then click on save changes.
After that you can verify your domain or website in search console.
3. SEOPress Verification
The domain verification process through SEOPress is similar to that of RankMath SEO or Yoast SEO. Just add the HTML meta tag provided by google in the Advanced section under “Google site verification” field and click save changes. 
After that you can verify your domain or website in search console.
4. Site Kit by Google Verification
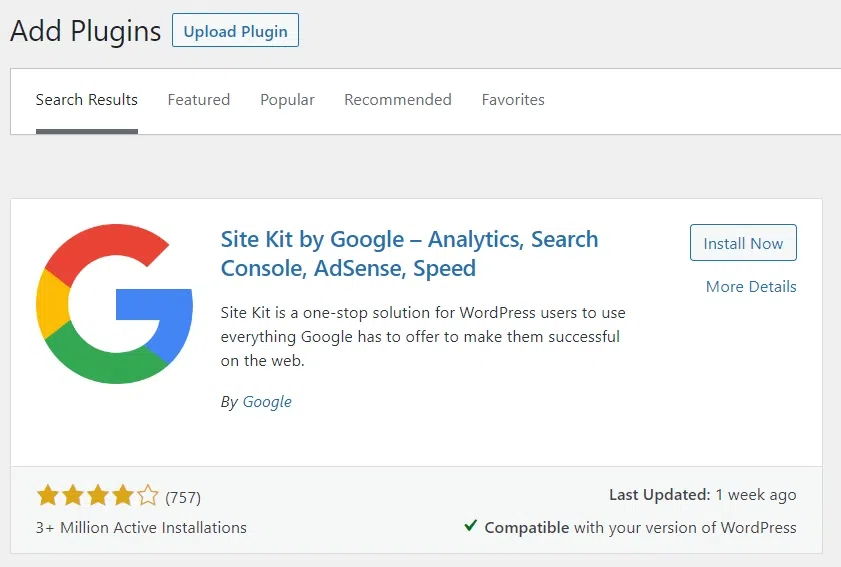
First Install site kit on your wordpress website.
Now start your site kit’s setup.
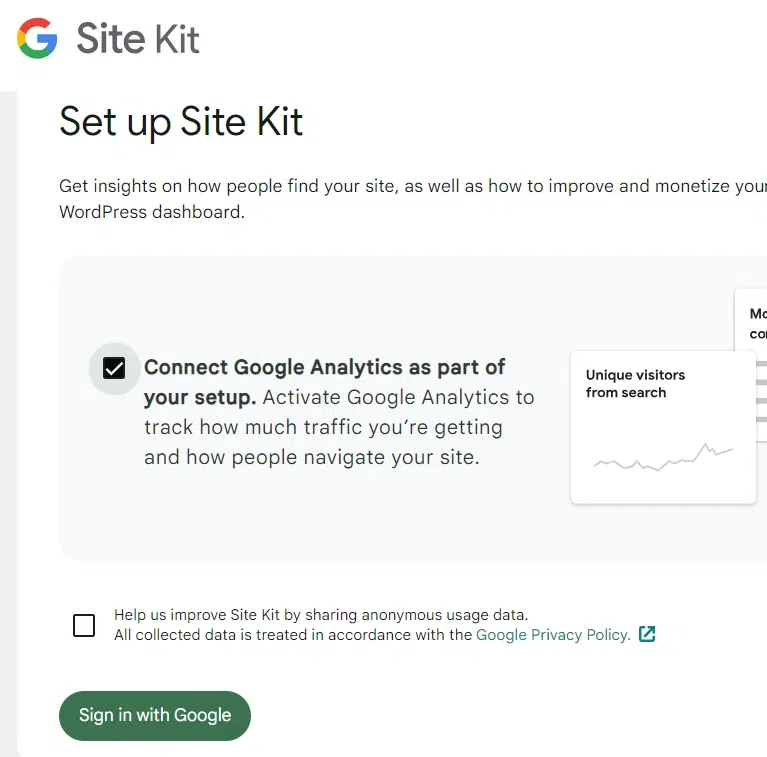
Grant all access to your site kit plugin. Also remember to signin with the email id from which you will access your search console.
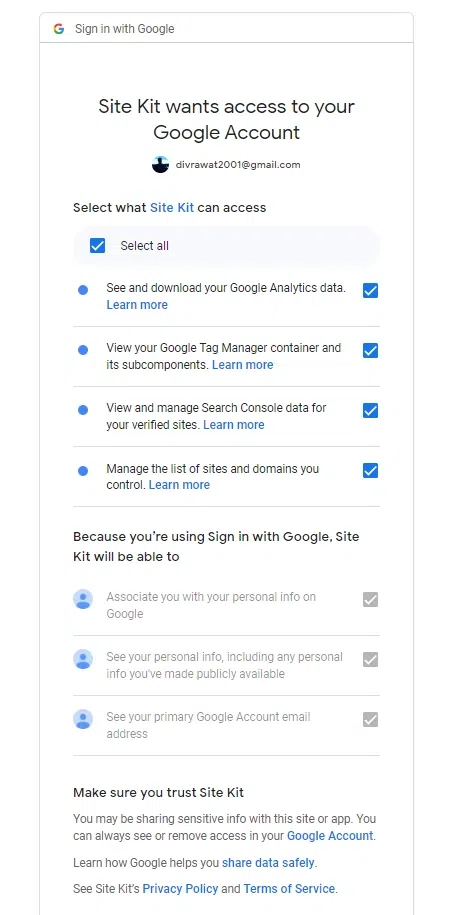
Click on the “Allow” button.
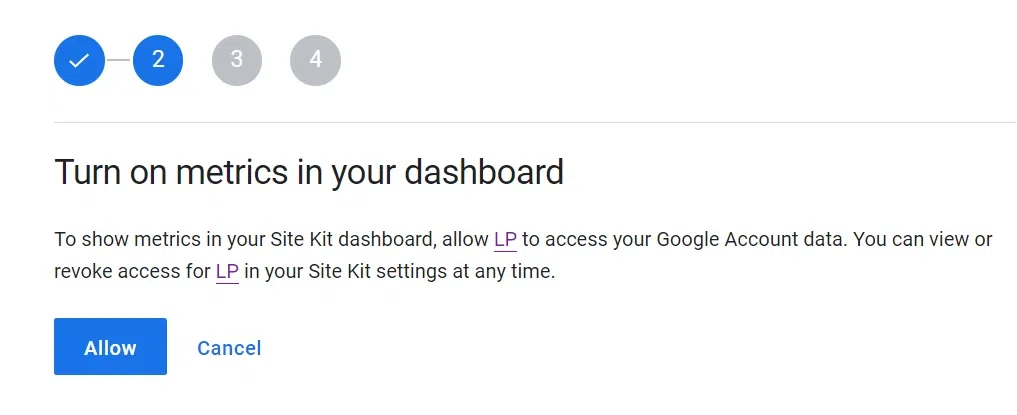
Click on the “Next” button.
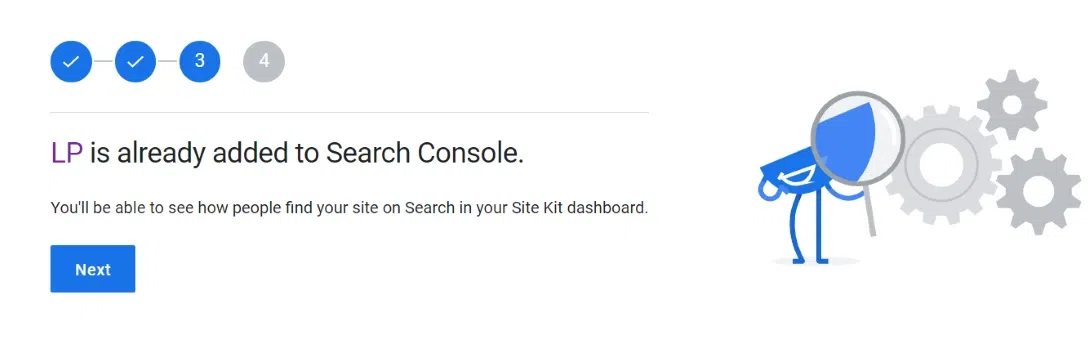
If you want to configure google analytics you can also do that in last step. For our wordpress website we already had google analytics properties and data streams made which are now connected to Site Kit. After following all steps you will land here.

You can see the message that search console is connected to your website. You can now access your domain or website through this email id in the google search console.
Conclusion
Verifying your site with Google Search Console is like giving your website a superpower. It can help you understand how your website is performing on google. It is the most important step for a blogger or developer. By following the above steps of verification you can make your website’s online presence and and watch it moving to new heights in this digital world!
Share your thoughts in the comments
Please Login to comment...