Download and Install SketchUp on Windows for Free!
Last Updated :
22 Dec, 2023
SketchUp is computer software that is used for 3D modelling of buildings, machines, weapons, etc. It is used in various fields like civil engineering, mechanical engineering, aeronautical engineering, etc. It is available for different operating systems like Windows, MacOS, Linux, etc. It was first launched in 2000. The development credit for this software goes to Trimble Incorporation etc.
In this article, you get a step-by-step guide to download and install SketchUp on your Windows PC for Free!
Steps to Install SketchUp on Windows
Follow the below steps to install SketchUp on Windows:
Step 1: Visit the official website of SketchUp using any web browser.
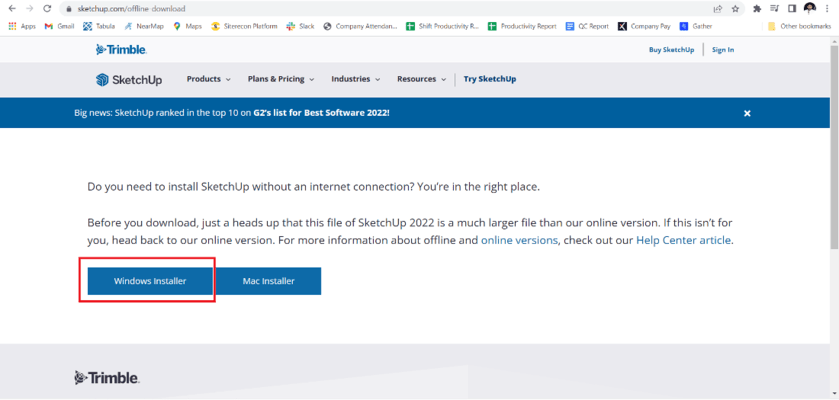
Step 2: Click on the windows installer and the download will start automatically.
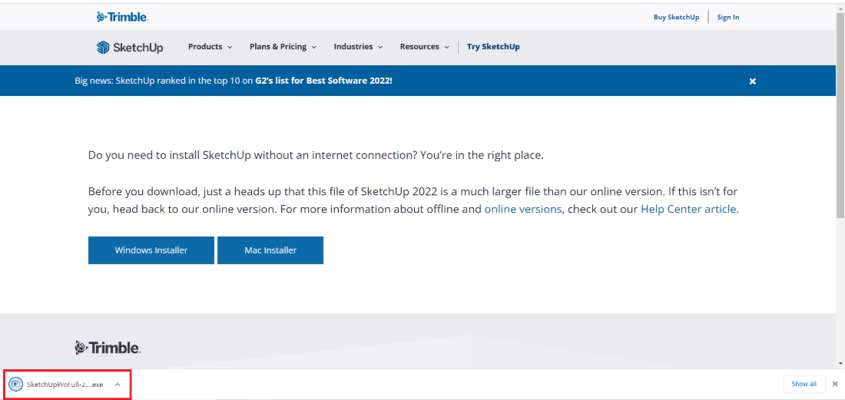
Step 3: Now check for the executable file in downloads in your system and run it.
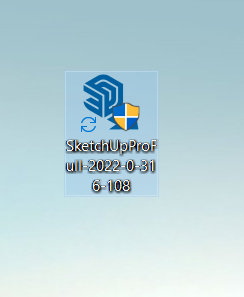
Step 4: It will prompt confirmation to make changes to your system and click on the Yes button.
Step 5: Loading of the files will start and take some time.

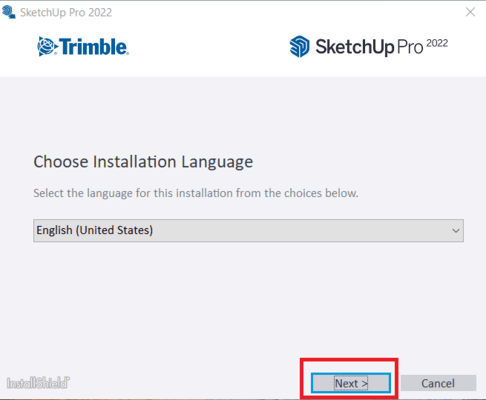
Step 6: Choose installation language and click the Next button.
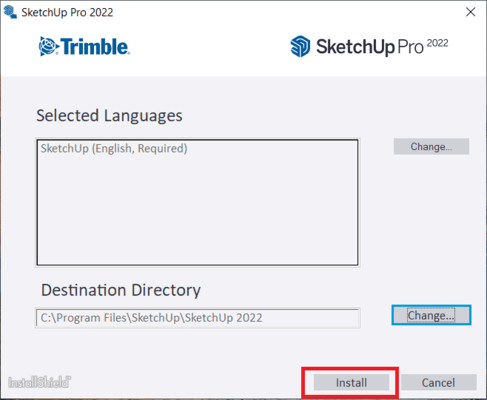
Step 7: Choose the destination directory and click the Install button.
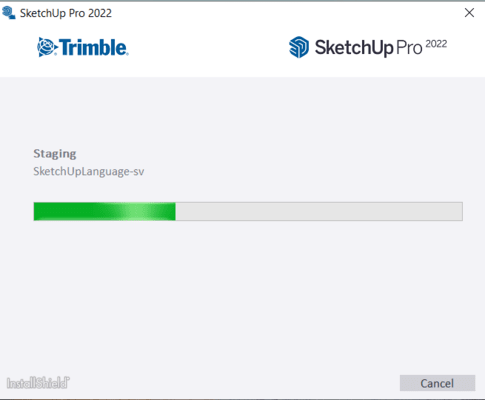
Step 8: Installation will start and hardly takes a minute.
Step 9: Click the Finish button to complete the installation.

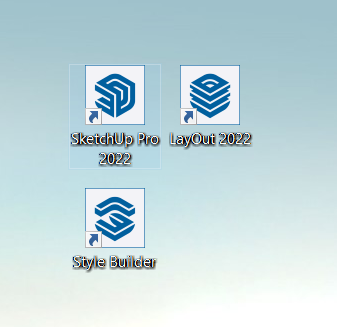
Step 10: An icon will appear on the desktop screen.
Step 11: Run the software and the interface will be initialized.
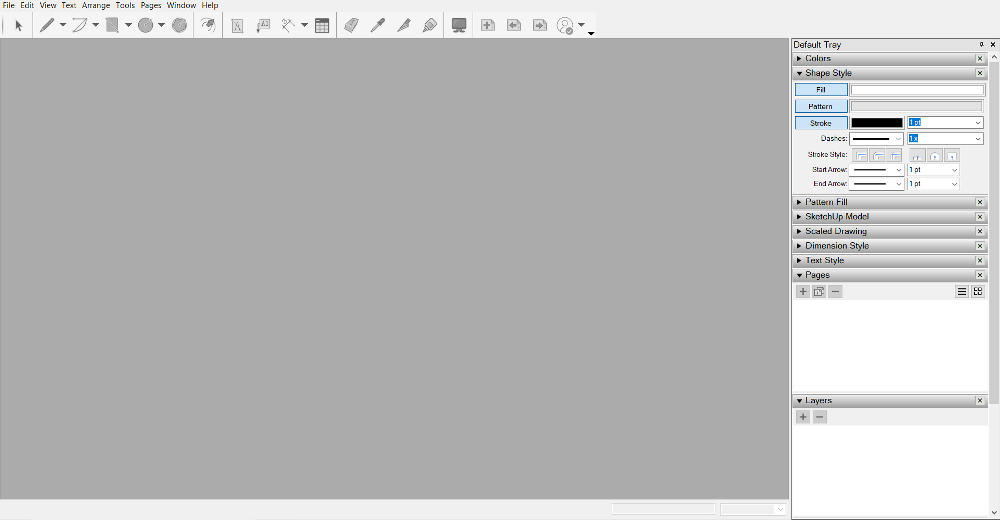
Congratulations you have successfully installed SketchUp on your Windows System.
Also Read
Share your thoughts in the comments
Please Login to comment...