How to Download and Install Autodesk 123D Design on Windows?
Last Updated :
25 Mar, 2022
Autodesk 123D is computer software that is made for 1D, 2D, and for 3D graphical designing used by UI/UX designers or an engineer. It is free and open-source software that is capable of running on Windows, Linux, macOS, etc. The development credit goes to Autodesk. It was first launched in 2009. it is a 3Dcomputer graphics software. It is available in the English language.
Installing Autodesk 123D Design on Windows
Follow the below steps to install Autodesk 123D Design on Windows:
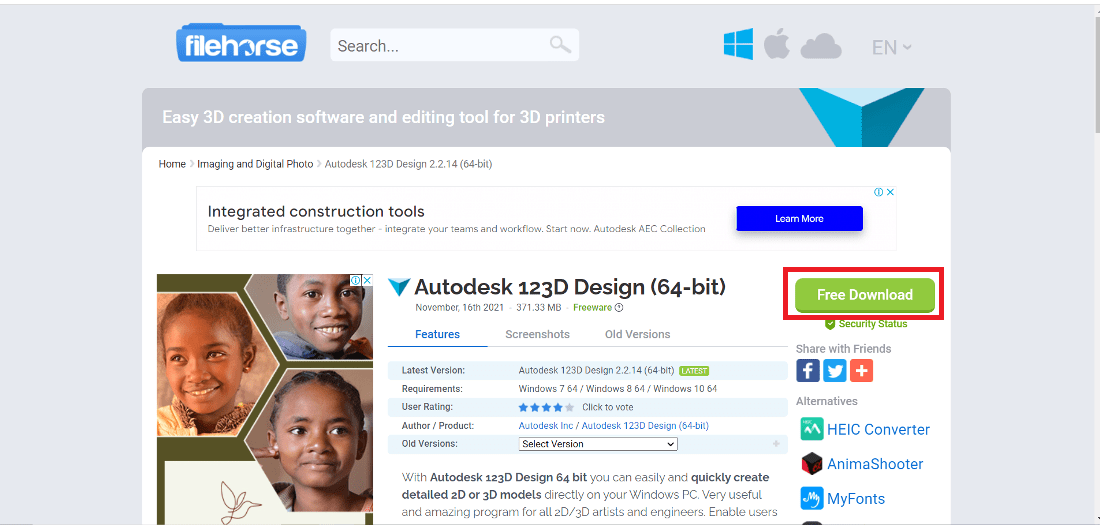
Step 1: Visit this website https://www.filehorse.com/ using any web browser. Click on Free Download.
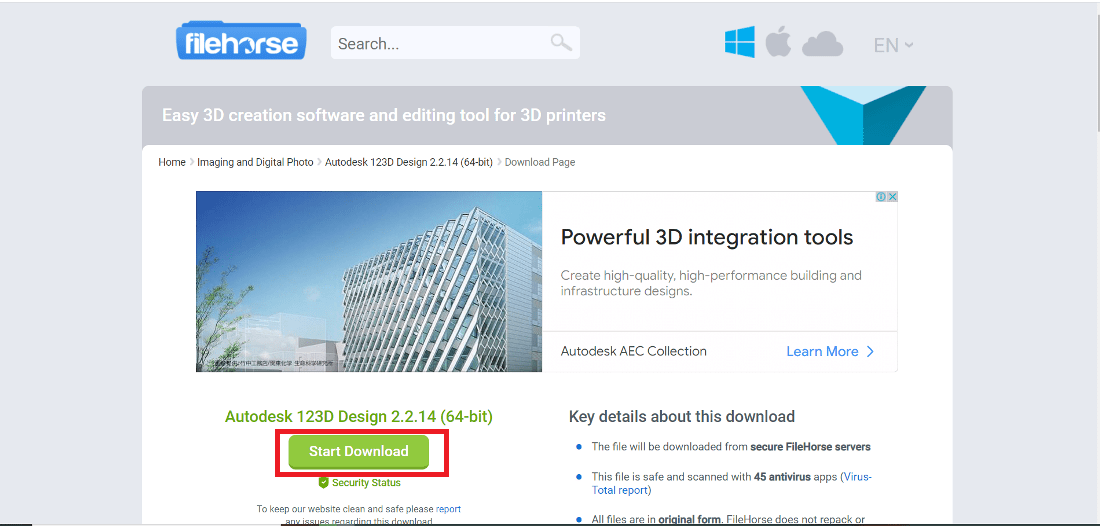
Step 2: It will redirect to a new webpage, click on Start Download. Downloading of the executable file will start shortly. It is a big 371.33 MB file that will take some minutes.
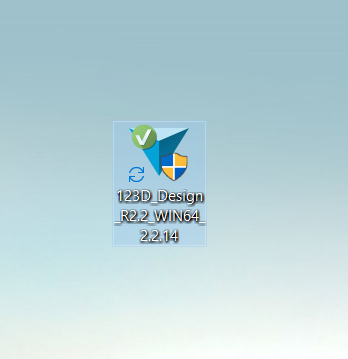
Step 3: Now check for the executable file in downloads in your system and run it.
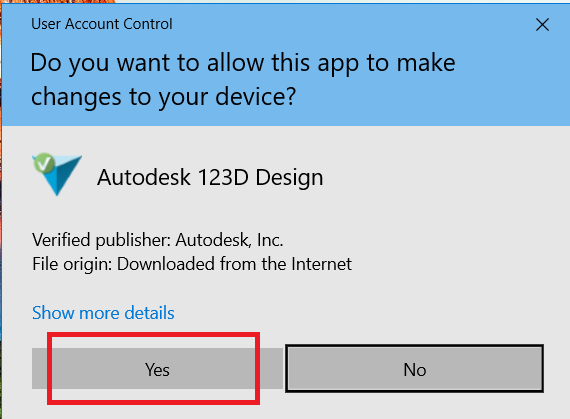
Step 4: It will prompt confirmation to make changes to your system. Click on Yes.
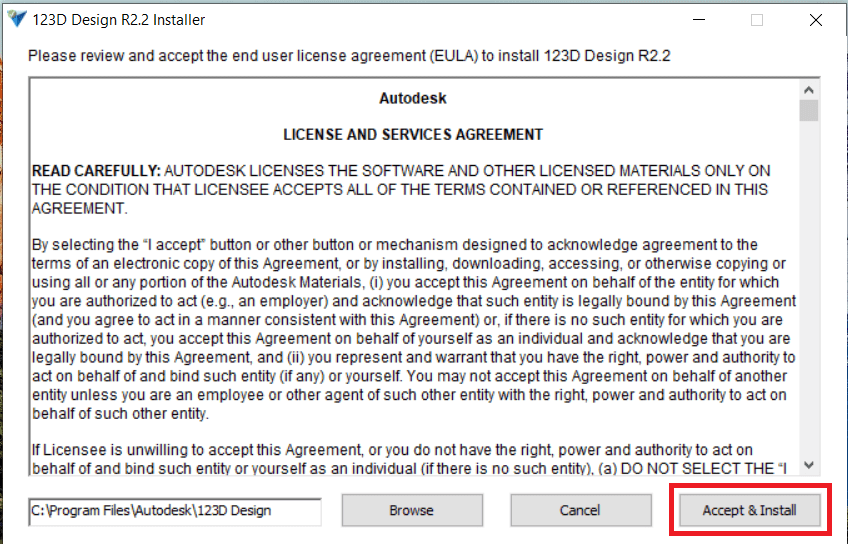
Step 5: Setup screen will appear, click on Accept & Install.
Step 6: Now setup will start to click on the Install button.

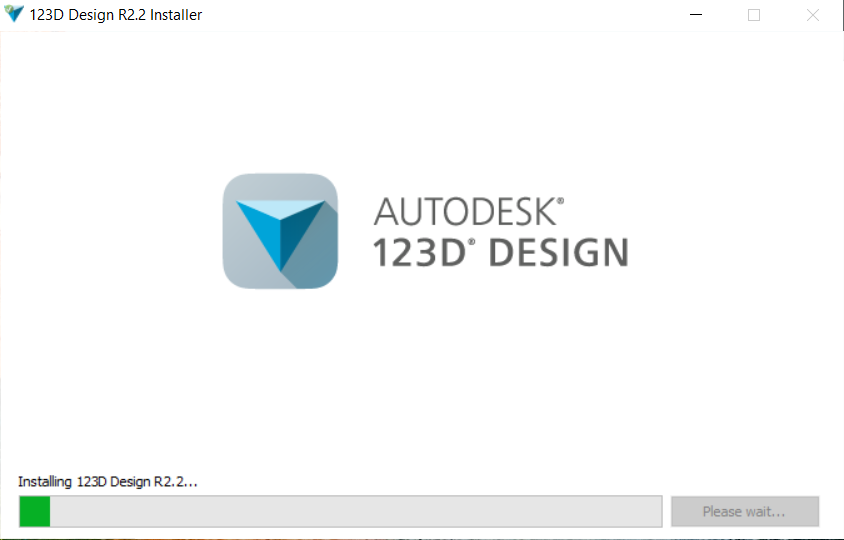
Step 7: After this installation process will start and it might take 5-7 minutes depending on your computer speed and specification to complete the installation
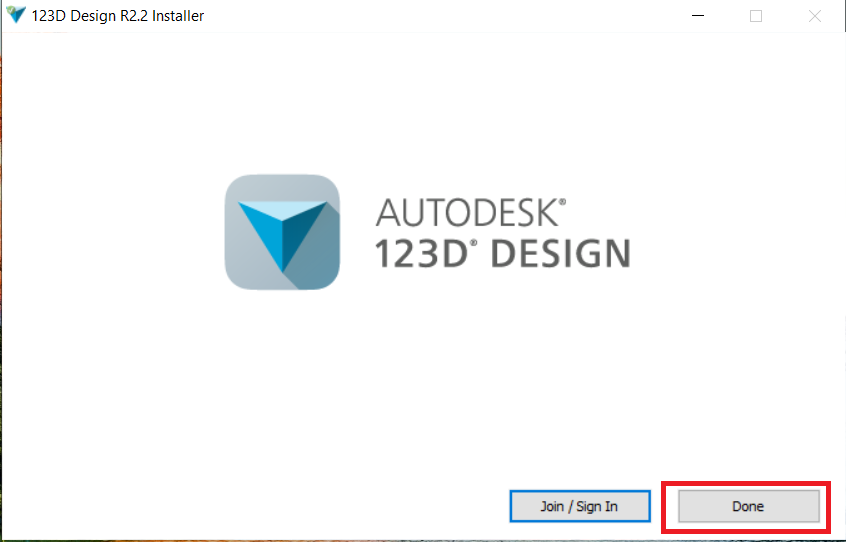
Step 8: Setup is complete now Click on Done Button.
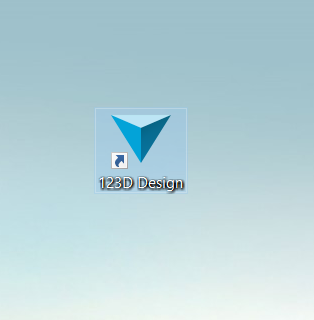
Step 9: At this point, Autodesk 123D Design is successfully installed on the system and an icon is created on the desktop. Now double click on it to see the interface.
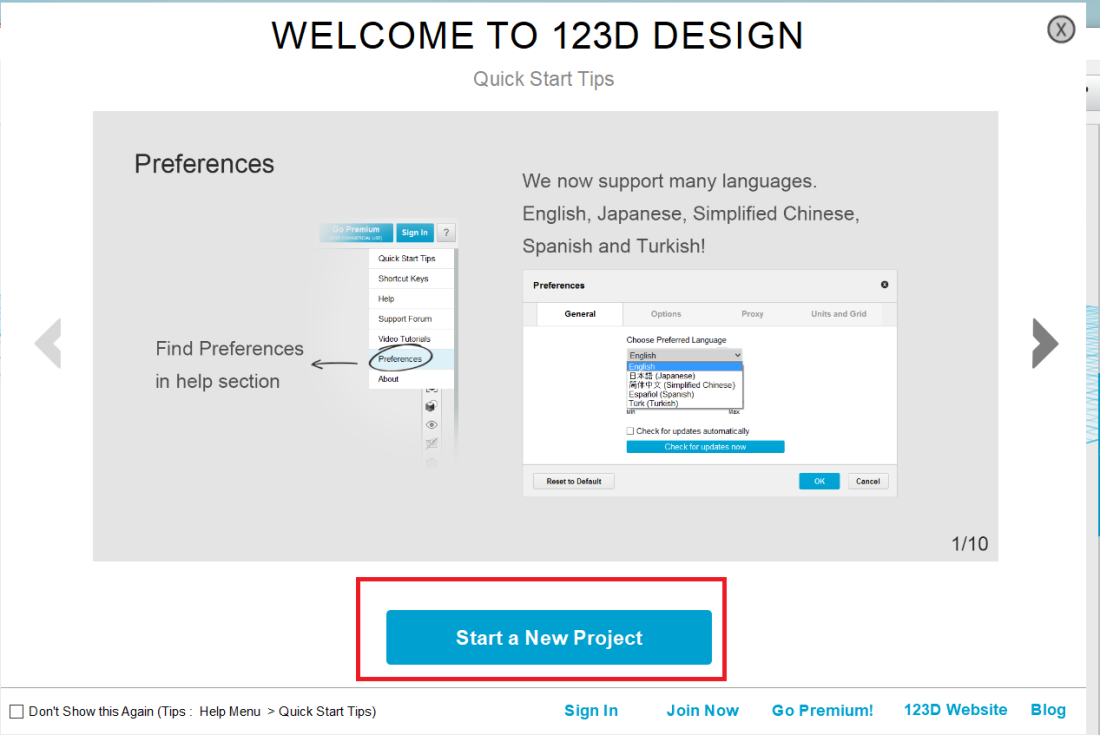
Step 10: The next screen will be the welcome screen now click on Start a New Project to see the interface of the software.
Now see the interface of the software.
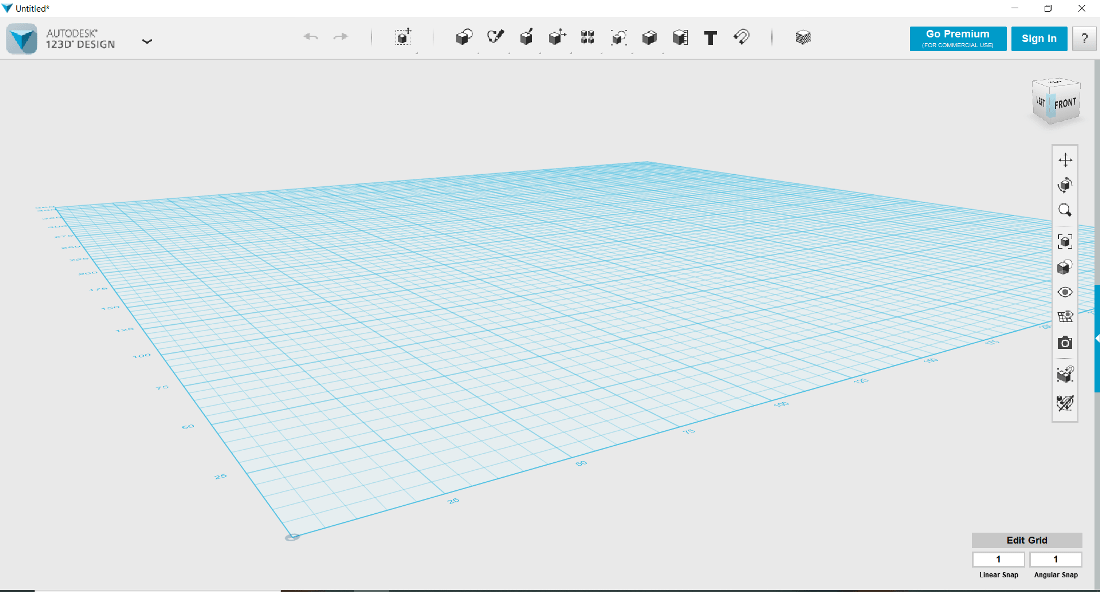
Congratulations!! At this point, you have successfully installed Autodesk 123D Design on your Windows system.
Share your thoughts in the comments
Please Login to comment...