Step-By-Step Guide To Installing Nexus Repository Manager
Last Updated :
11 Mar, 2024
Sonatype’s Nexus Repository Manager is a favorite choice for handling binary artifacts and software parts. This tool’s role is to be a hub, and it offers various critical features:
- Centralization: It’s one place for all your software elements and build artifacts, getting rid of multiple storage locations and enhancing visibility.
- Caching: It lifts build speed and reliability by caching distant repositories, which reduces download periods and lessens network load.
- Package Type Support: It covers a wide range of package types and formats, meeting varying development demands.
- Scalability: It can be installed on any number of servers, for countless users and adjusts to the needs and size of your organization.
The minimum system requirements for Nexus Repository Manager
- Operating System: Windows, Linux, and MacOS1 can run the Nexus Repository Manager
- CPUs: Minimum CPUs: 4, Recommended CPUs: 8
- RAM: Minimum physical RAM on the host: 8GB (for small profile)
- Disk Space: Varies depending on usage, but at least enough space to accommodate your repositories and the Nexus software itself.
- Web Browser: Modern web browser supporting HTML5 and JavaScript
Understanding Nexus Repository Manager: Key Components, Features, and Concepts
- Repositories are containers for software components like libraries, modules, or frameworks.
- There are three main types of repositories: proxy, hosted, and blob stores.
- Proxy repositories are linked to remote repositories and verify requests against their local content.
- Hosted repositories store components in the repository manager as the authoritative location.
- Nexus Repository Manager supports up to 18 package formats, including Maven, APT, and Go.
- Resiliency and high availability features ensure continuous operation in the event of failures.
- User authentication is a security measure to verify users’ identities.
- Nexus Repository Manager manages repositories, providing features like caching, centralized storage, and scalability.
- Binaries are executable files directly understood by the computer’s hardware, created by compiling code.
- Build artifacts are the final output files generated by the software build process, including binaries, documentation, and other files.
- A centralized repository is a single location for storing and managing software components, binaries, and building artifacts.
- Caching temporarily stores frequently accessed data for faster retrieval, reducing the need for repeated downloads.
- Package types like JAR files for Java libraries, NuGet packages for .NET, and RPM packages for Red Hat systems.
- Scalability allows a system to handle increasing demands, such as supporting more users, repositories, and data volume.
- Nexus supports various development tools and frameworks by accommodating their specific package formats.
Installing Nexus Repository Manager on Windows
Step 1: Choose the operating system
First, decide which operating system you will be installing Nexus Repository Manager on. Common options include Linux (Ubuntu, CentOS, or Red Hat Enterprise Linux) and Windows. Additionally, choose the package format you prefer, such as a Debian package ‘.deb for Linux or an installer package for Windows.
As now we chose windows operating system.
Step 2: Download and install Java Runtime Environment (JRE)
Nexus Repository Manager requires Java 8 or later. Before installing Nexus, verify that you have Java installed on your system. If not, download and install Java from Oracle’s official website (https://www.oracle.com/java/technologies/javase-downloads.html).
Step 3: Download the package
On the Sonatype downloads page, find the download link for the Windows Installer package. Click the link to start the download process.
Step 4: Extract the package
Extract the package and find the place where the .exe file is present. for example if you extracted it in downloads folder the path would be like
C:\Users\sagar\Downloads\nexus-3.66.0-02-win64\nexus-3.66.0-02\bin
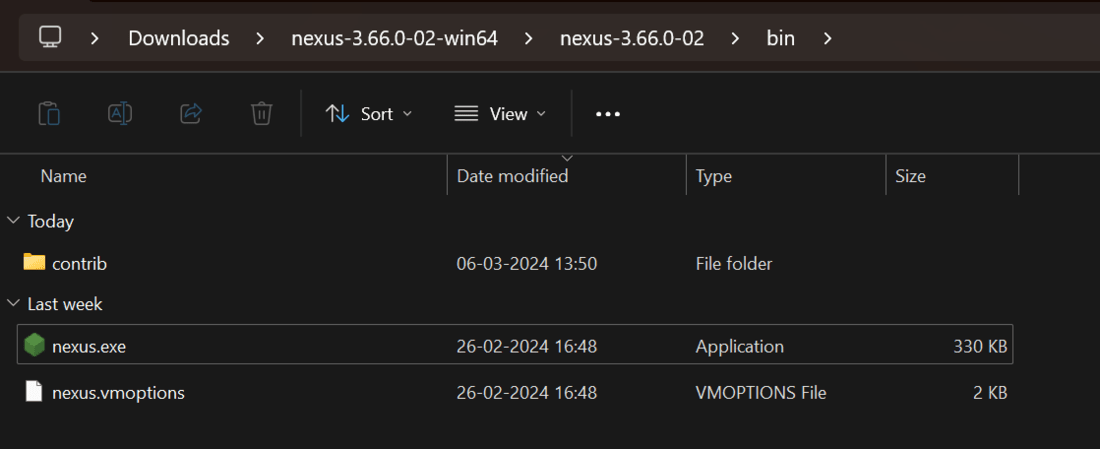
finding nexus.exe file path
Step 5: Install Nexus Repository Service
Open start menu and search for command prompt and run command prompt as administrator. Now move to that directory where nexus.exe was extracted
> cd C:\Users\sagar\Downloads\nexus-3.66.0-02-win64\nexus-3.66.0-02\bin
after coming to that directory install nexus service repository by typing this
> nexus.exe /install Nexus-Repository-Service
after executing this you will get confirmation that its installed
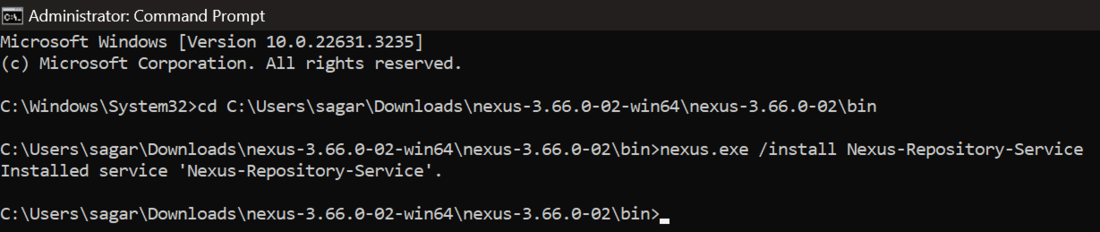
Install service
Step 6: Start the service
After installing the ‘Nexus-Repository-Service’ start the service by executing the code
> nexus.exe /start Nexus-Repository-Service
after that you will see the output as Starting service as below.

Starting service
you can also configure that service is running by checking in services, find Nexus-Repository-Service is running.
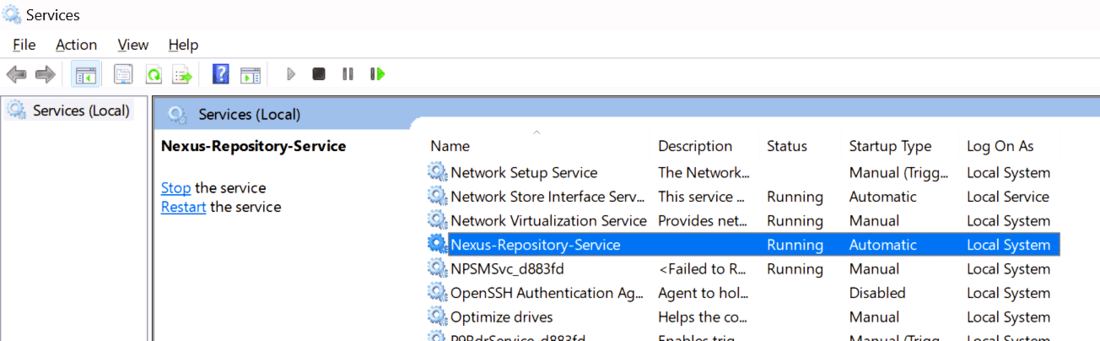
Checking Service Status
Step 7: Access the Web Interface:
Once the server starts, you can access the web interface by opening a web browser and navigating to the following URL: http://localhost:8081/. You should see the Nexus Repository Manager Home page.
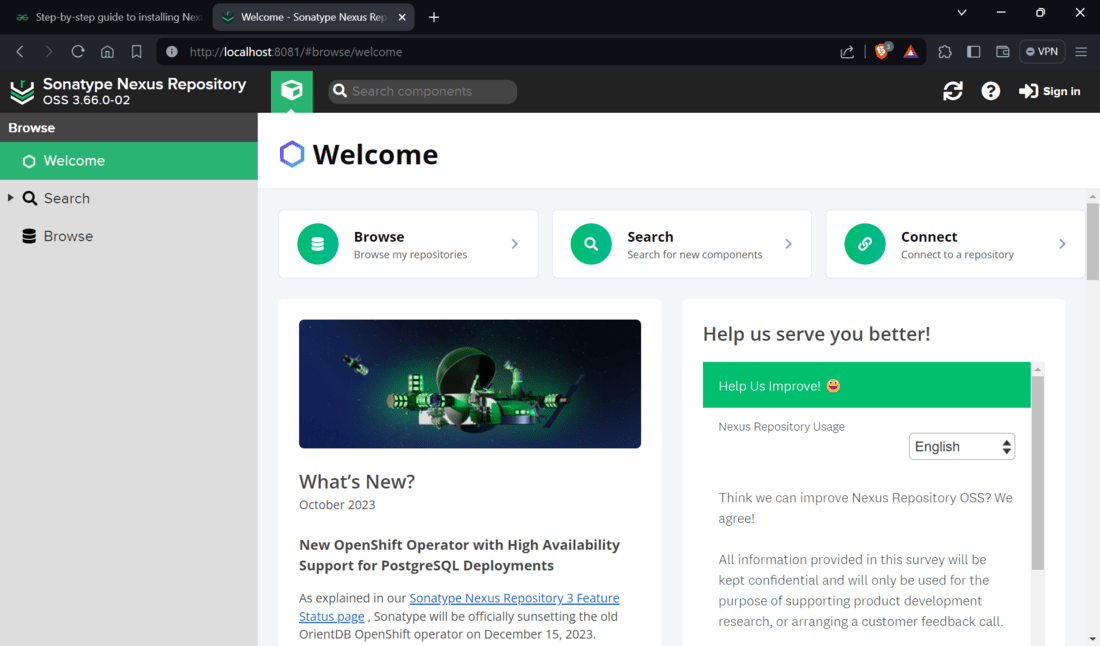
Nexus Repository Home page
Click on Sign in the top right corner. and enter username as admin and password you can find in the folder the page is showing as given in below fig browse to that path in that file you will get the password. After login you will be asked to set your own password.
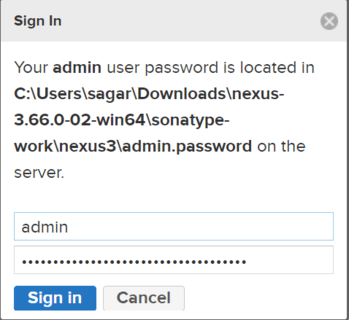
Sign in
Now you can manage the repositories
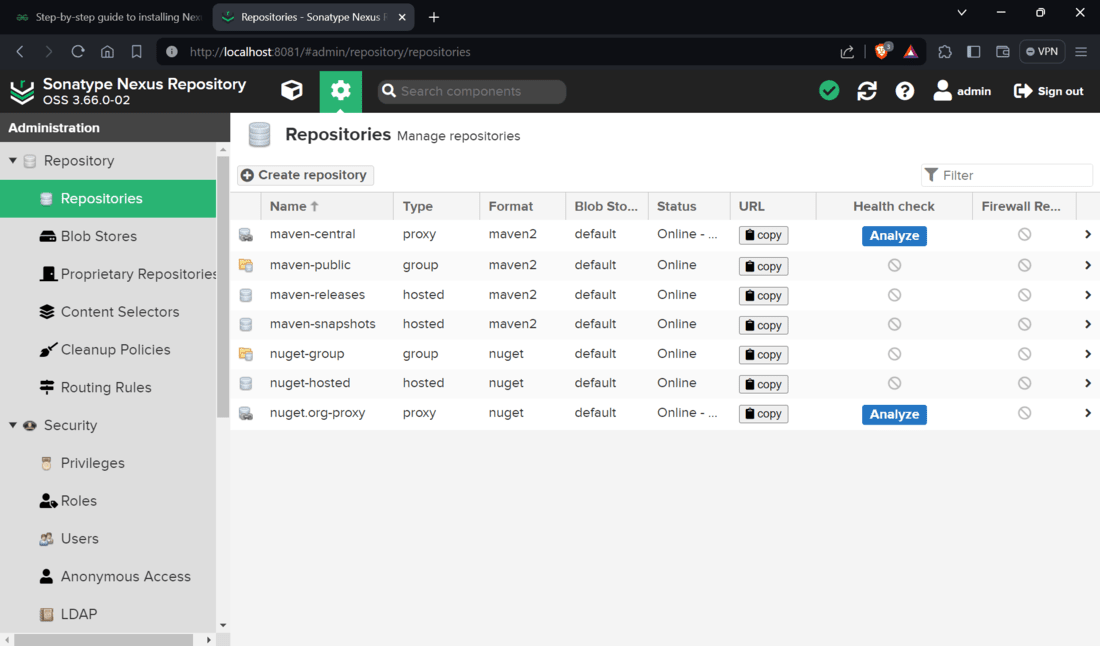
The html view of the repository would be like this:
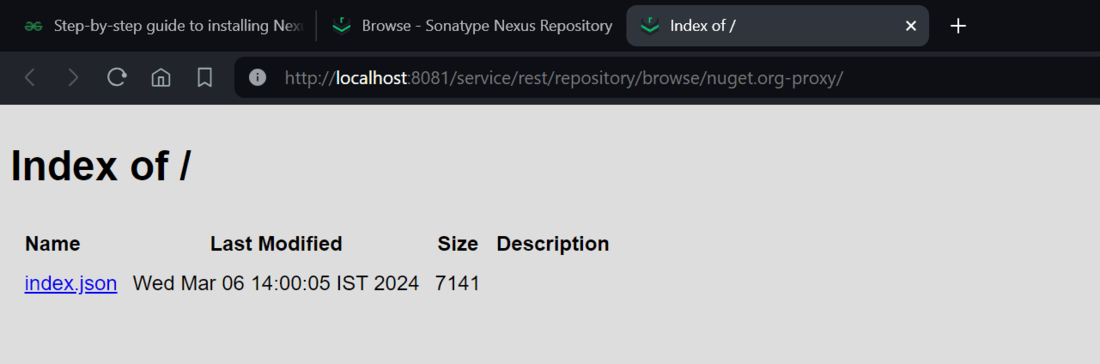
HTML view of Nexus Repository
Now you can proceed with the post-installation configuration, such as creating new repositories, managing proxy settings, and setting up security. Refer to the Nexus Repository Manager documentation for detailed instructions on these tasks.
Service Management:
If you want to manage Nexus as a Windows service, you can use the nexus.exe executable with additional commands:
/start: Start the Nexus service.
/stop: Stop the Nexus service.
/restart: Restart the Nexus service.
/force-reload: Force a reload of the Nexus service.
/status: Check the status of the Nexus service.
After installing Nexus Repository Manager, you need to tweak the server according to your needs. Plus, add repositories and manage security with access control. Follow these steps for after-installation tasks:
1. To configure proxy settings:
- Go to the Configuration tab on the main menu.
- Select System from the dropdown and navigate to the proxy settings section.
- Set up the proxy server details here if you are behind one.
2. To create new repositories:
- Go to the Repositories tab at the top.
- Then select Hosted Repositories under it.
- Click on Create a Hosted Repository to provide the repository name, ID and a description.
- Choose the type like Maven 2, Docker or NPM etc. Customize additional options like storage location, whether to enable indexing, permissions and more to set up the new repository as needed.
- Click create to save the freshly made repository.
3. Manage Access Control and Security:
- Click on the Security tab on the top menu.
- Select User Management from the drop-down menu.
- You can add new users, manage existing ones, and set permissions for different operations like repository browsing, uploading, and deleting.
- To create a new user, click on the Create User button, fill in the required details, and set permissions accordingly.
4. Configure Proxy Repositories :
- depending on your selected proxy type Select Maven or NPM from the drop down menu.
- the Create Proxy button will be seen click on it.
- Now, input the necessary details for the external repository you wish to set as a proxy, including its ID, name, and URL.
- Lastly, configure additional settings such as proxy policies, content filters, and access permissions to tailor your proxy repository according to your needs.
5. Indexing and Searching Setup:
- Click on the top menu’s Indexing tab.
- Select the indexing type to configure i.e., Docker, Maven, NPM among others.
- According to your preferences, create rules for customization ranging from enabling/ disabling indexation up to setting schedules and rules of indexing.
6. Personalize User Interface:
- On the top menu select Configuration tab,
- Thereafter choose General from the list box
- The look and feel of Nexus Repository Manager UI can be customized by altering themes or applying some behaviors in order to change its URL scheme.
7. Backup and Restore:
- Periodically, back up your Nexus Repository Manager configuration and repository data to ensure their safety.
- Go to the Backup tab at the top menu bar,
- You can save a backup file by clicking on Create Backup.
- Then you click on restore from backup button select back-up file.
Conclusion:
Setting up Nexus Repository Manager on a Windows system is simple. First, get your system ready. Next, save some disk space. Then follow after-setup steps. These steps include using the web interface and setting up proxy settings. You’ll also create and manage repositories. Plus, you’ll work on security and access control. Setting up indexing and searching is another task. Customizing the user interface and often backing up and restoring data are also key steps. If you do all this right, Nexus Repository Manager can help manage and distribute packages in your workplace or development space.
Also, don’t forget to keep Nexus Repository Manager updated. This ensures that you enjoy the best security patches and features.
Step-by-step guide to installing Nexus Repository Manager -FAQ’s
How to install sonatype Nexus repository Manager?
To install Sonatype Nexus Repository Manager, download the installation package from the official website, extract it, and run the appropriate script for your operating system. Access the Nexus UI through the browser and complete the setup.
What is Nexus repository Manager?
Nexus Repository Manager is a repository manager used for storing and managing software components. It facilitates the organization, retrieval, and distribution of artifacts, enhancing the efficiency of software development and dependency management.
Share your thoughts in the comments
Please Login to comment...